If you’re looking for a better way to get a picture-perfect manicure that doesn’t require expensive weekly trips to the salon, then you’ve probably come across nail wraps. There are tons of amazing nail wraps options available online, but you may wonder if you can just make them yourself using the nail polish you already have at home.
If you want to explore how to DIY nail wraps, continue through this article as we explain how to make your own nail wraps, and why you might want to consider looking for where to buy nail wraps instead!
The Appeal of DIY Nail Wraps
It makes sense why women would want to figure out how to DIY gel nail wraps, even if it doesn’t always end up with the best results. But, if you can do it right, it offers great convenience and helps you take advantage of the nail polish you’ve already purchased.
Continue reading below to see some additional reasons why you might look into making your own wraps at home once you’ve learned what are nail wraps and seen all the great benefits they offer.
The Freedom to Customize Designs
For starters, being able to DIY your own nail wraps means you have total control over the design on the product.
Manicures give us a way to express our own sense of personal style and uniqueness, so creating your own DIY gel nail wraps gives you all the freedom you need to customize the designs to your liking.
The Satisfaction of Creating Something With Your Own Hands
Another reason why women start looking into making their own nail wraps is they want the feeling of satisfaction that comes from making something homeland. Especially if you’re someone who enjoys crafty activities, DIYing your own nail strips would seem like a natural thing to do.
Is There Any Downside to Making Your Own Nail Wraps DIY?
Though you might be tempted to make your own nail wraps, there are some possible drawbacks to this process that you’ll want to consider before you get started.
Time and Effort Commitment
The biggest risk you’ll face when trying to make your own nail wraps is the lost time you’ll spend going through trial and error. DIYing your nail wraps might sound like a fun afternoon activity, but you may be surprised at how much effort and commitment will go into creating this product.
Especially if you’re not a professional, you probably won’t get it right on the first try, but that’s to be expected. So if you do go forward with DIYing your nail wraps, make sure you allot enough time to the process and expect it to take at least a few hours.
Difficulties Getting the Design Right
If you have a chosen design set in your mind, you might think it’ll be easy to transfer that onto the nails–but don’t fall into this trap. The intricacy of nail art can make it challenging for those of us who are not professionals. After all is said and done, you will probably have more respect and appreciation for the professionals!
Not only do you need a strong artistic ability to get the design right, but you also need the proper tools and brushes to accomplish the design as well. All in all, crafting your own nail art design is much easier said than done.
Challenges With Durability and Longevity
If you’re choosing to DIY nail wraps for strength and a long-lasting manicure, you will probably be left disappointed.
The best nail wraps out there offer great durability and longevity because they’re professionally made with the proper materials and processes. But, the nail wraps you make on your own will likely be much lower quality, meaning they’ll quickly chip away and need to be replaced.
So if you know how long do nail stickers last when you purchase them from a trusted seller, you can expect them to last much less time if you’re making them on your own.
Possible Damage to Nails From Improper Application or Bad Ingredients
Maybe most importantly, you could cause accidental harm and damage to your nails if you don’t know how to make your nail wraps properly. If you make a mistake during the DIY process or you accidentally use bad ingredients, your nail health could suffer as a result.
This is a serious implication of DIYing your own nail wraps, so make sure you consider all the possible outcomes when you decide to make them rather than buying them from a reputable vendor.
How to DIY Nail Wraps at Home: Step-by-Step Guide
Though there are numerous downsides to consider in making your own nail wraps, we’ll walk you through the steps you can take if you want to try your hand at it. Keep in mind that there are a few ways to go about creating your own DIY nail wraps, and this is just one of the methods out there.
Materials Needed for DIY Nail Wraps
Before you get started you’ll need to gather all the proper materials to make your DIY nail wraps. Here are some of the things you’ll need to have on hand:
- Nail polish
- Nail art tools
- Pencil
- Paper
- Nail file
- Scissors
- Nail wrap adhesives
Step 1: Creating Your Design
To start out, you will need to come up with the nail art design that you will put on your DIY nail wraps. Throughout this brainstorming process, you can test out your design using a pencil and paper so you can keep refining it until you’re satisfied.
Keep in mind the scale and size of your fingernail and how that will apply to your desired design. Plus, be aware that you may end up altering or changing your design once you see how easy or difficult it is to transfer onto the adhesives.
Step 2: Transferring Your Design
After you’ve finalized your design, you’ll want to transfer it to the nail adhesive sheets you purchased using actual nail polish, glitter, and nail art tools. This step can get tricky, so make sure to take your time and stay calm! You can even do a few practice tries before you fully get into the swing of things.
Make sure you apply the base coat first, and let it thoroughly dry for 15-20 minutes before you go in for the more intricate details. Once you’re done painting your design onto the adhesive strips, make sure it dries fully, up to a few hours, to help with DIY nail wraps for strength and durability.
Step 3: Applying Your Nail Wrap After the Project is Finished
With your nails prepped and clean and your cuticles trimmed, you’re ready to apply your nail wraps. At this point you will need to know how to apply nail wraps, so make sure you do a reminder of these steps before you get to work so you don’t end up wasting any.
Use the scissors to cut the nail adhesive sheet into nail-sized rectangles if the adhesives aren’t already. Make sure the rectangles you cut will fully cover the size of your nail. Once this is done, you can start to apply by peeling off the adhesive backs and pressing firmly on the nail, smoothing out any bubbles or wrinkles.
Trim away the excess nail wrap with your scissors, and then use the nail file to file down the edge of your nail to make it look smooth and polished. Repeat this process on all nails, making sure the quality stays consistent so you end up with an attractive manicure.
Tips for Maintaining Your Nail Wraps
When you DIY nail wraps for strength and durability, you need to know the proper tips so your manicure stays long-lasting.
If you want to know how to make nail wraps last longer, an important thing to keep in mind is to avoid excess exposure to water for the first few hours of applying your nail wraps. This can weaken the adhesive before it’s fully attached to your nail bed, which can diminish the lifespan of your manicure.
You’ll also want to pay attention to the quality of nail polish you’re using to create your nail wraps, which can directly impact how long your manicure lasts and the quality of its appearance.
Overall, be gentle with your nails, as your homemade nail wraps may be more prone to chipping and fading when exposed to different skincare products, moisture, and other factors.
Save Yourself the Time, Hassle, and Frustration With Polish Pops!
At this point, you may be able to see that making your own DIY gel nail wraps is not the move. Save yourself countless hours of frustration and messiness by purchasing your gel nail strips from Polish Pops!
Continue reading below to learn about why so many women use Polish Pops to create their Insta-worthy manicures.
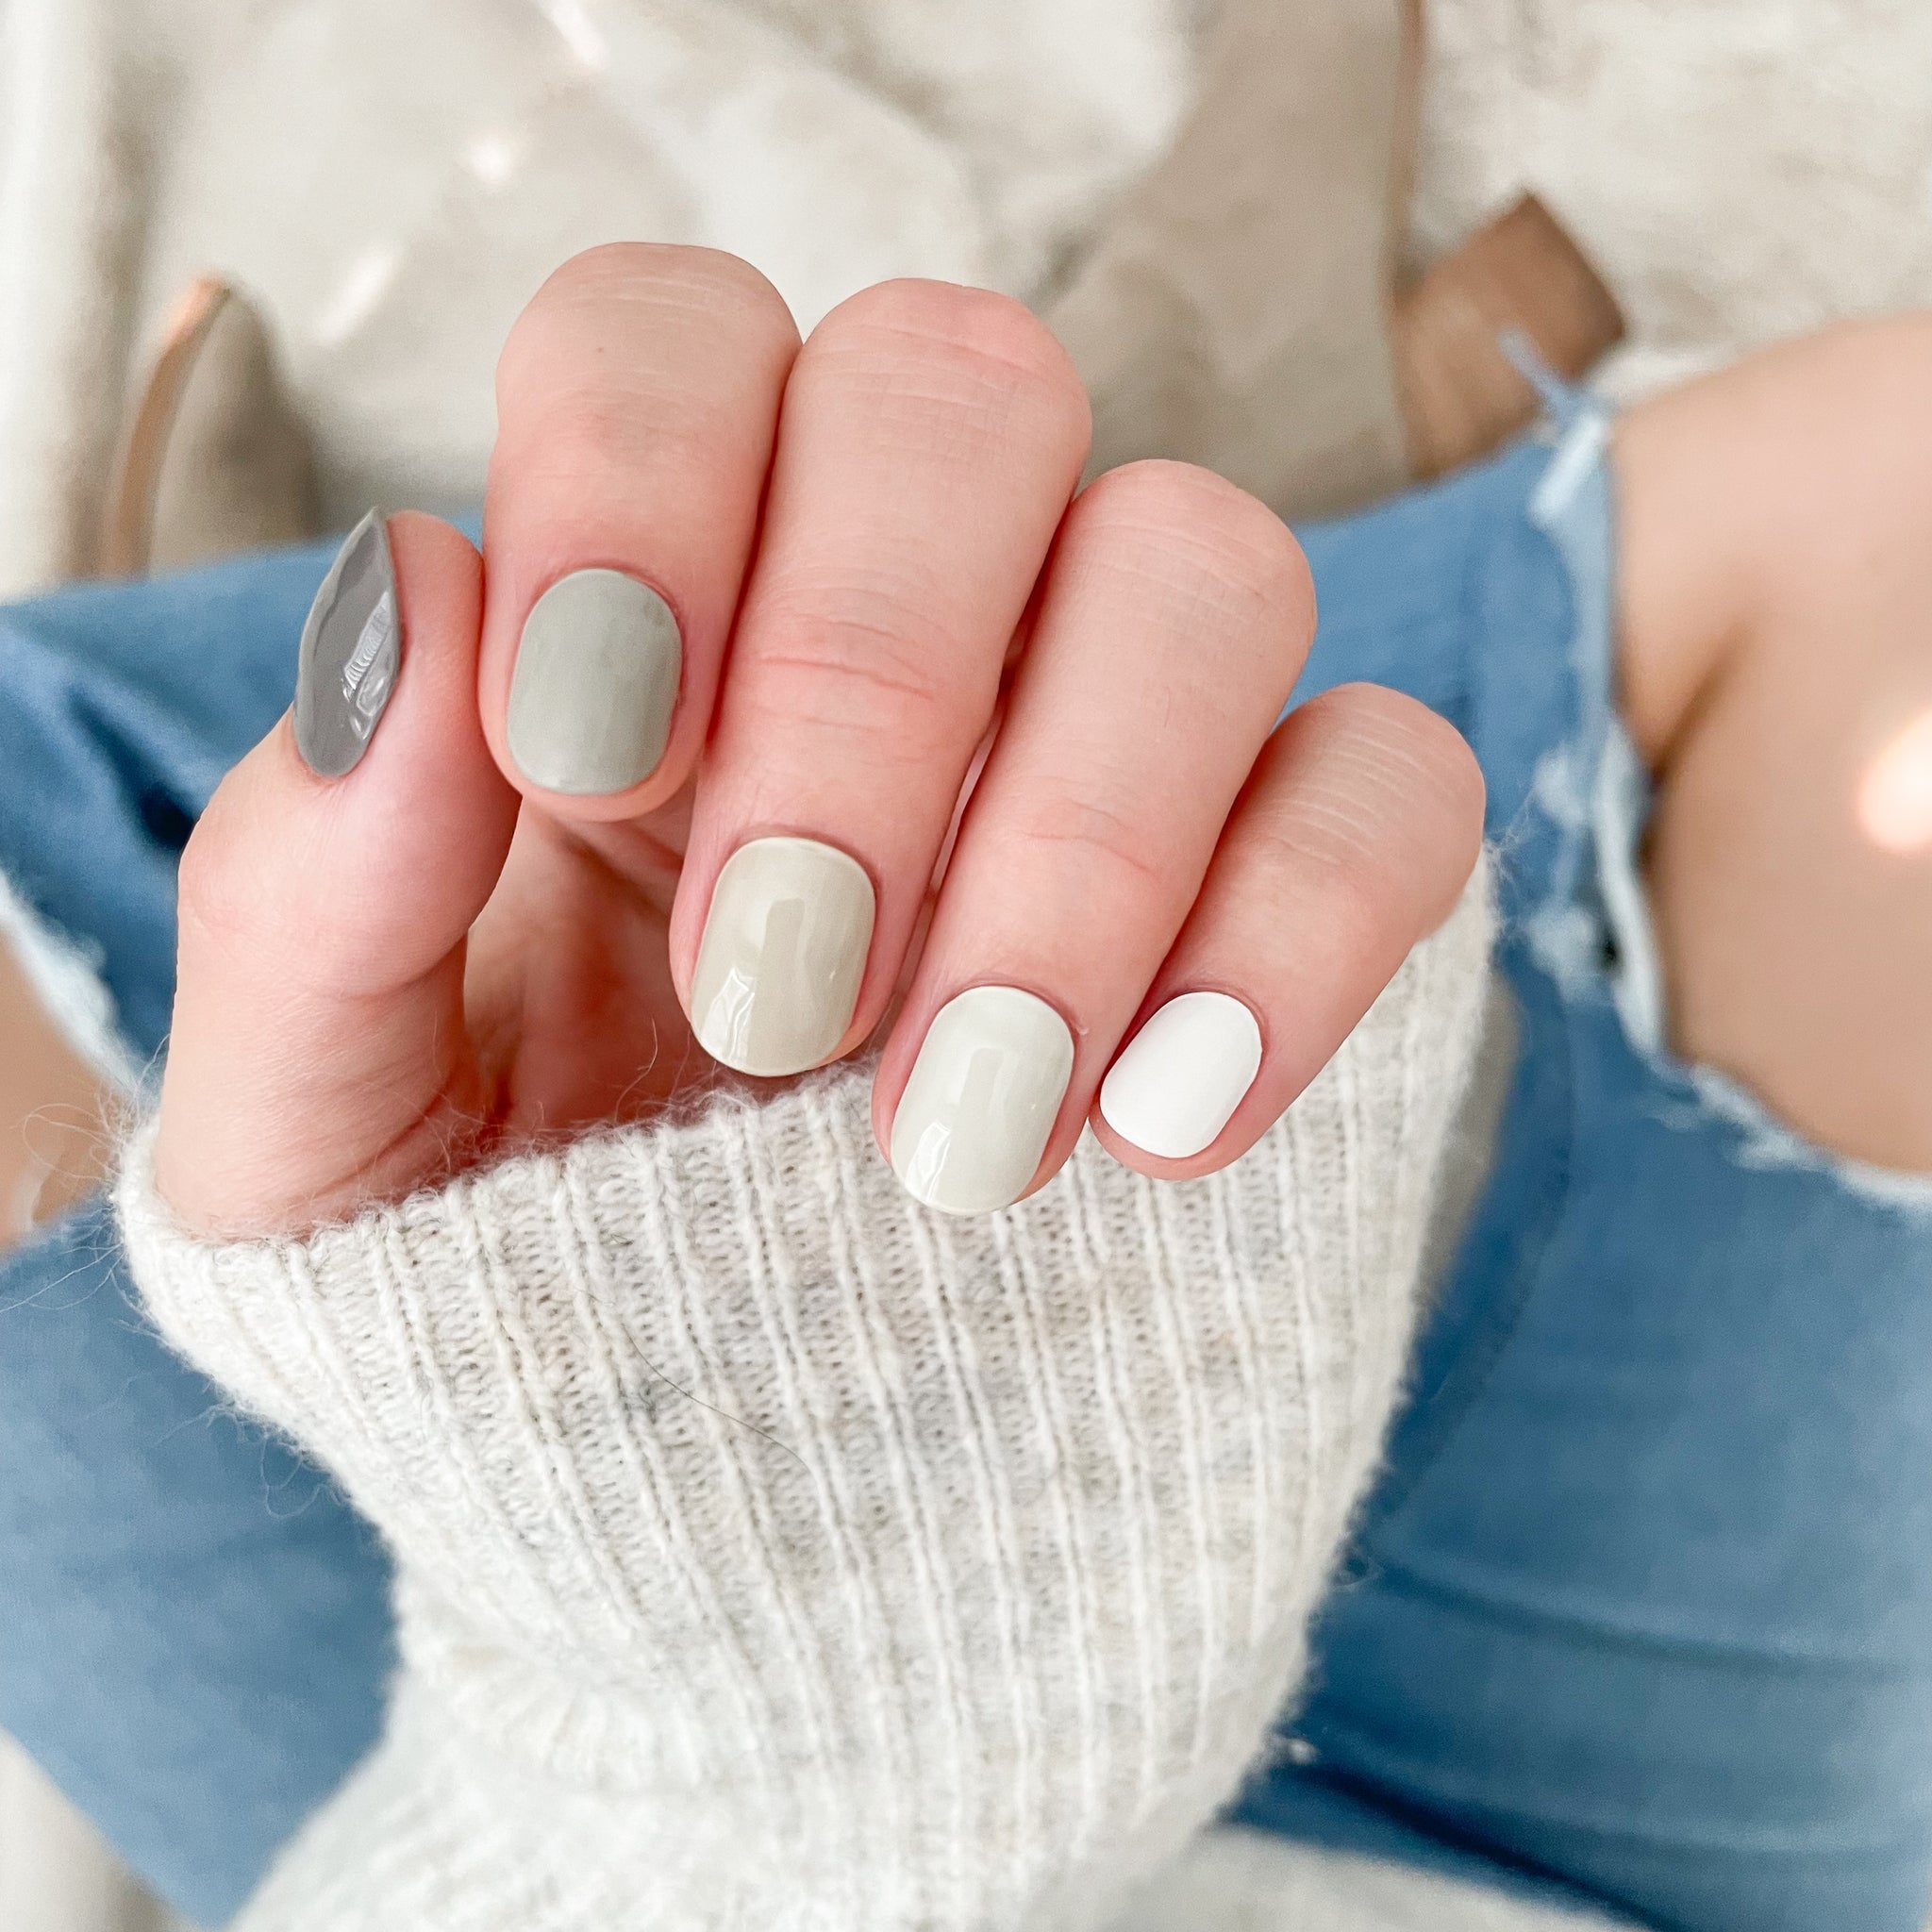
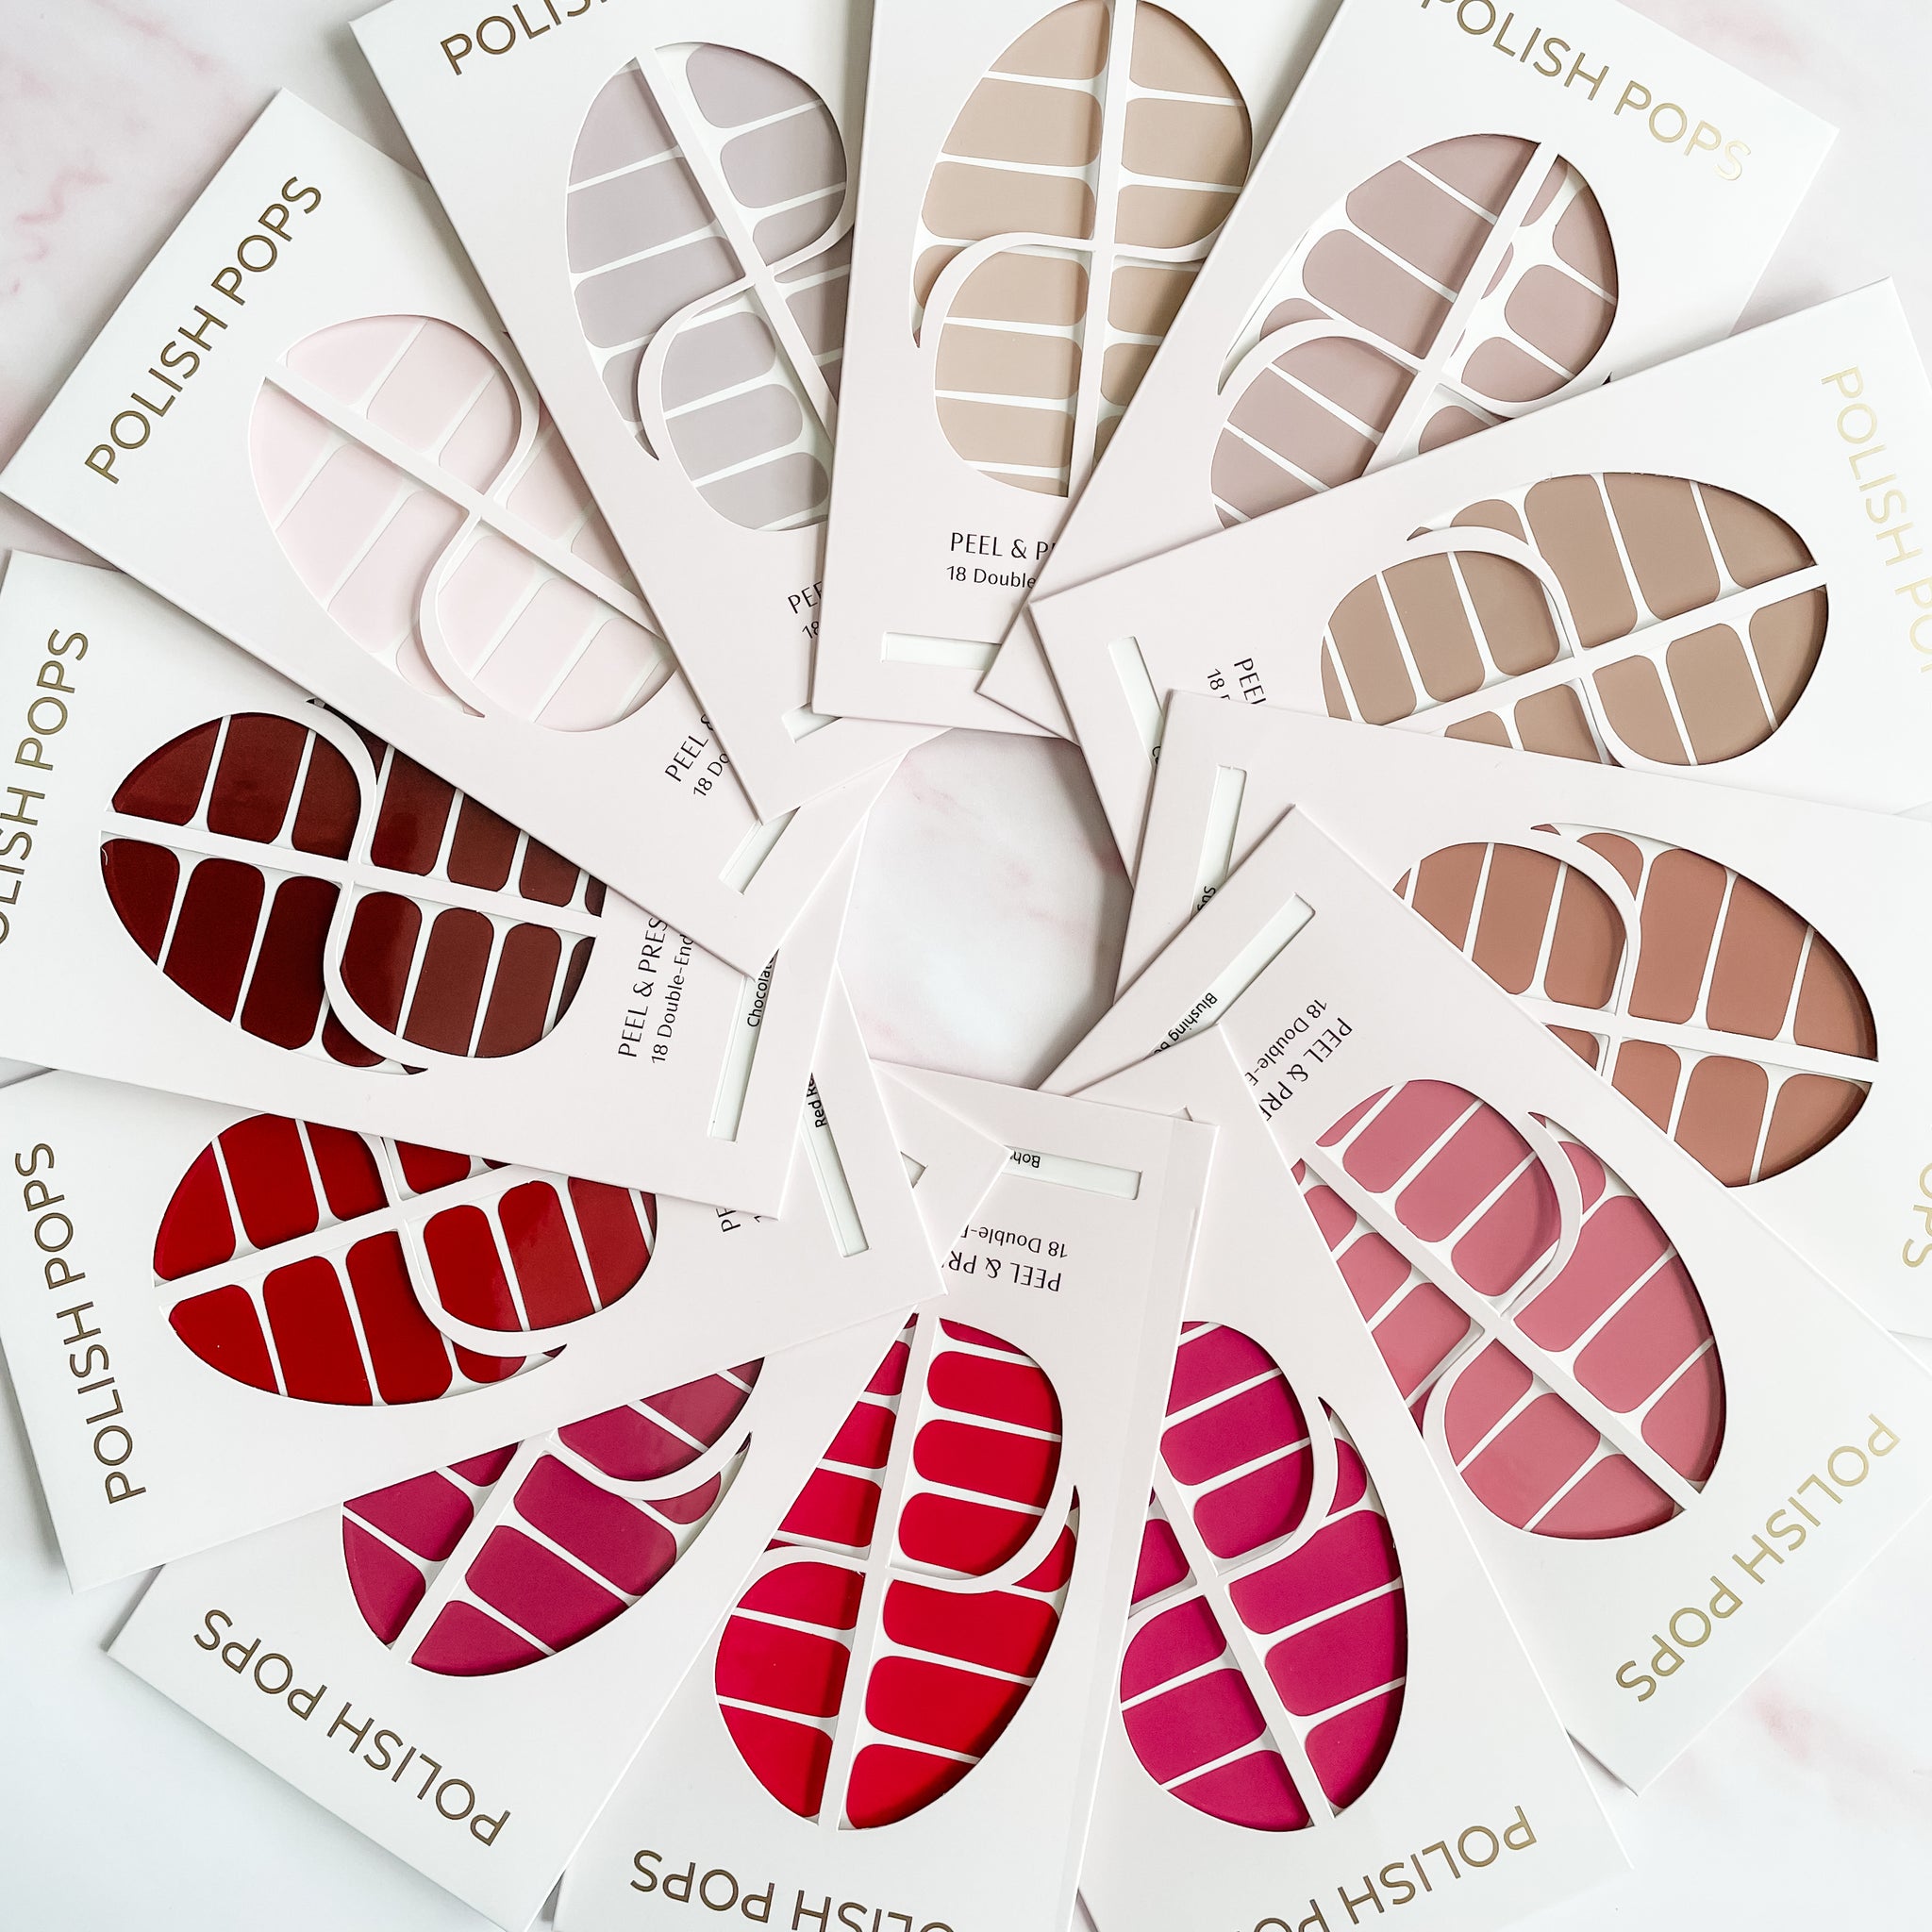
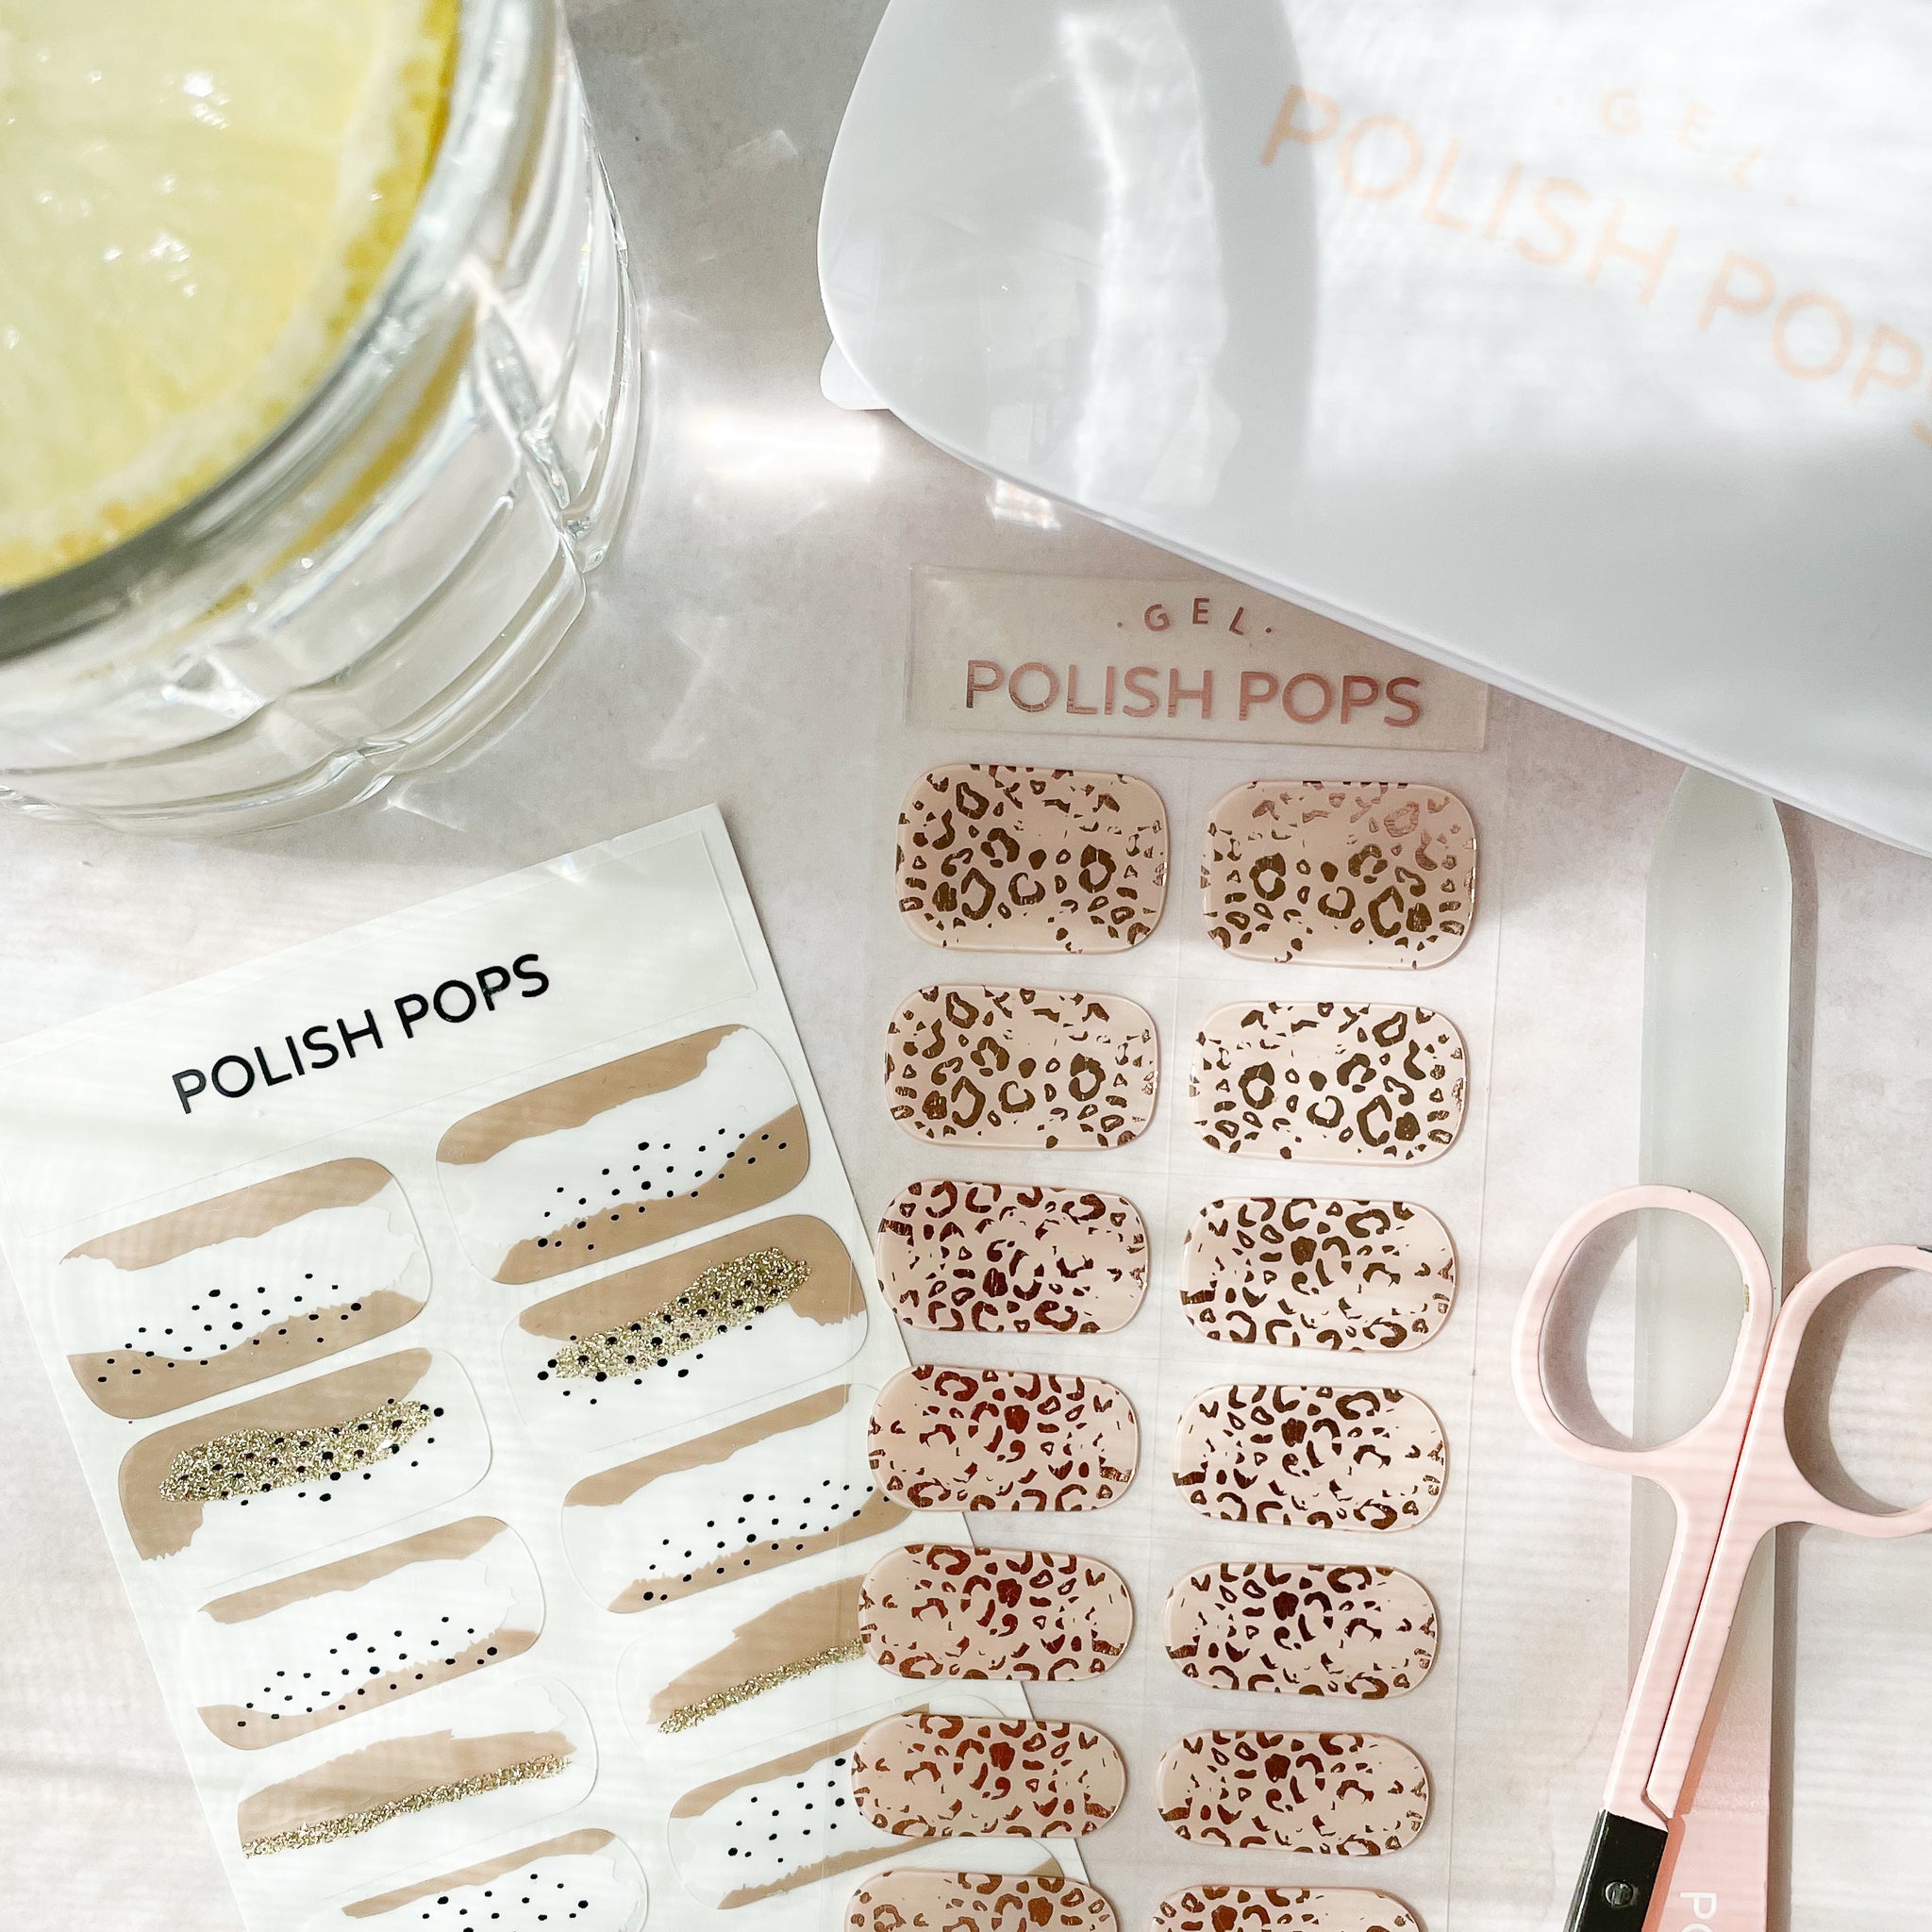
Quality and Variety With Polish Pops
We have a wide selection of nail wraps to choose from, all of which come in trendy designs that perfectly match your unique style. Made with actual nail polish and with a 14-free formulation, you can feel confident that Polish Pops nail wraps are safe to use and won’t compromise your health!
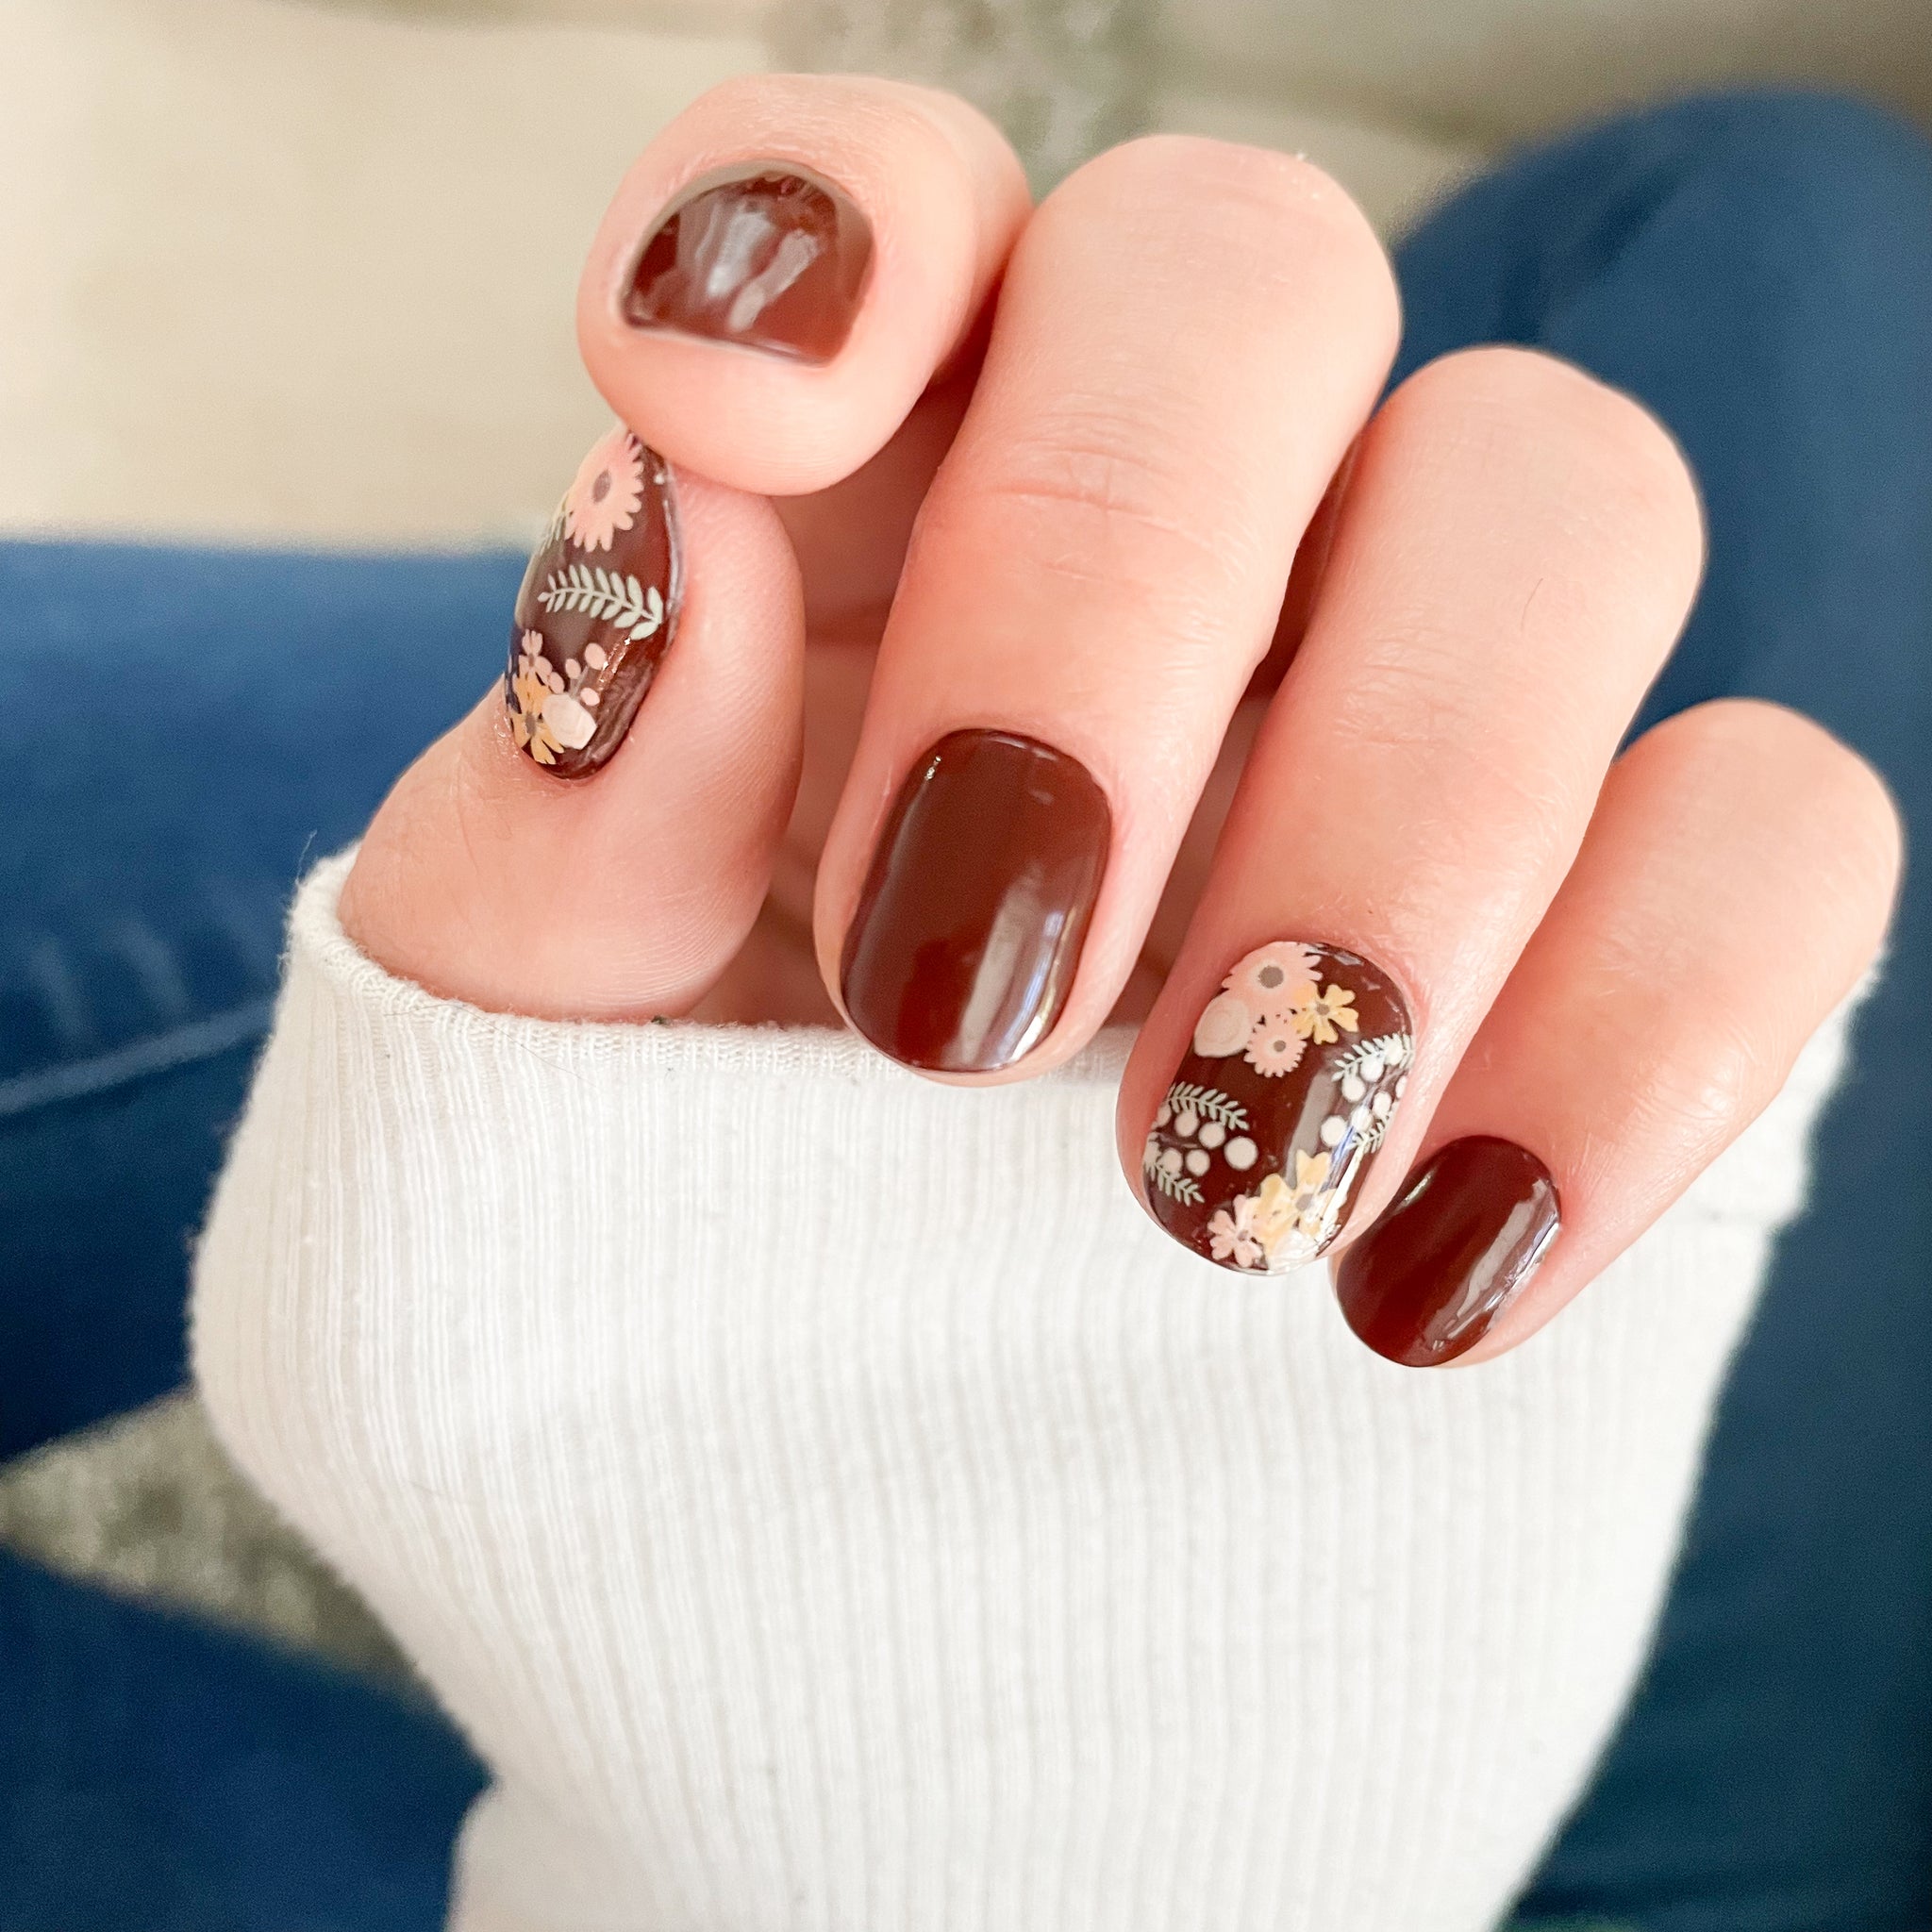
Browsing our site, you will find dozens of options available including stunning solid shades, holiday-themed designs, patterns, glitters, and many more.
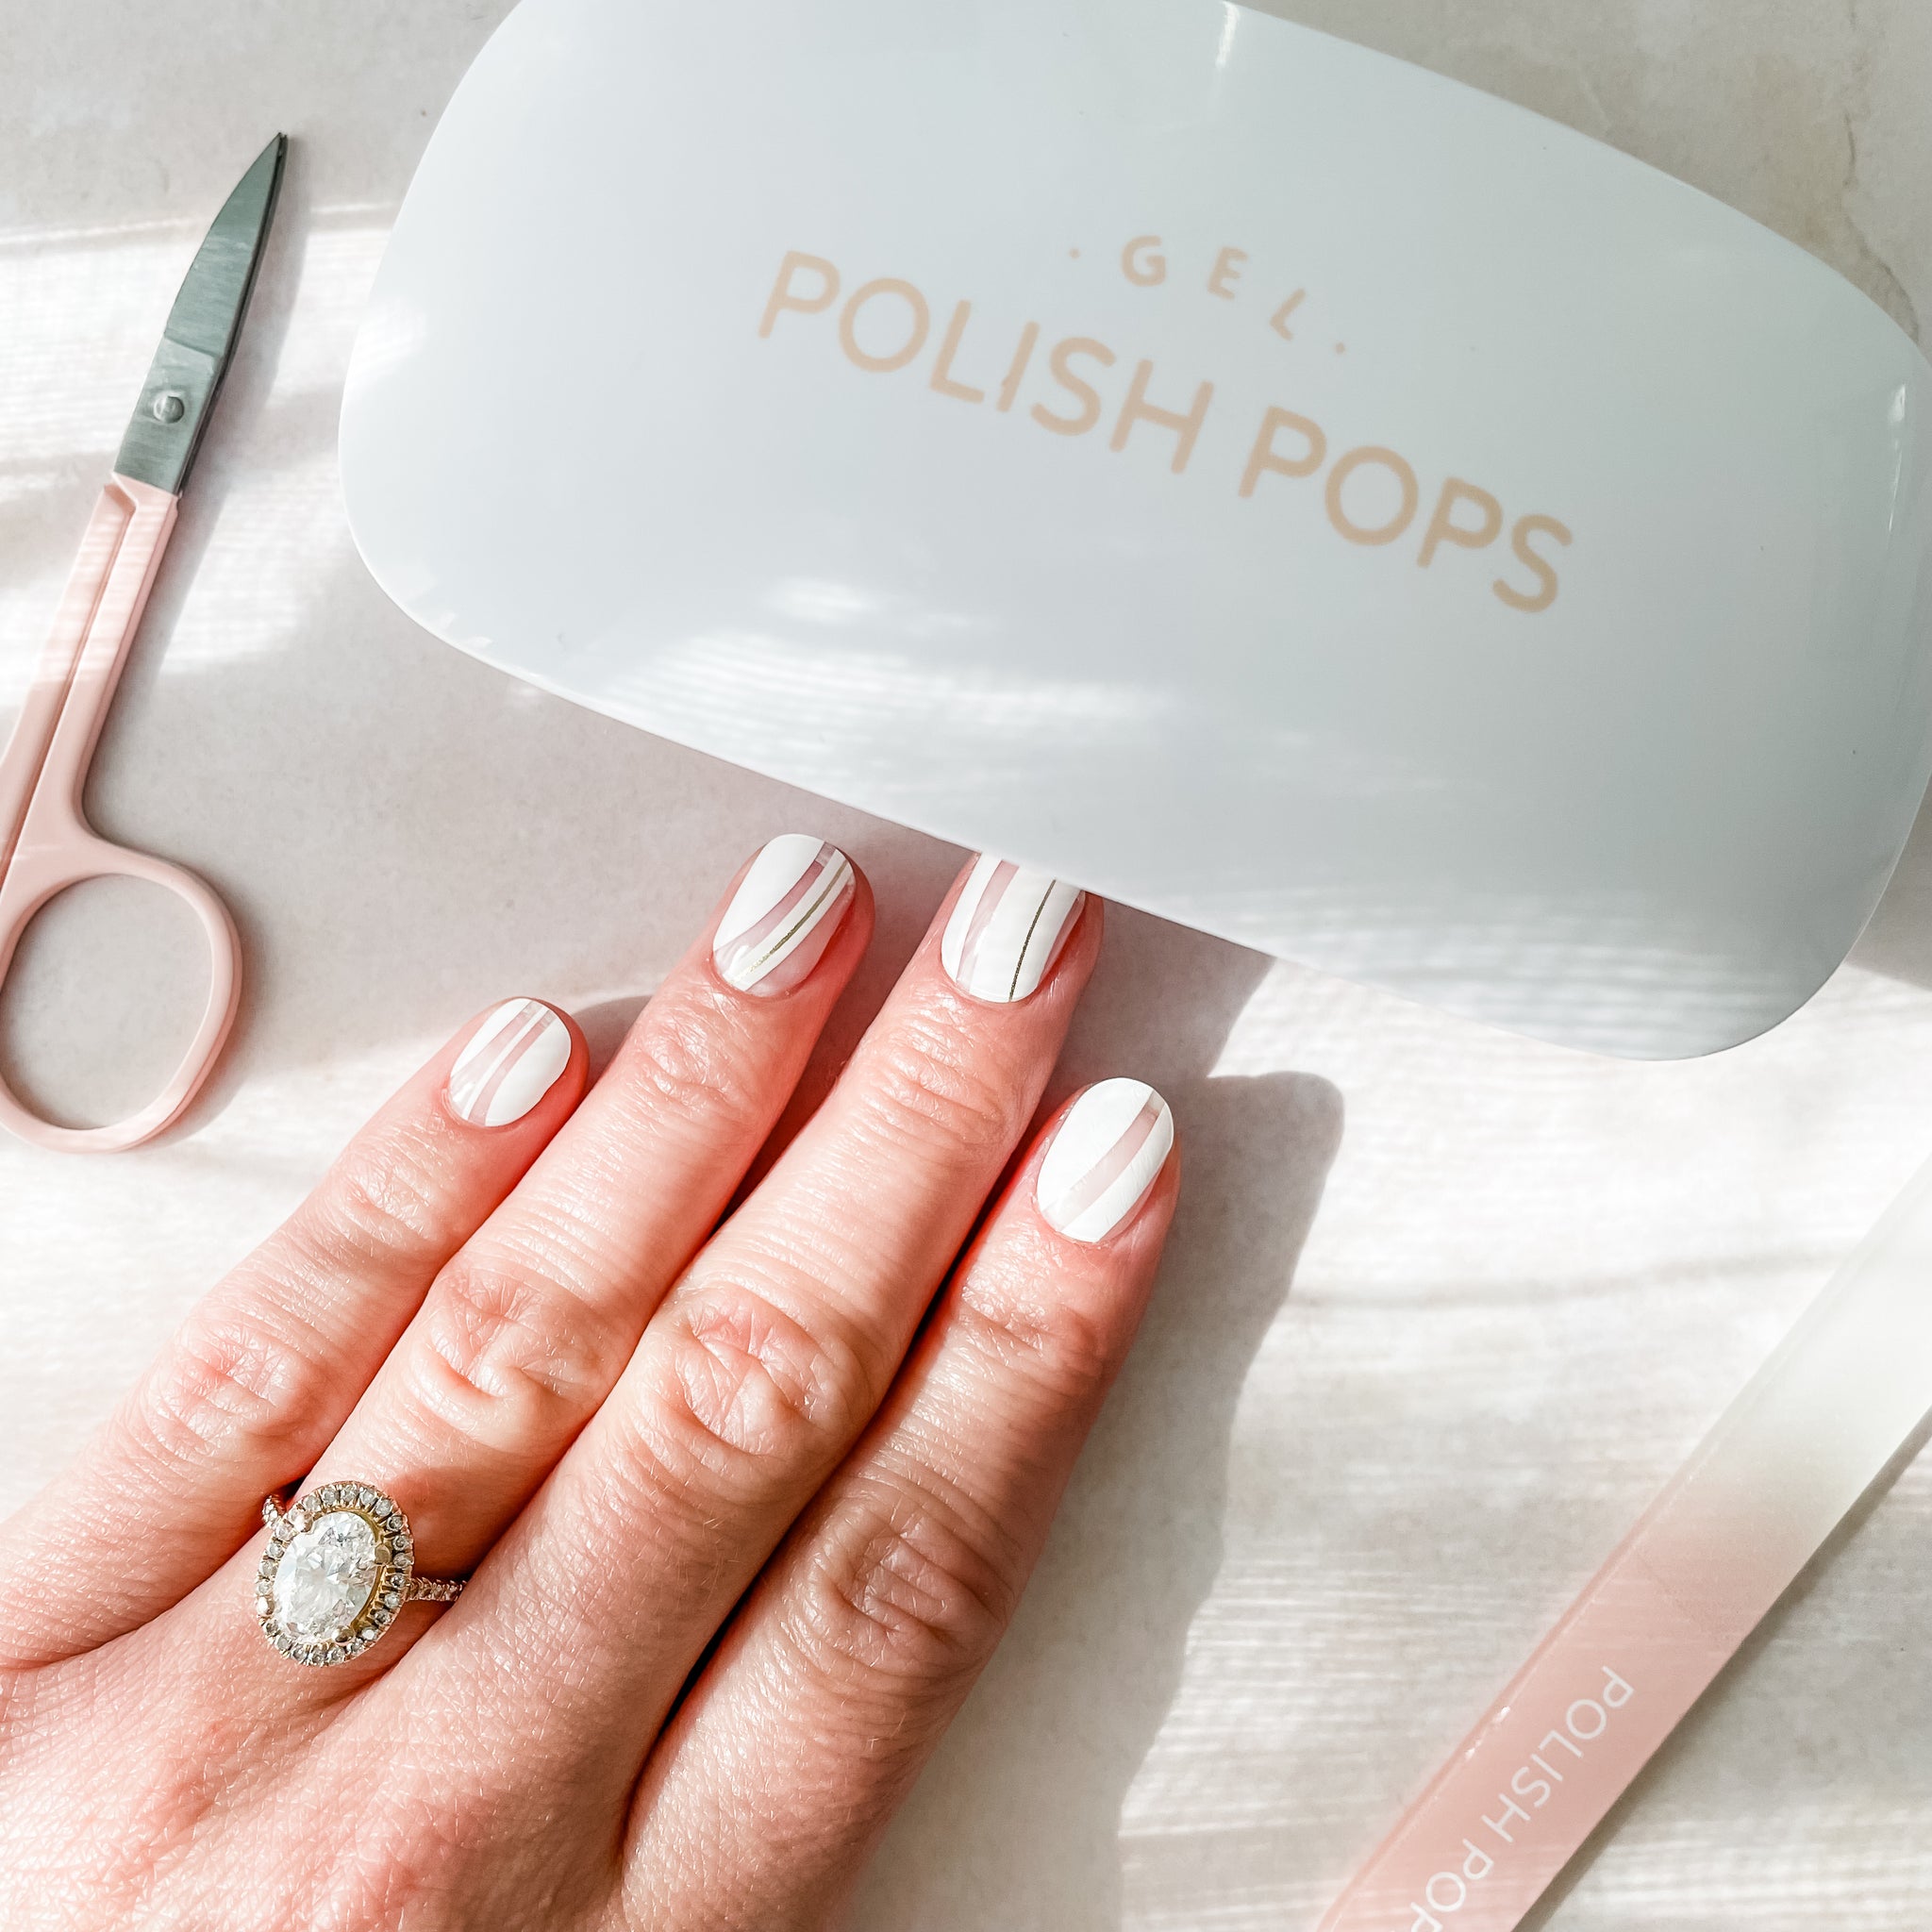
Long-Lasting and Effortless Application
Polish Pops are extremely easy to apply, leaving you with a fantastic-looking manicure in just minutes!
You don’t need to use harsh chemicals to apply or remove our nail wraps, but they still offer long-lasting results. Polish Pops nail wraps should last you at least a week or two–much longer than what your DIY nail wraps will last you!
The Cost and Time Efficiency of Polish Pops
You don’t need to make a mess in your home and end up with a lackluster manicure just because you want to DIY your own nail wraps to be more cost-effective.
Our products are all super affordable and feature gorgeous designs so you can still skip that expensive weekly trip to the salon! But, you can get better results in a fraction of the time when you purchase nail wraps from Polish Pops rather than make your own.
Final Thoughts on How to DIY Nail Wraps
You can make your own DIY nail wraps, but when you see all the effort you have to put in just to end up with a poor-looking manicure, you’ll wish you went with Polish Pops nail wraps instead.
Aside from our high-quality nail polish wraps, we also have the best semi-cured gel nail strips if you prefer the gel manicure look. Either selection comes in incredible, on-trend designs that will have everyone drooling over how good your manicure looks–plus they’re all vegan and cruelty-free.
Visit Polish Pops to see our vast selection of nail wraps and take home one–or a few–for yourself today!