There’s something exciting about mastering your own gel manicure - saving money, skipping the salon, and still getting that glossy, just-done finish, all without leaving the comfort of your home!
We’ll show you how to do gel nails at home with UV light, step by step. But the truth is, traditional gel isn’t exactly foolproof. It takes time, the margin for error is tiny, and one misstep can leave you with bubbles, peeling, or chipped polish by day two.
That’s why more and more people are switching to our unique take on gel nails here at Polish Pops. These semi-cured gel nail wraps are the smarter, faster way to get a salon-quality mani at home. Just peel, press, cure, and admire. No polish. No mess. No drama.
Curious? We’ll teach you how to do it the traditional way, but we’ll also show you how to do gel nails with UV light at home with our method. By the time you finish reading, you’ll never want to go back to doing your nails the old way!
How to Do Gel Nails at Home With UV Light
Ready to learn how to do gel nails at home with UV light? Let’s start with the basic supplies you’ll need to achieve that salon-quality manicure without leaving the house.
What You’ll Need to Get Started
Make sure you have all the right tools on hand so you don’t get halfway through the job and realize you’re not actually ready to do your own mani. You need much more than just polish:
- UV or LED curing lamp
- Gel base coat
- Gel nail color (1-2 shades)
- Gel top coat
- Nail file and buffer
- Cuticle pusher
- Lint-free pads
- Alcohol or gel cleanser
- Optional: nail primer or dehydrator for better adhesion
Step 1: Prep Your Nails for Long-Lasting Wear
Nail prep can make or break your DIY gel manicure. You want to create a clean, slightly textured surface so the gel has something to grip. So, start by trimming and filing your nails into your preferred shape. Gently push back your cuticles with a cuticle stick or pusher.
Then, buff the surface of your nails lightly to remove shine - but don’t overdo it. The goal is a matte surface, not damage. Wipe each nail with an alcohol pad or gel cleanser to eliminate oils, dust, or residue.
This step sets the foundation, so don’t skip or rush it - even the best gel won’t stay put if you don’t take your time here.
Step 2: Apply a Thin Layer of Base Coat and Cure
Base coat creates the bond between your natural nail and the gel. Apply a very thin layer across each nail, being careful not to flood the cuticle or edges. Emphasis on thin! Too thick a layer will cause wrinkling or uneven curing.
Avoid skin contact. Make sure you wipe any excess with a brush or stick before curing, otherwise, it’ll be hard to get off your skin. Then, cure this base layer under your UV or LED lamp for 30-60 seconds, depending on your lamp’s strength.
Your base coat should look smooth and glassy when cured. If it’s sticky or runny, you either applied too thick a base layer or didn’t give it enough time to cure. You’ll be back to square one!
Step 3: Layer on Gel Color and Cure Between Coats
This is where your manicure comes to life, but again, patience is a virtue here. Gel color requires patience and control. Apply a thin, even layer of color. Start in the center of the nail, then sweep to the sides.
Then, cap the free edge by swiping the brush across the tip. This will go a long way in helping to prevent the gel from chipping. Cure after each layer. Most colors require two coats for full opacity.
Avoid shaking the bottle before use (this creates bubbles), and stir gently instead if needed.
Step 4: Seal It In With a Top Coat
Now comes the last step in how to do gel nails at home with UV light: sealing it all in with one final coat. This is where you lock everything in and get that salon shine.
Apply a generous but controlled layer, again capping the tip. Be sure to fully cover the color without dragging or pulling it. One final cure (usually 60 seconds) and you’re good to go!
If your top coat has a tacky layer after curing, wipe it clean with alcohol and a lint-free pad. Some top coats are “no-wipe” formulas, which means they’re fully dry post-cure.
Common Mistakes to Avoid When Doing Gel Nails at Home
If you followed our advice on how to do gel nails with UV light at home to a T, you should be blown away by how beautiful your nails are at this point. But it’s fairly rare to get that stunning, salon-quality manicure the first time around. Here are some common missteps we see:
- Skipping prep: Dirty or oily nails = guaranteed lifting.
- Too much product: Thick layers don’t cure well and lead to wrinkles or premature peeling.
- Not capping the free edge: This small step makes a huge difference in longevity.
- Rushing the cure time: Under-cured gel will feel soft and peel early. Always follow your lamp’s guidelines.
- Touching the skin or cuticles: Gel needs to stay on the nail plate only. Contact with skin causes lifting or chipping within days.
Even when you follow every step perfectly, gel nails still take time and even more time to remove. Which brings us to something much smarter…
Introducing a Simpler Way to Do Gel Nails at Home
Love the look of gel nails but not the hassle? Say hello to Polish Pops. We’ve brought the same philosophy that made our nail wraps so popular and added a gel twist to it.
Our semi-cured gel nail wraps give you everything you love about salon gel - high shine, long wear, smooth finish - without the downsides. That means no mess, dry time, and of course, no trial and error trying to learn how to do gel nails at home with UV light.
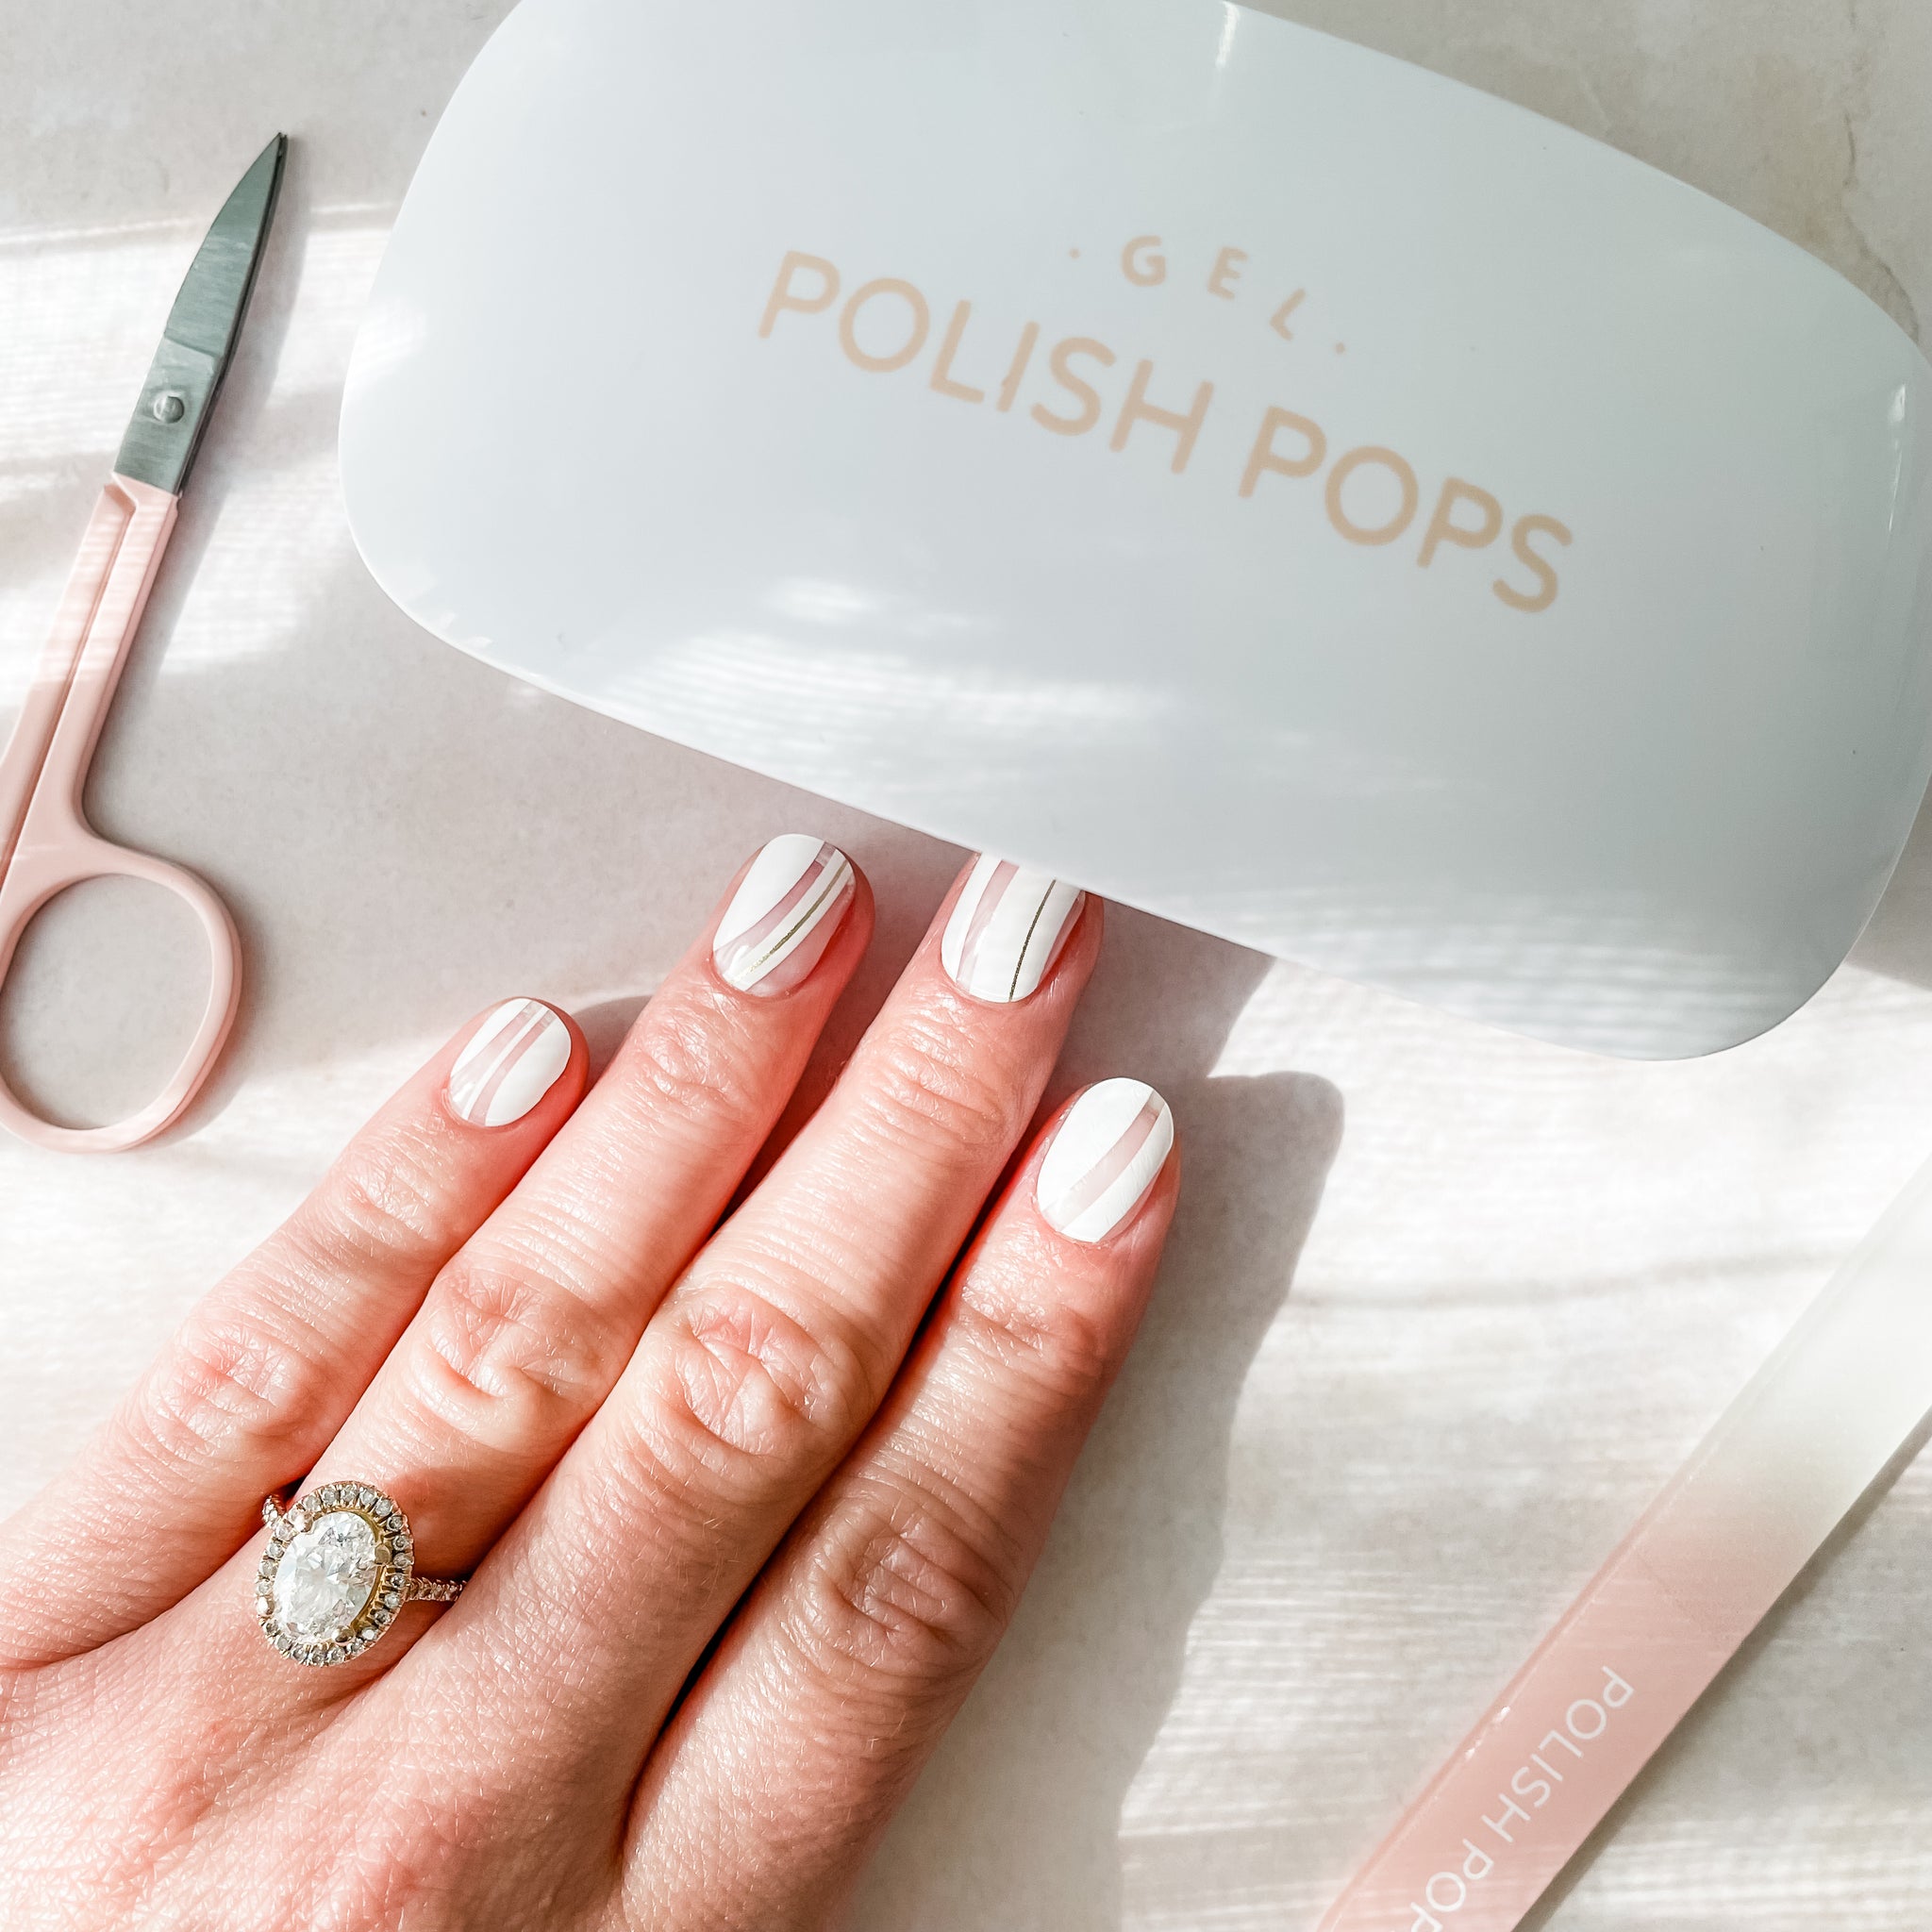
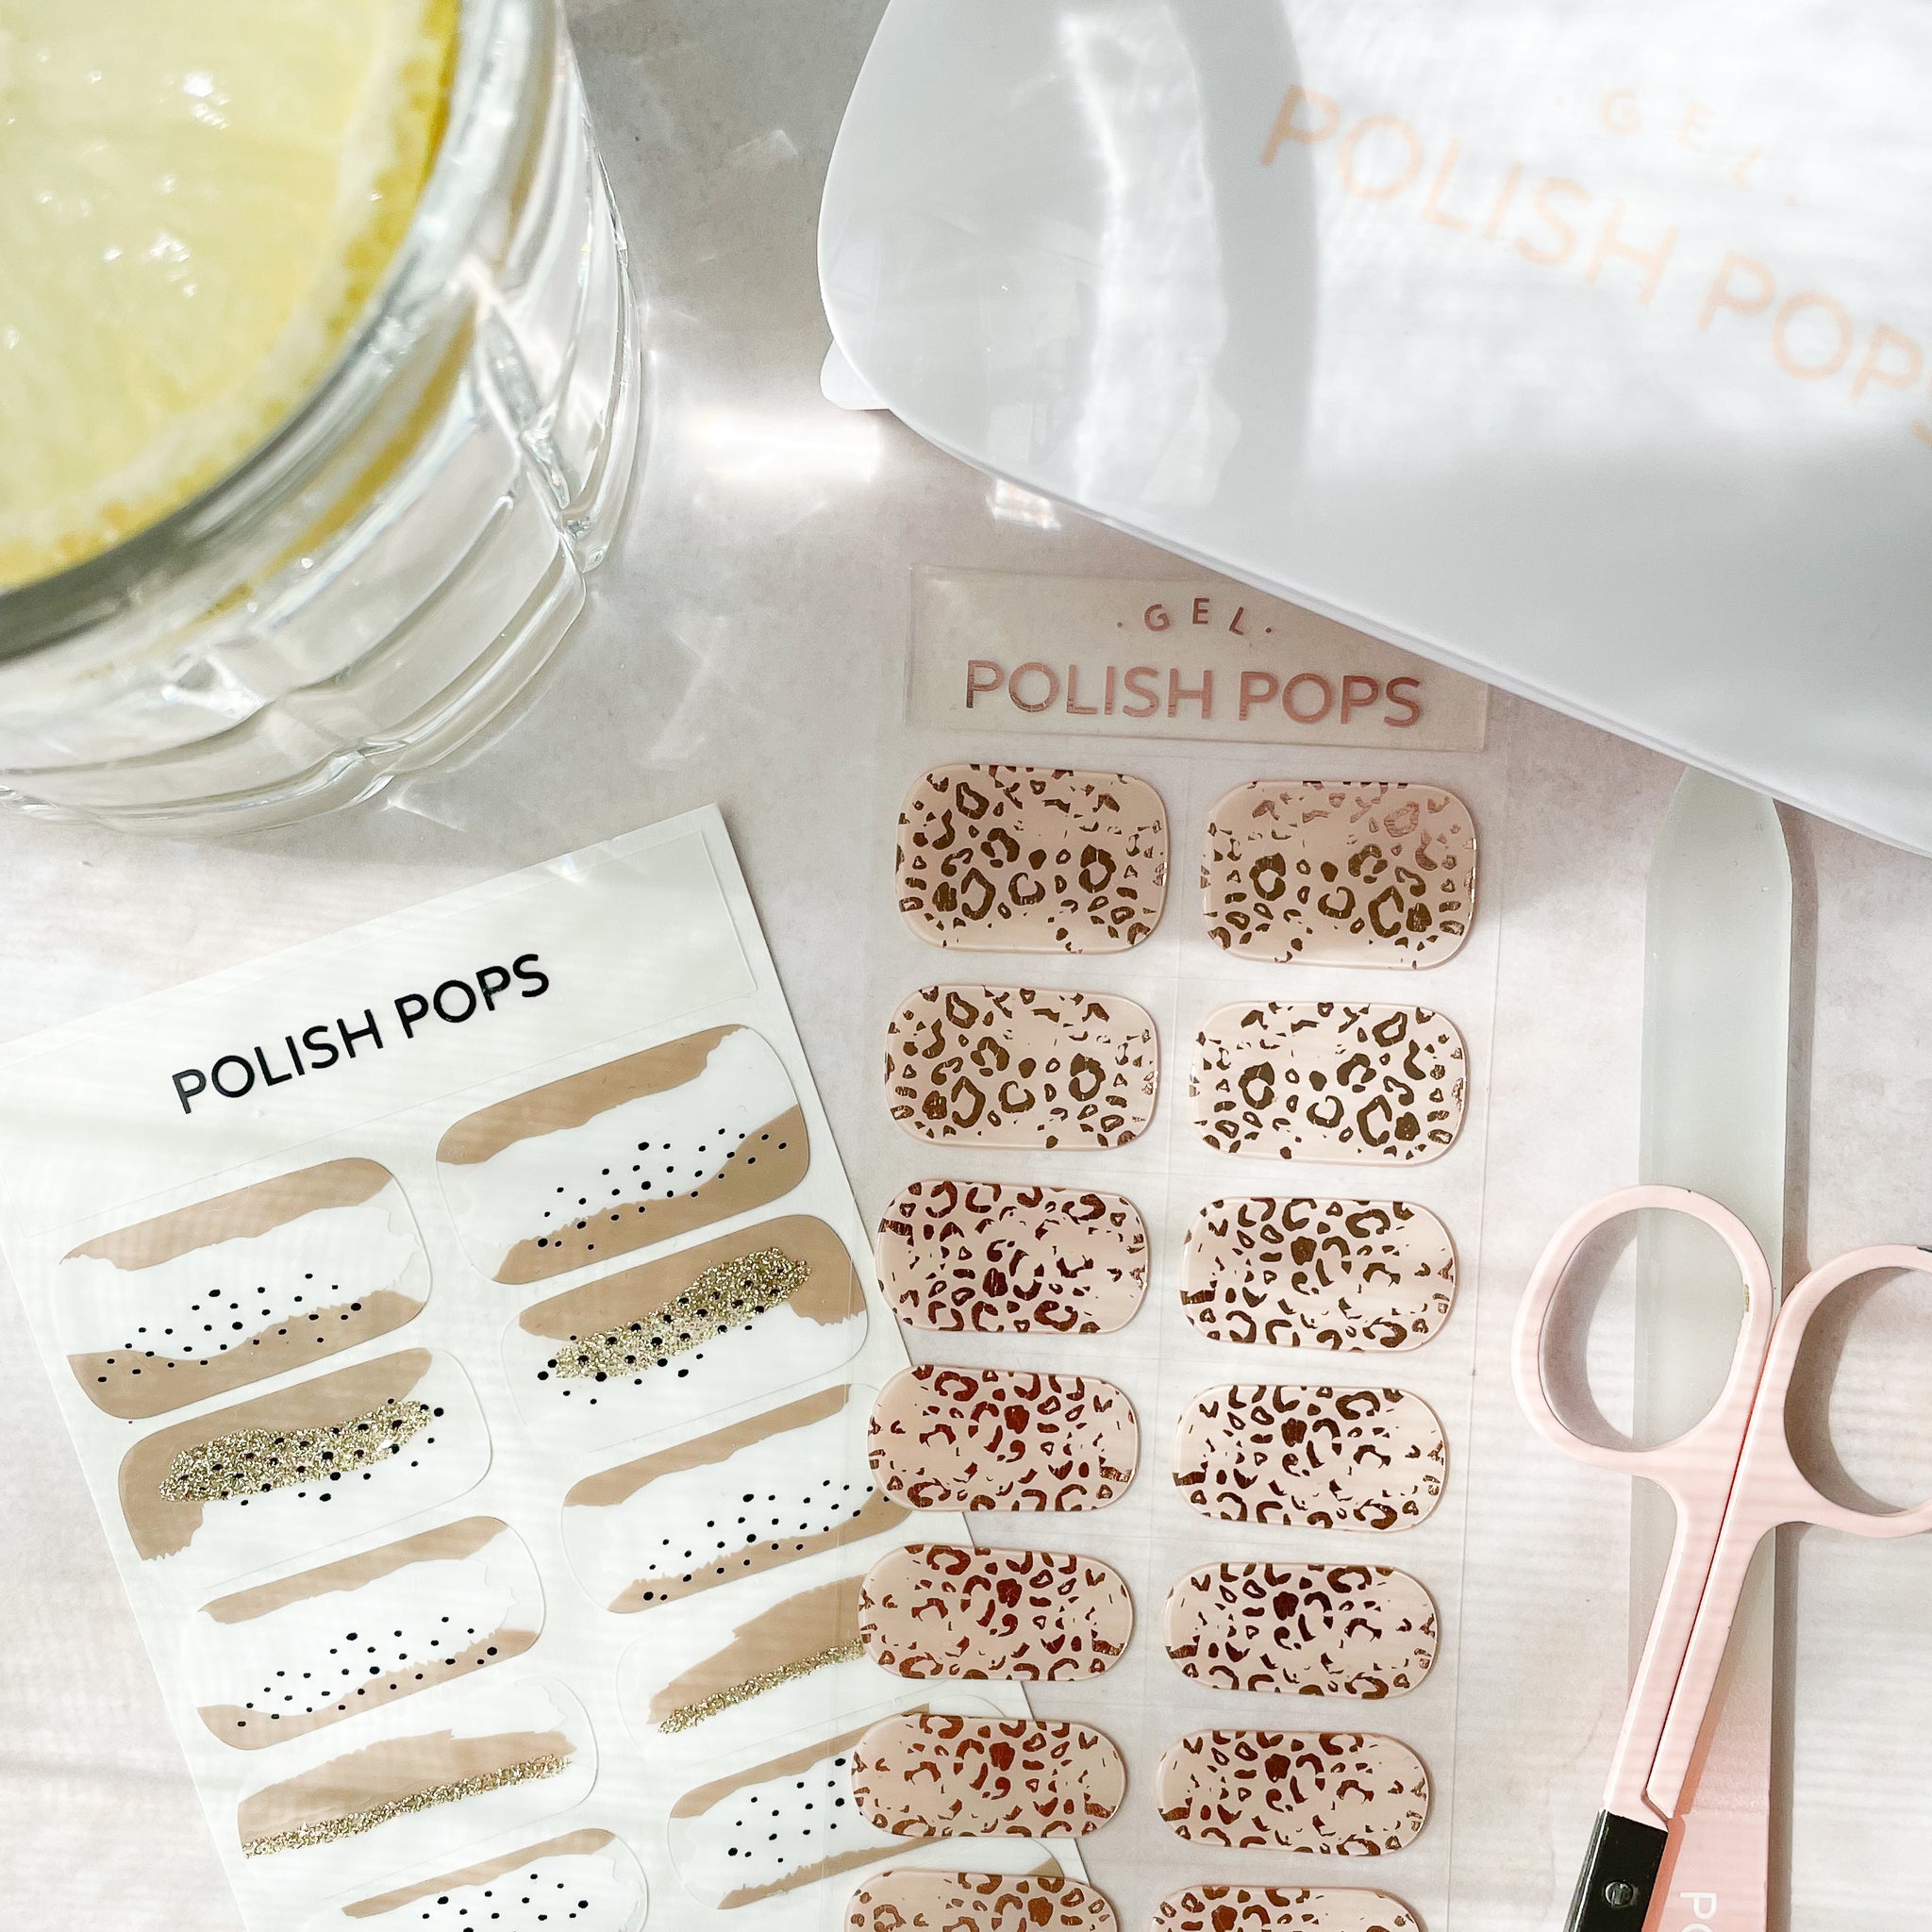
Our nail kit makes it so easy to get started, too. You get everything you need to create a salon-quality manicure at home in minutes. Here’s how it works:
- Prep with the cuticle stick and clean the nail with the included prep pad.
- Apply a wrap that’s slightly smaller than your nail, press it into place, and smooth it out with the stick.
- Trim the excess with nail scissors.
- Cure under the mini lamp for just 60 seconds.
- File the edges to finish, and voilà. Glossy, chip-free nails that last up to 14 days.
Five simple steps stand between you and a stunning DIY manicure at home. No painting, drying, damage, or frustration with the final product. You’ll be blown away - just see what others had to say:
“Better than expected! I have tried gel polish nails at home and they were such a pain to remove. I had to remove these (which was a breeze with the cuticle oil) because they were growing out! They didn’t snag my hair or even remotely start to come off on their own.” - Cynthia
“I did a full mani sitting on my front porch swing! It was super easy and i’ve been getting tons of compliments about how good it looks!” - Amy
“Got my Gel Pops kit...came with EVERYTHING needed to give myself the perfect manicure. So easy and just a professional appearance. My favorite thing about ordering was that I got to pick my gels! Take all my money!” - Resa
Whether you go with Polish Pops vs Color Street, you’re making a serious upgrade from doing your own nails the traditional way. Why work smarter when you could work harder? Let’s quickly talk removal, as that’s just as important as knowing how to do gel nails at home with UV light.
Tips on Removing Your Gel Nails at Home When the Time Comes
We know you came here to learn how to do gel nails at home with UV light, but the removal process is just as important. This is where a lot of damage can be done to the underlying nail, so it shouldn’t be taken lightly.
Start by filing off the shiny top coat as this helps the acetone penetrate. Then soak cotton pads in pure acetone, place them over your nails, and secure with foil or nail clips.
Wait 10-15 minutes, then gently push off the softened gel with a wooden stick. Follow up with a buffer to smooth the surface and apply cuticle oil to restore moisture. Pretty simple, right? Well, let’s look at some of the common mistakes we see made in the removal process:
- Don’t pick or peel - this pulls up layers of your natural nail.
- Don’t scrape aggressively, especially with metal tools.
- Don’t skip rehydration after removal. Your nails need it.
Taking shortcuts here often leads to thin, damaged nails that take weeks to recover. But some of the damage from traditional gel nails is inevitable. Again, it can be so much easier and gentler when you upgrade to our gel nail strips!
Just apply cuticle oil around the edges, gently slide the wooden stick underneath, and lift the wrap off. No acetone, scraping, or stress. Your nails stay strong and intact, even after repeat sets. So, what are you waiting for?
Start Perfecting Your At-Home Gel Manicures Today With Polish Pops!
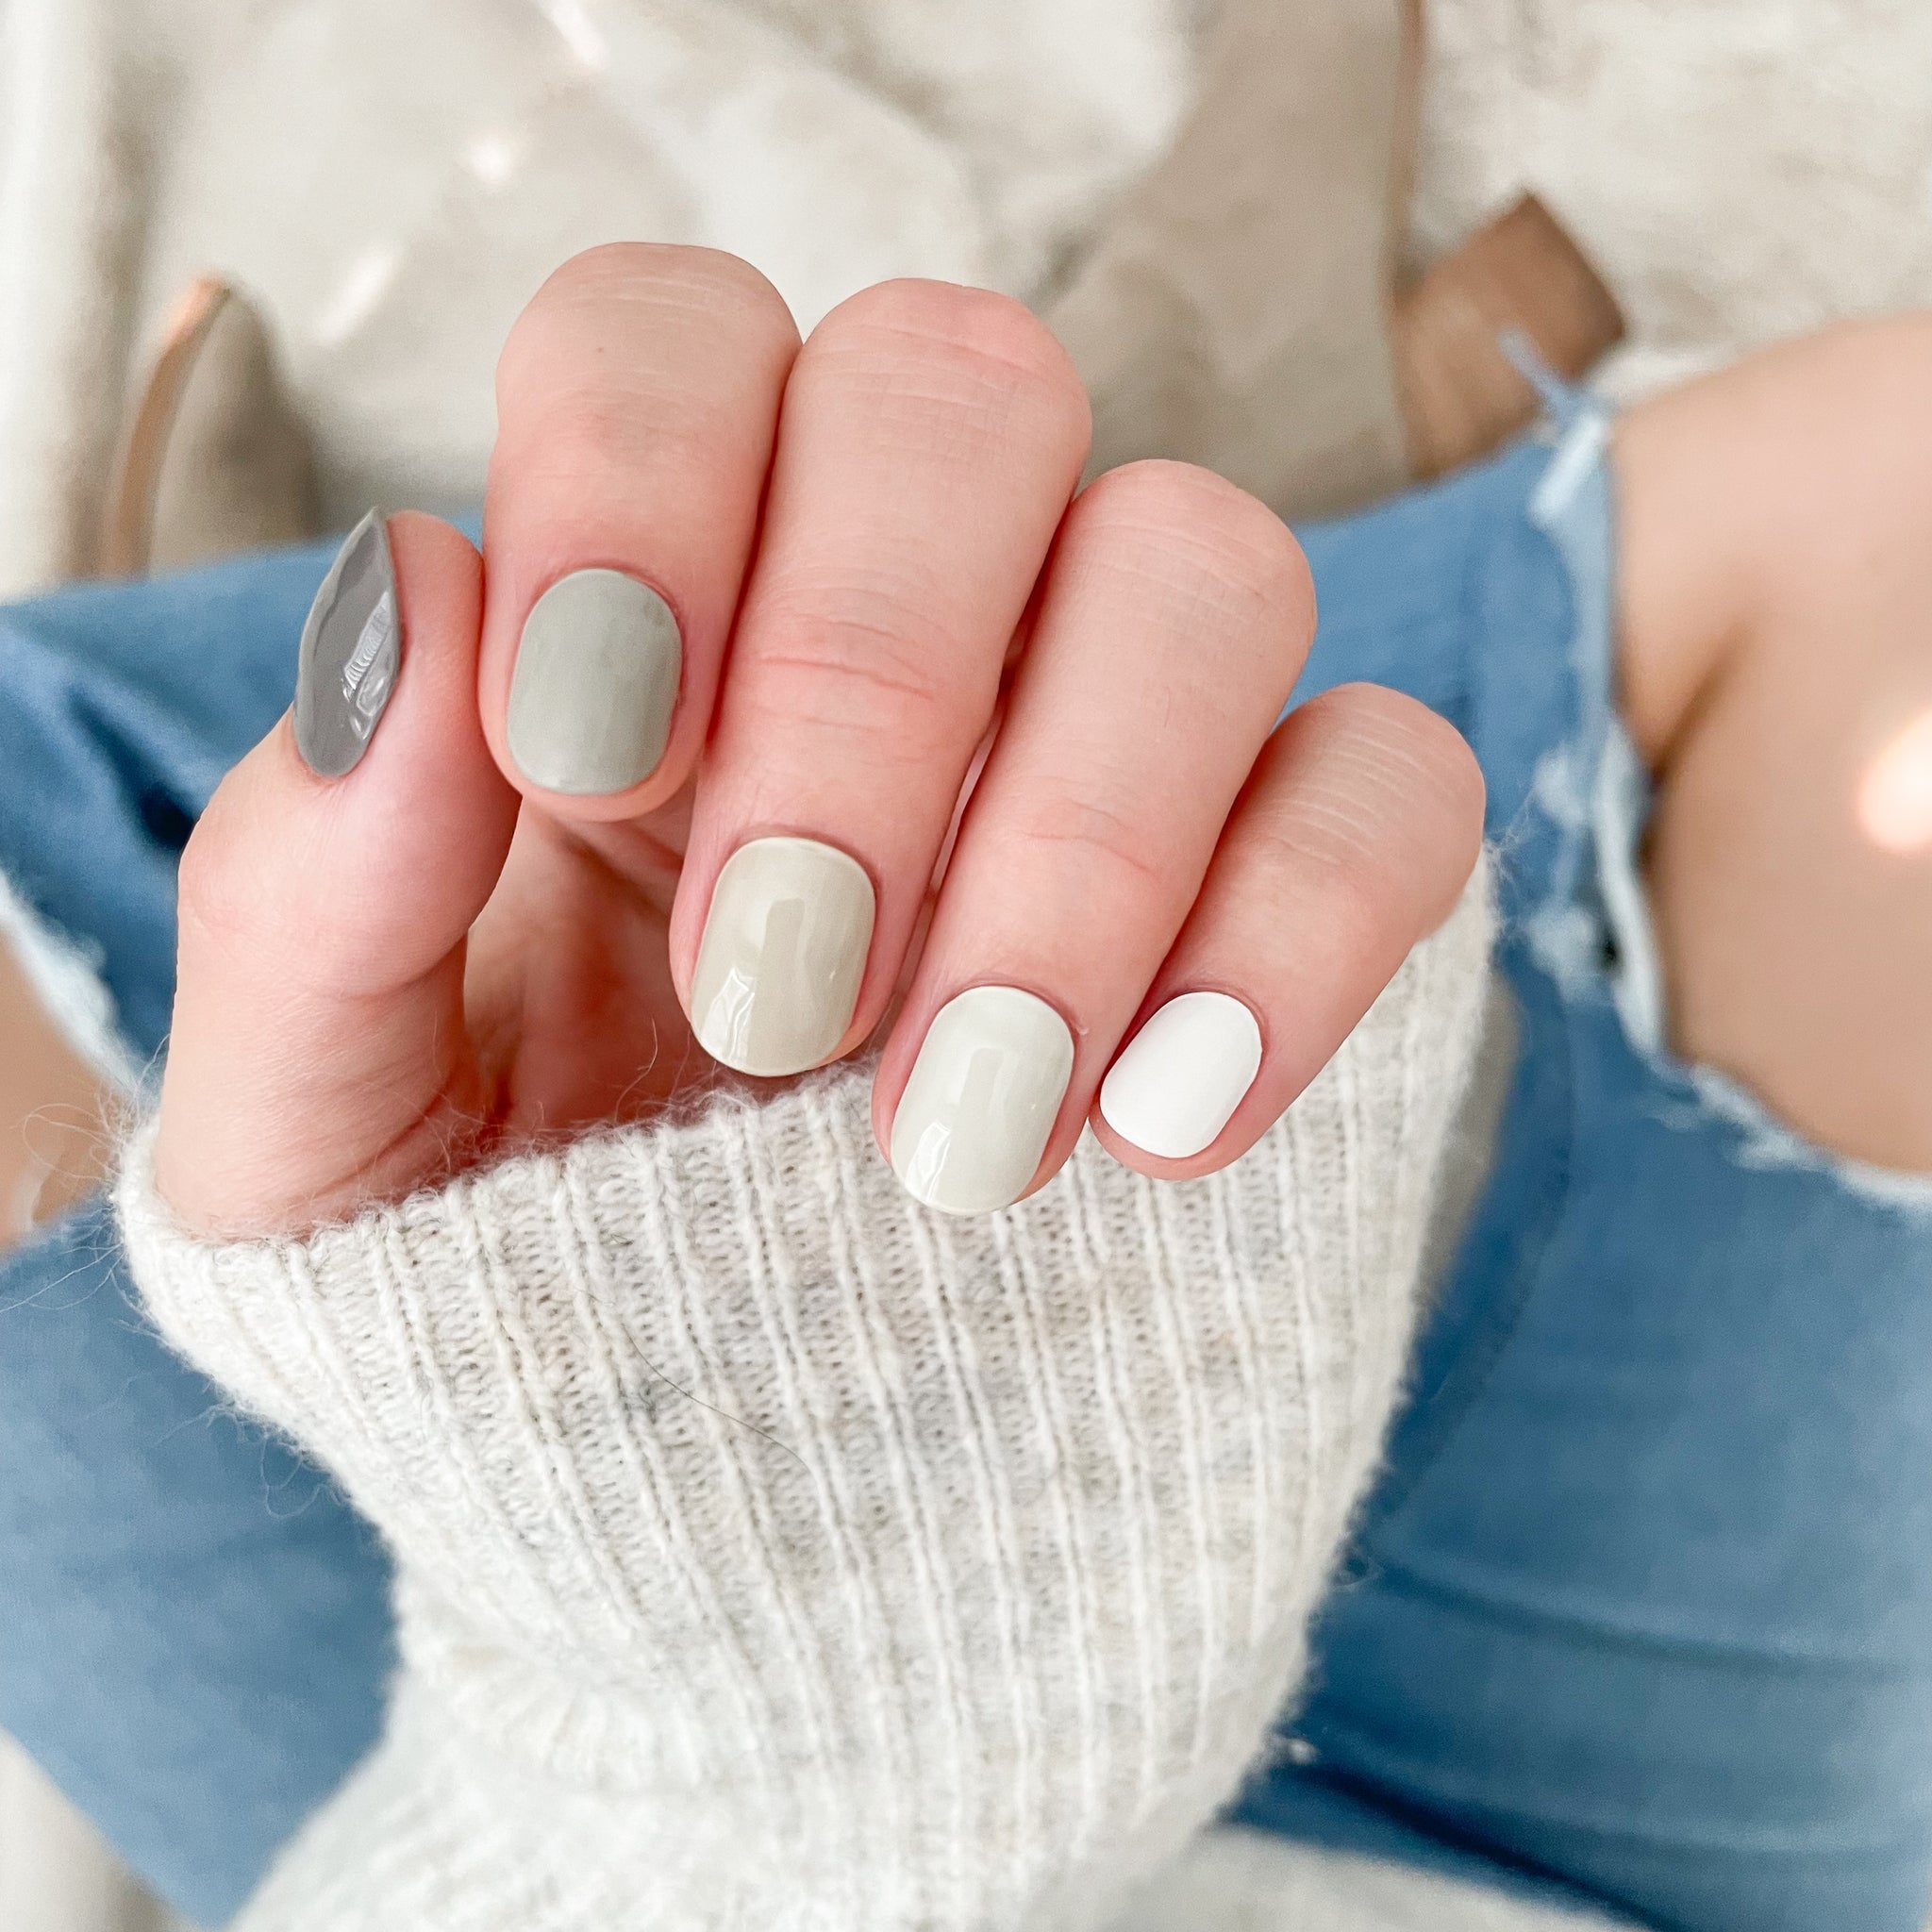
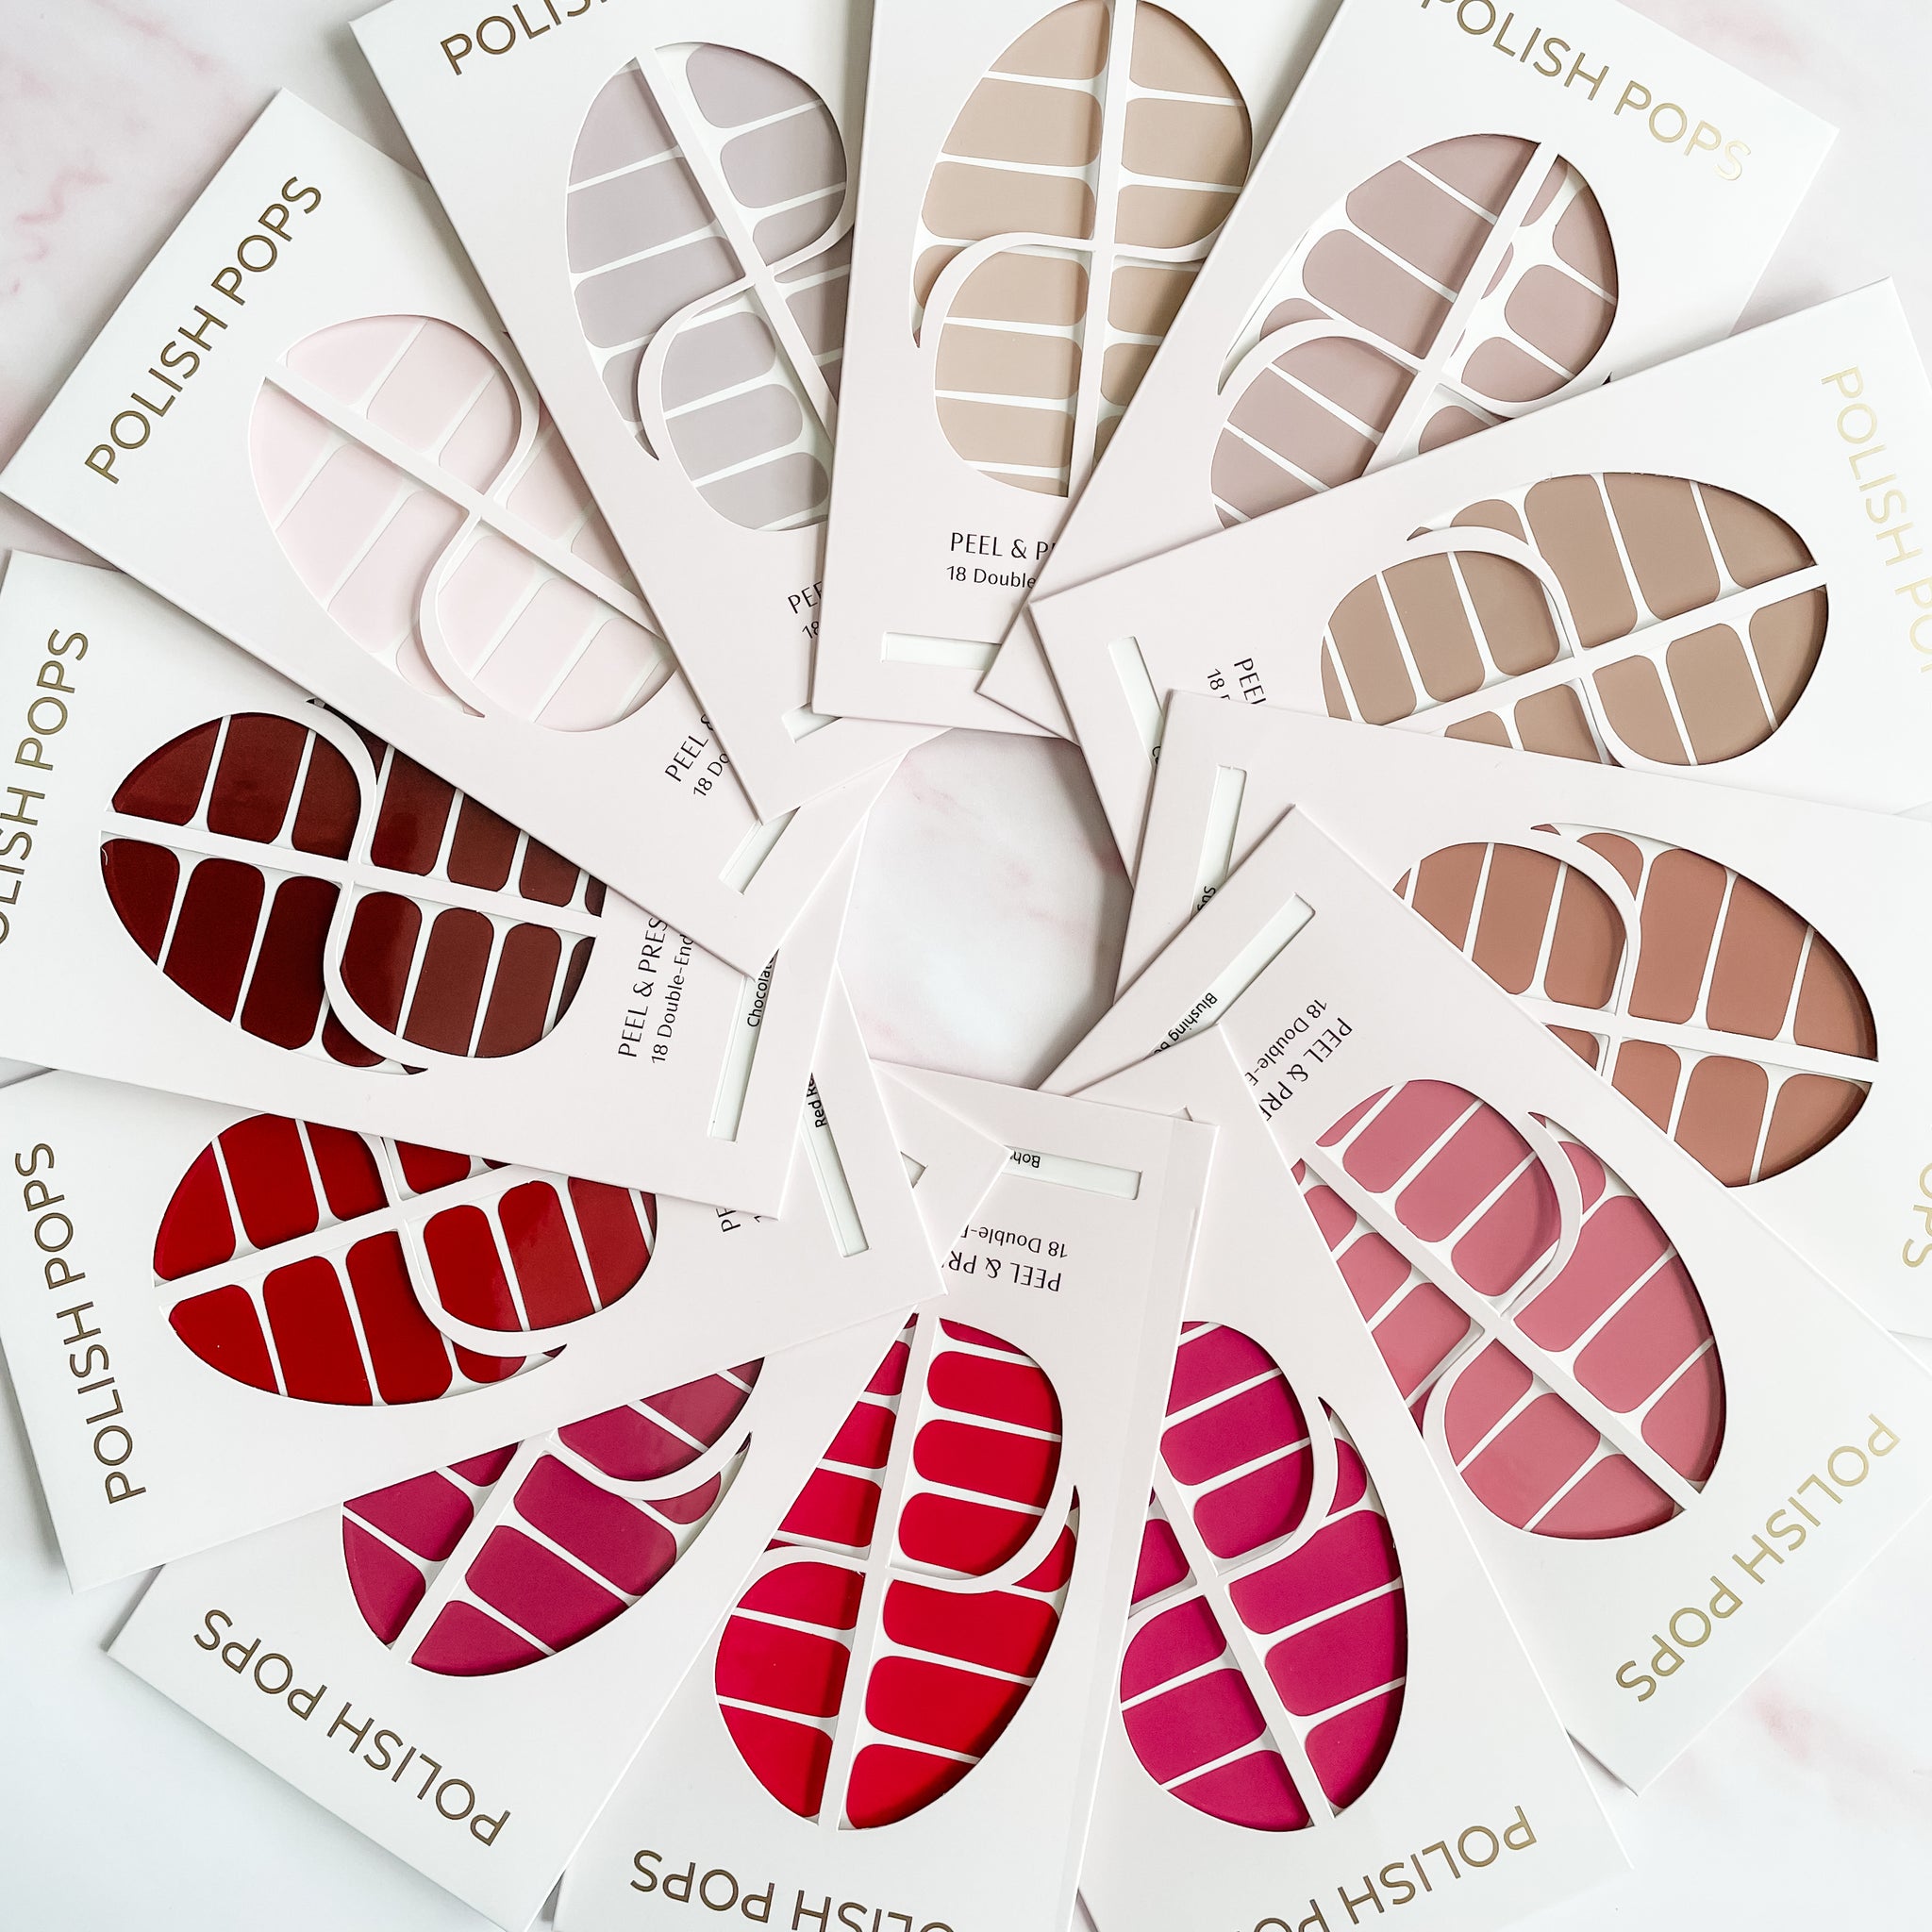
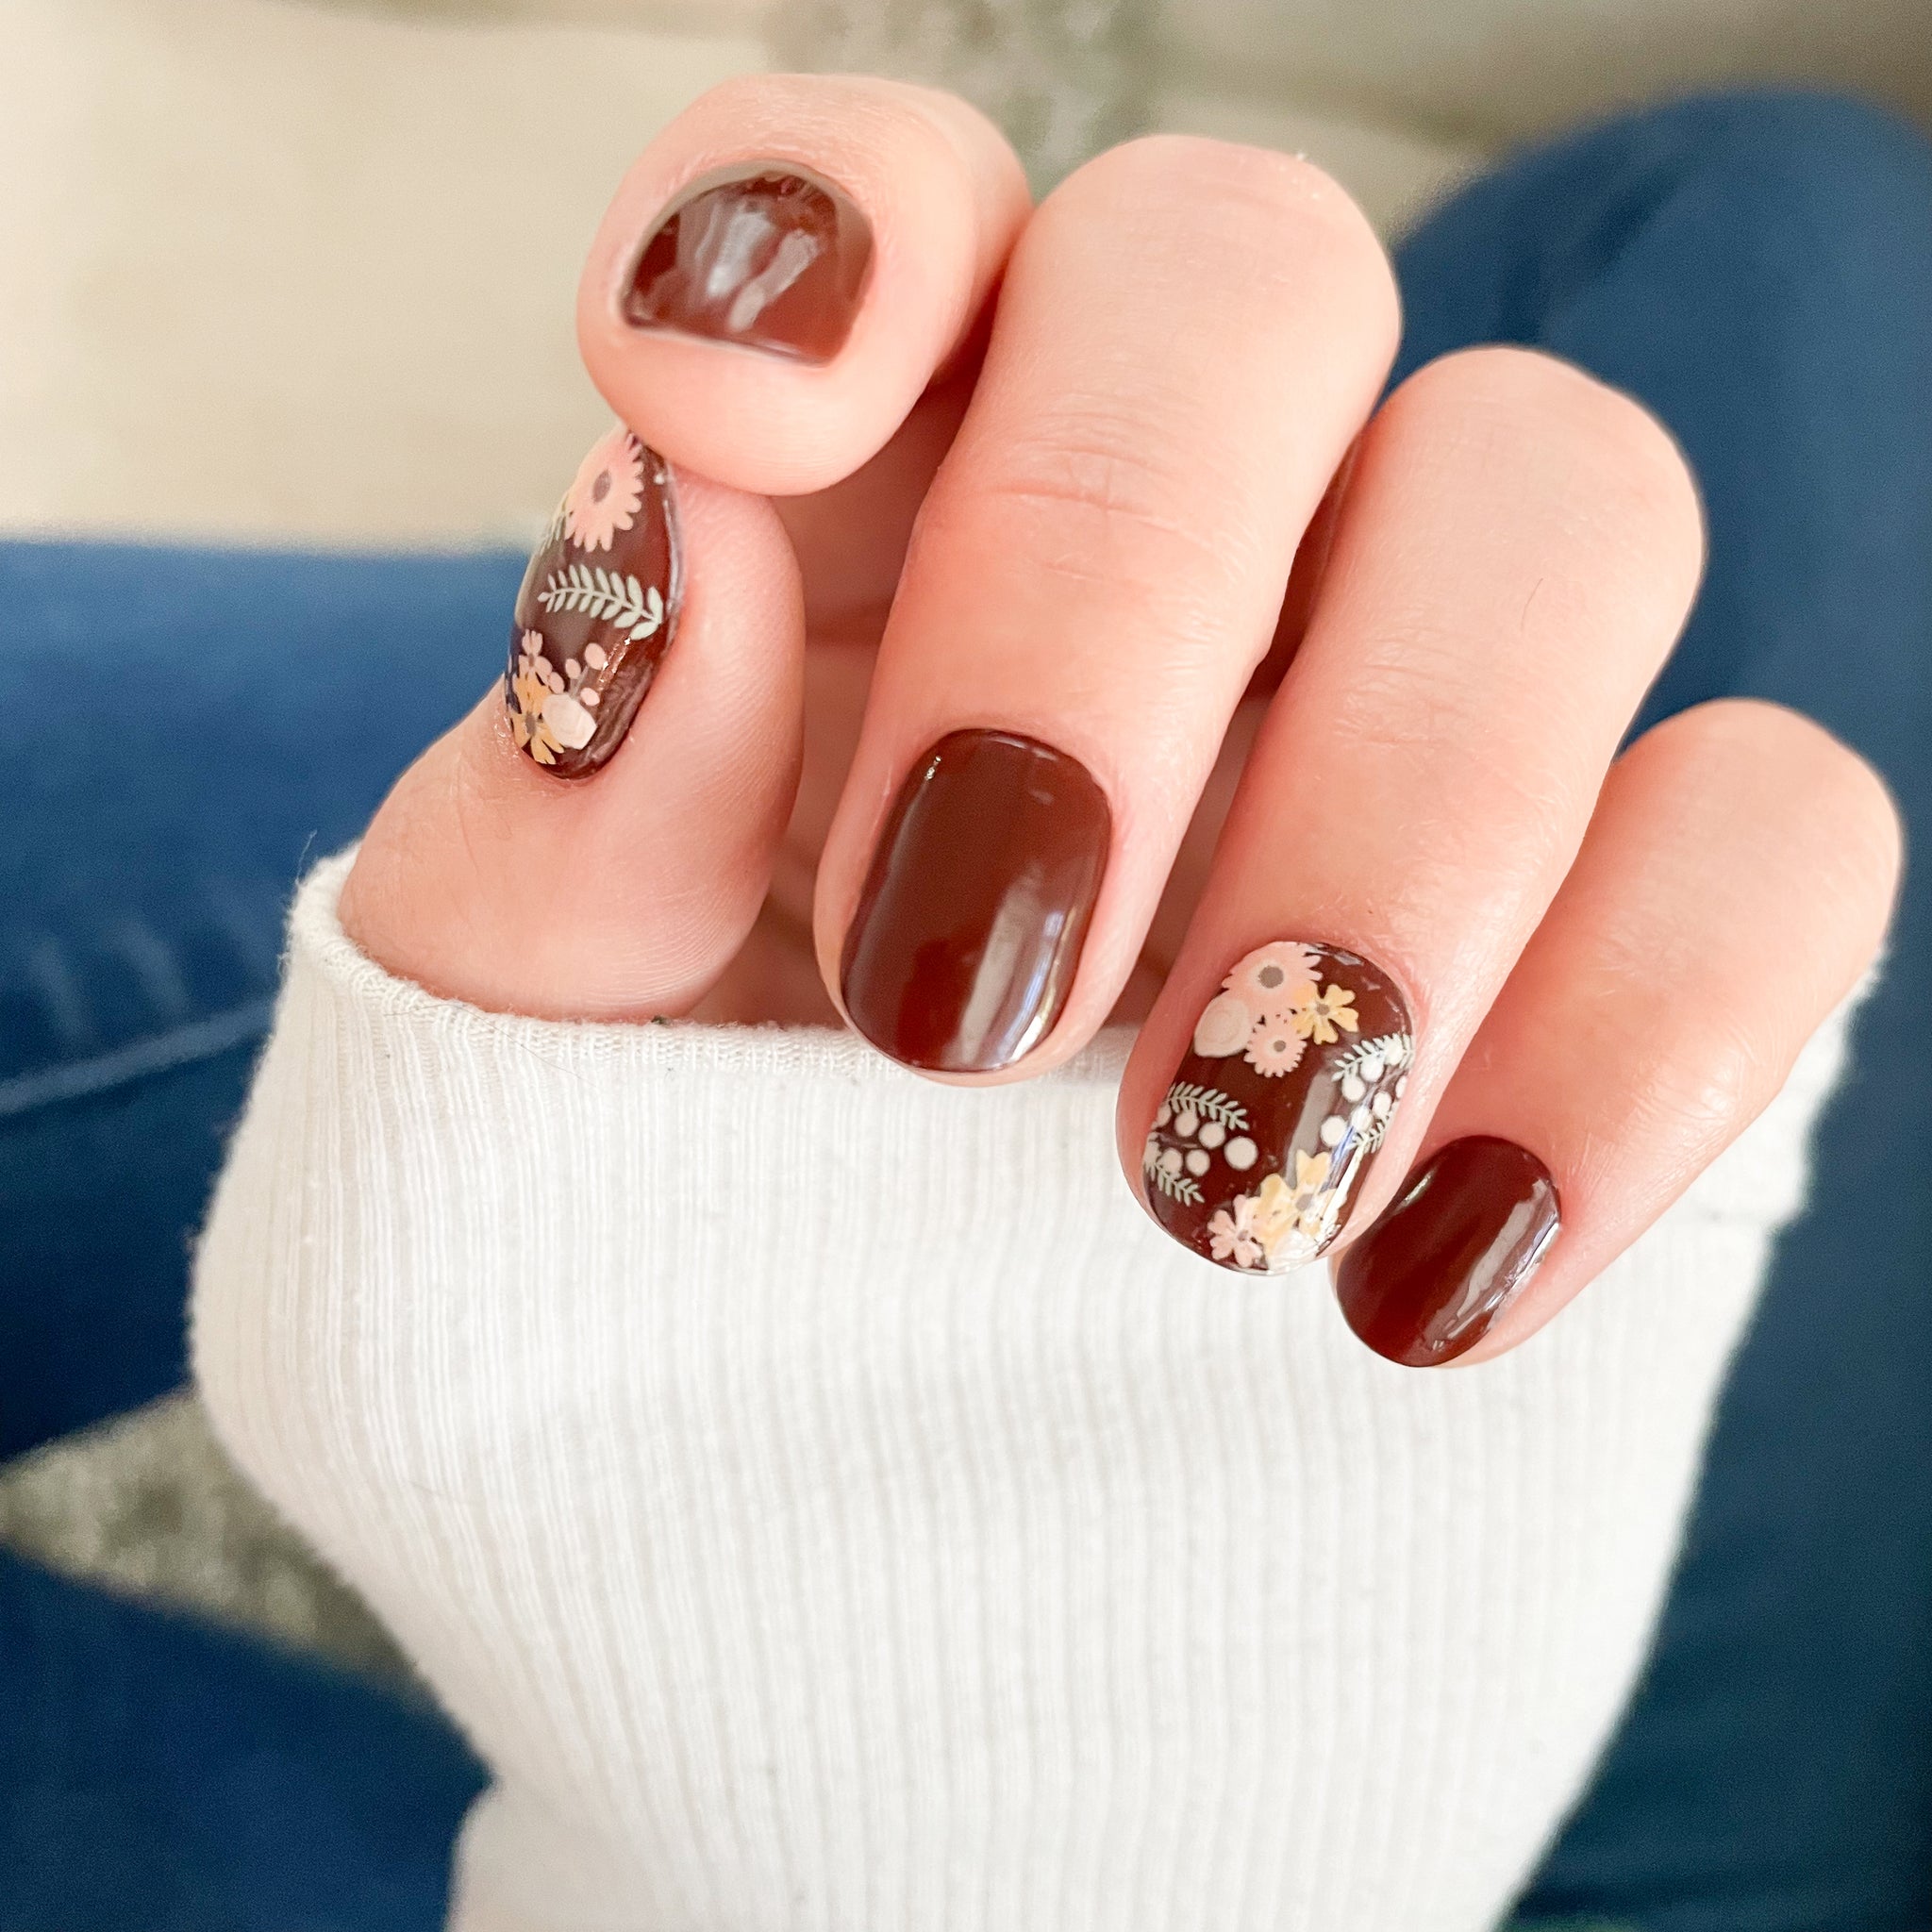
Polish Pops isn’t just about convenience. You get options without trade-offs. We offer over 100 curated designs, from barely-there sheers to bold glitters, all with a high-gloss gel finish that lasts.
Our wraps are 14-free, HEMA-free, vegan, and cruelty-free, so your beauty routine feels just as good as it looks. You never have to compromise on nail health to show off a stunning manicure!
You also don’t need tools, professional skills, or hours of free time. Just your hands, a lamp, and a few minutes. Thousands have already made the switch. You don’t have to settle anymore - upgrade your at-home manicures today!
Final Words on How to Do Gel Nails With UV Light at Home
That does it for our guide on how to do gel nails at home with UV light. It’s totally doable with the prep, patience, and tools - along with a bit of trial and error, of course.
Still, traditional gel can be time-consuming, messy, and hard on your nails - even when you follow our guide on how to do gel nails with UV light at home! Why not join plenty of others who are switching to smarter, simpler alternatives like Polish Pops semi-cured gel wraps?
Our blog has more resources on topics like gel vs dip nails or how to apply gel nail strips for an in-depth look at the application process. Otherwise, a better alternative to gel nails is just a click away at Polish Pops. Get salon-quality results without the steep learning curve today!