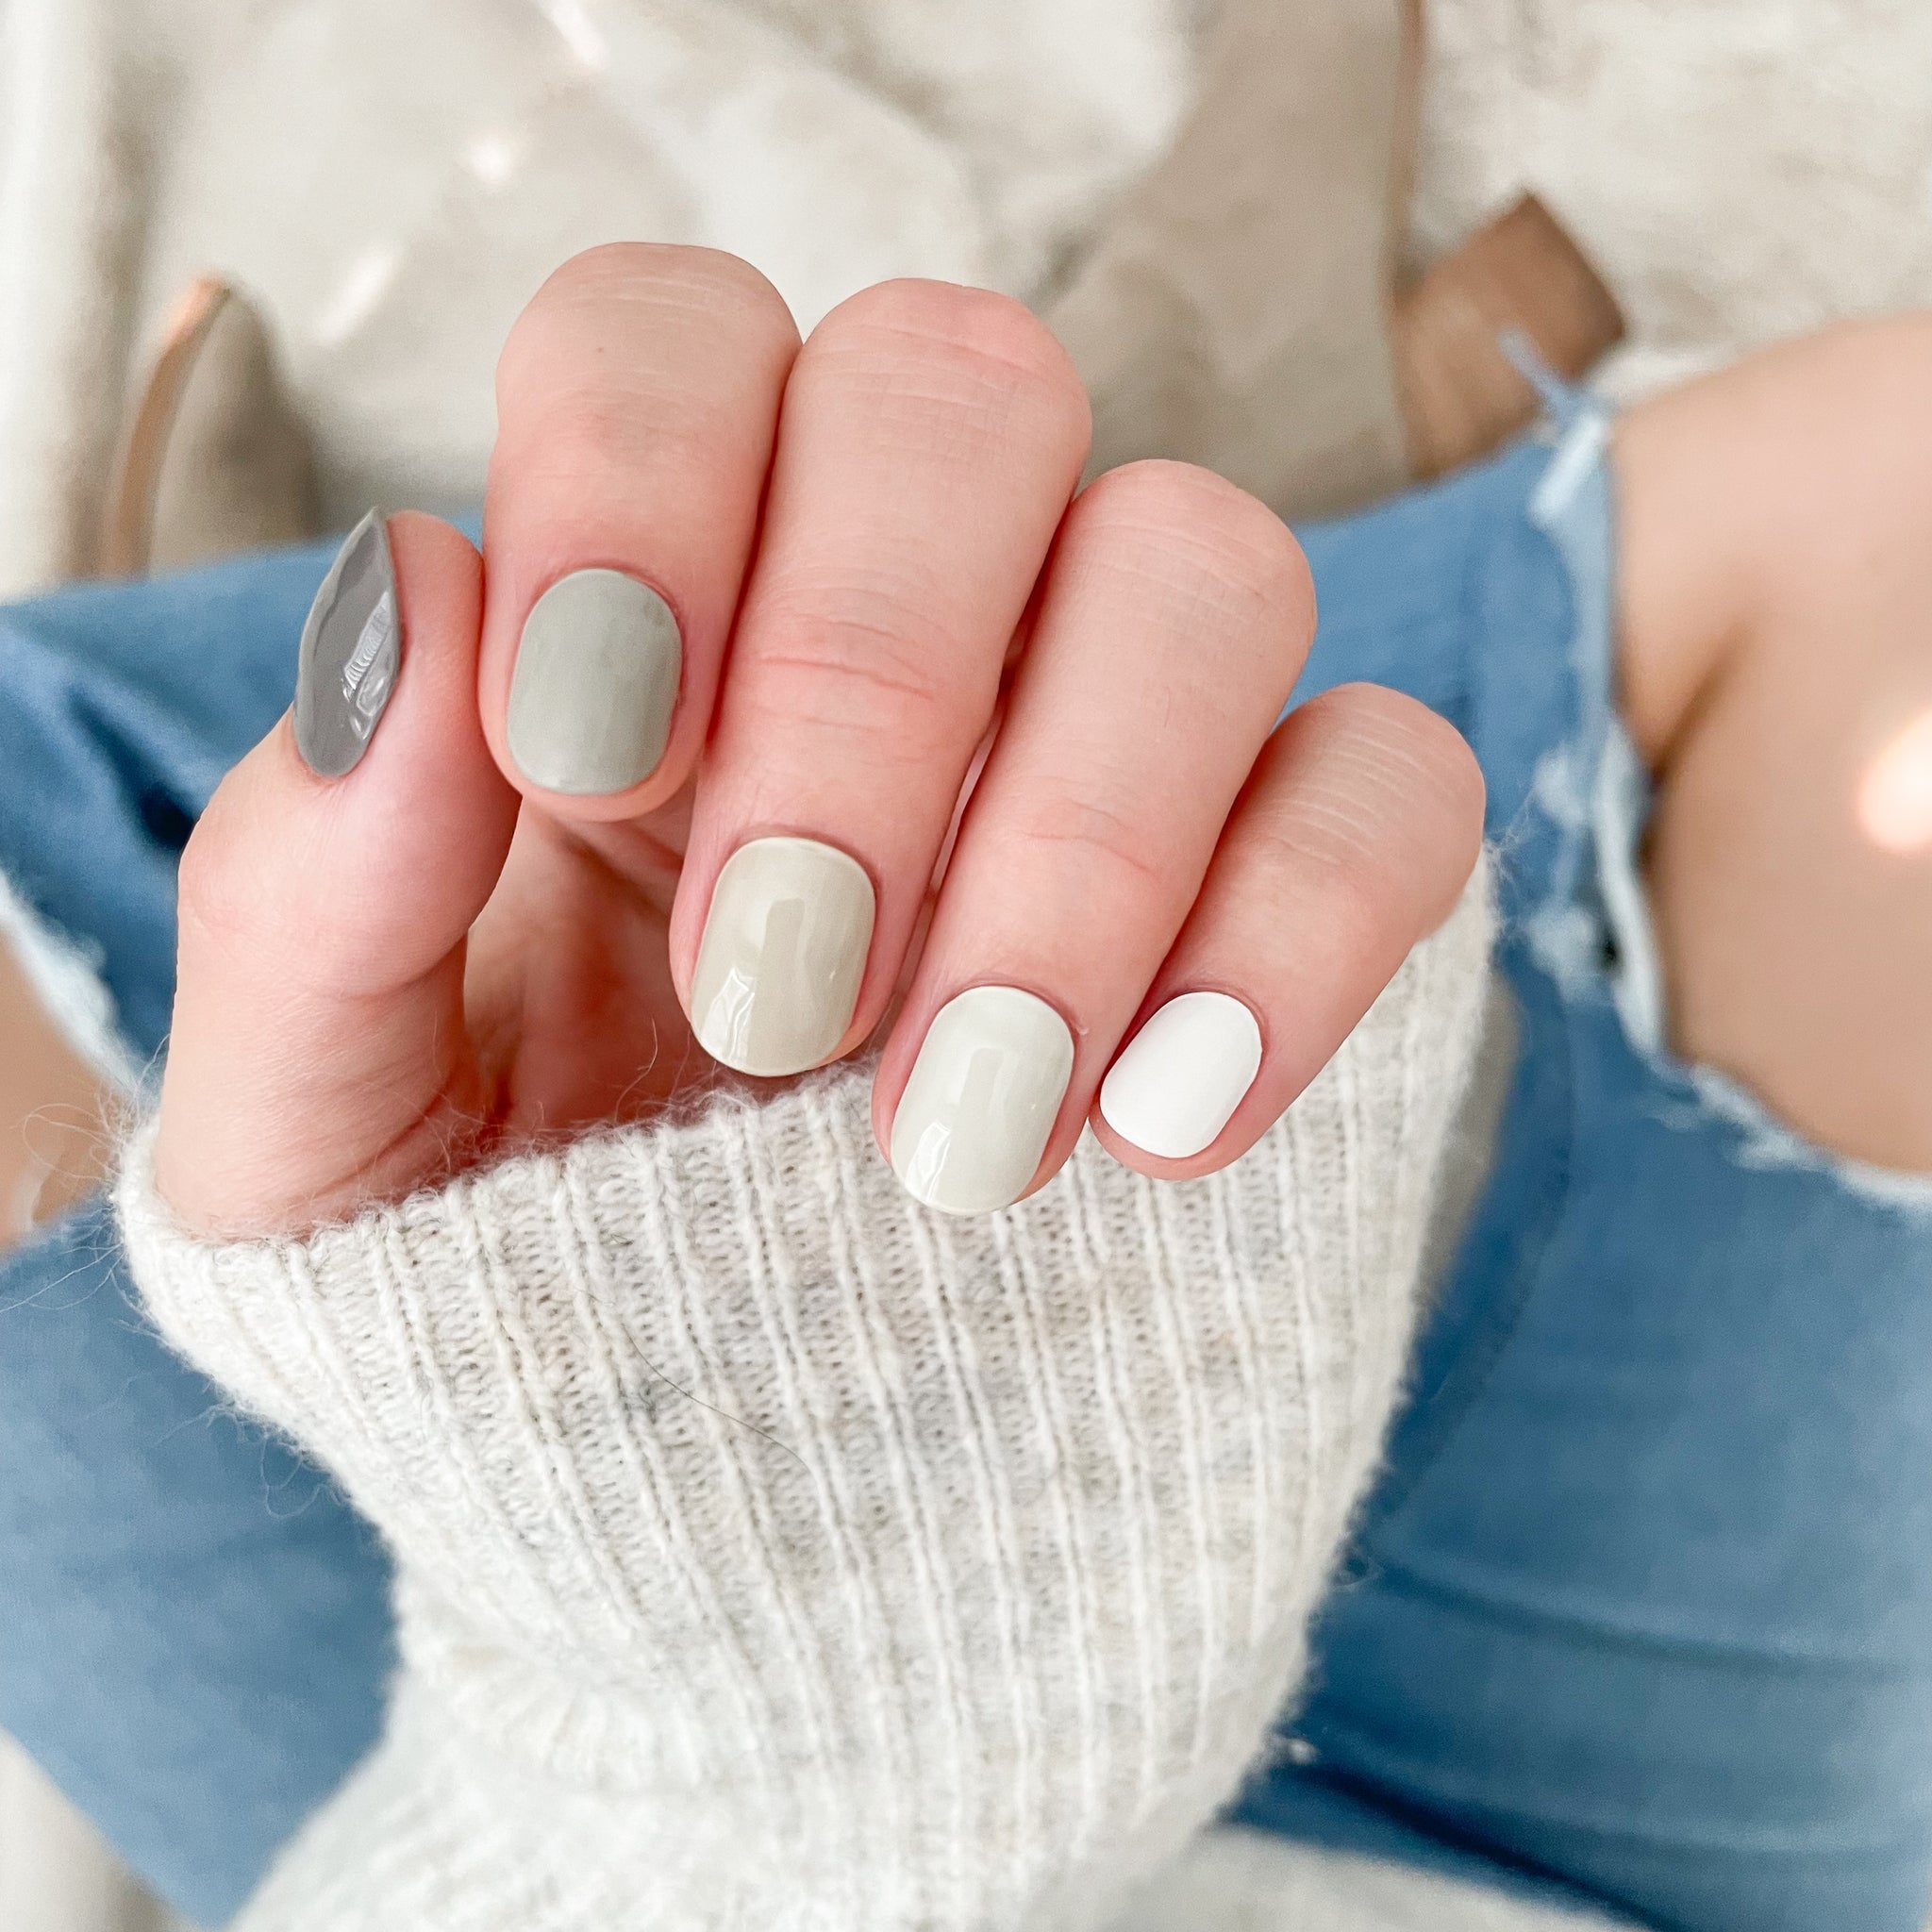
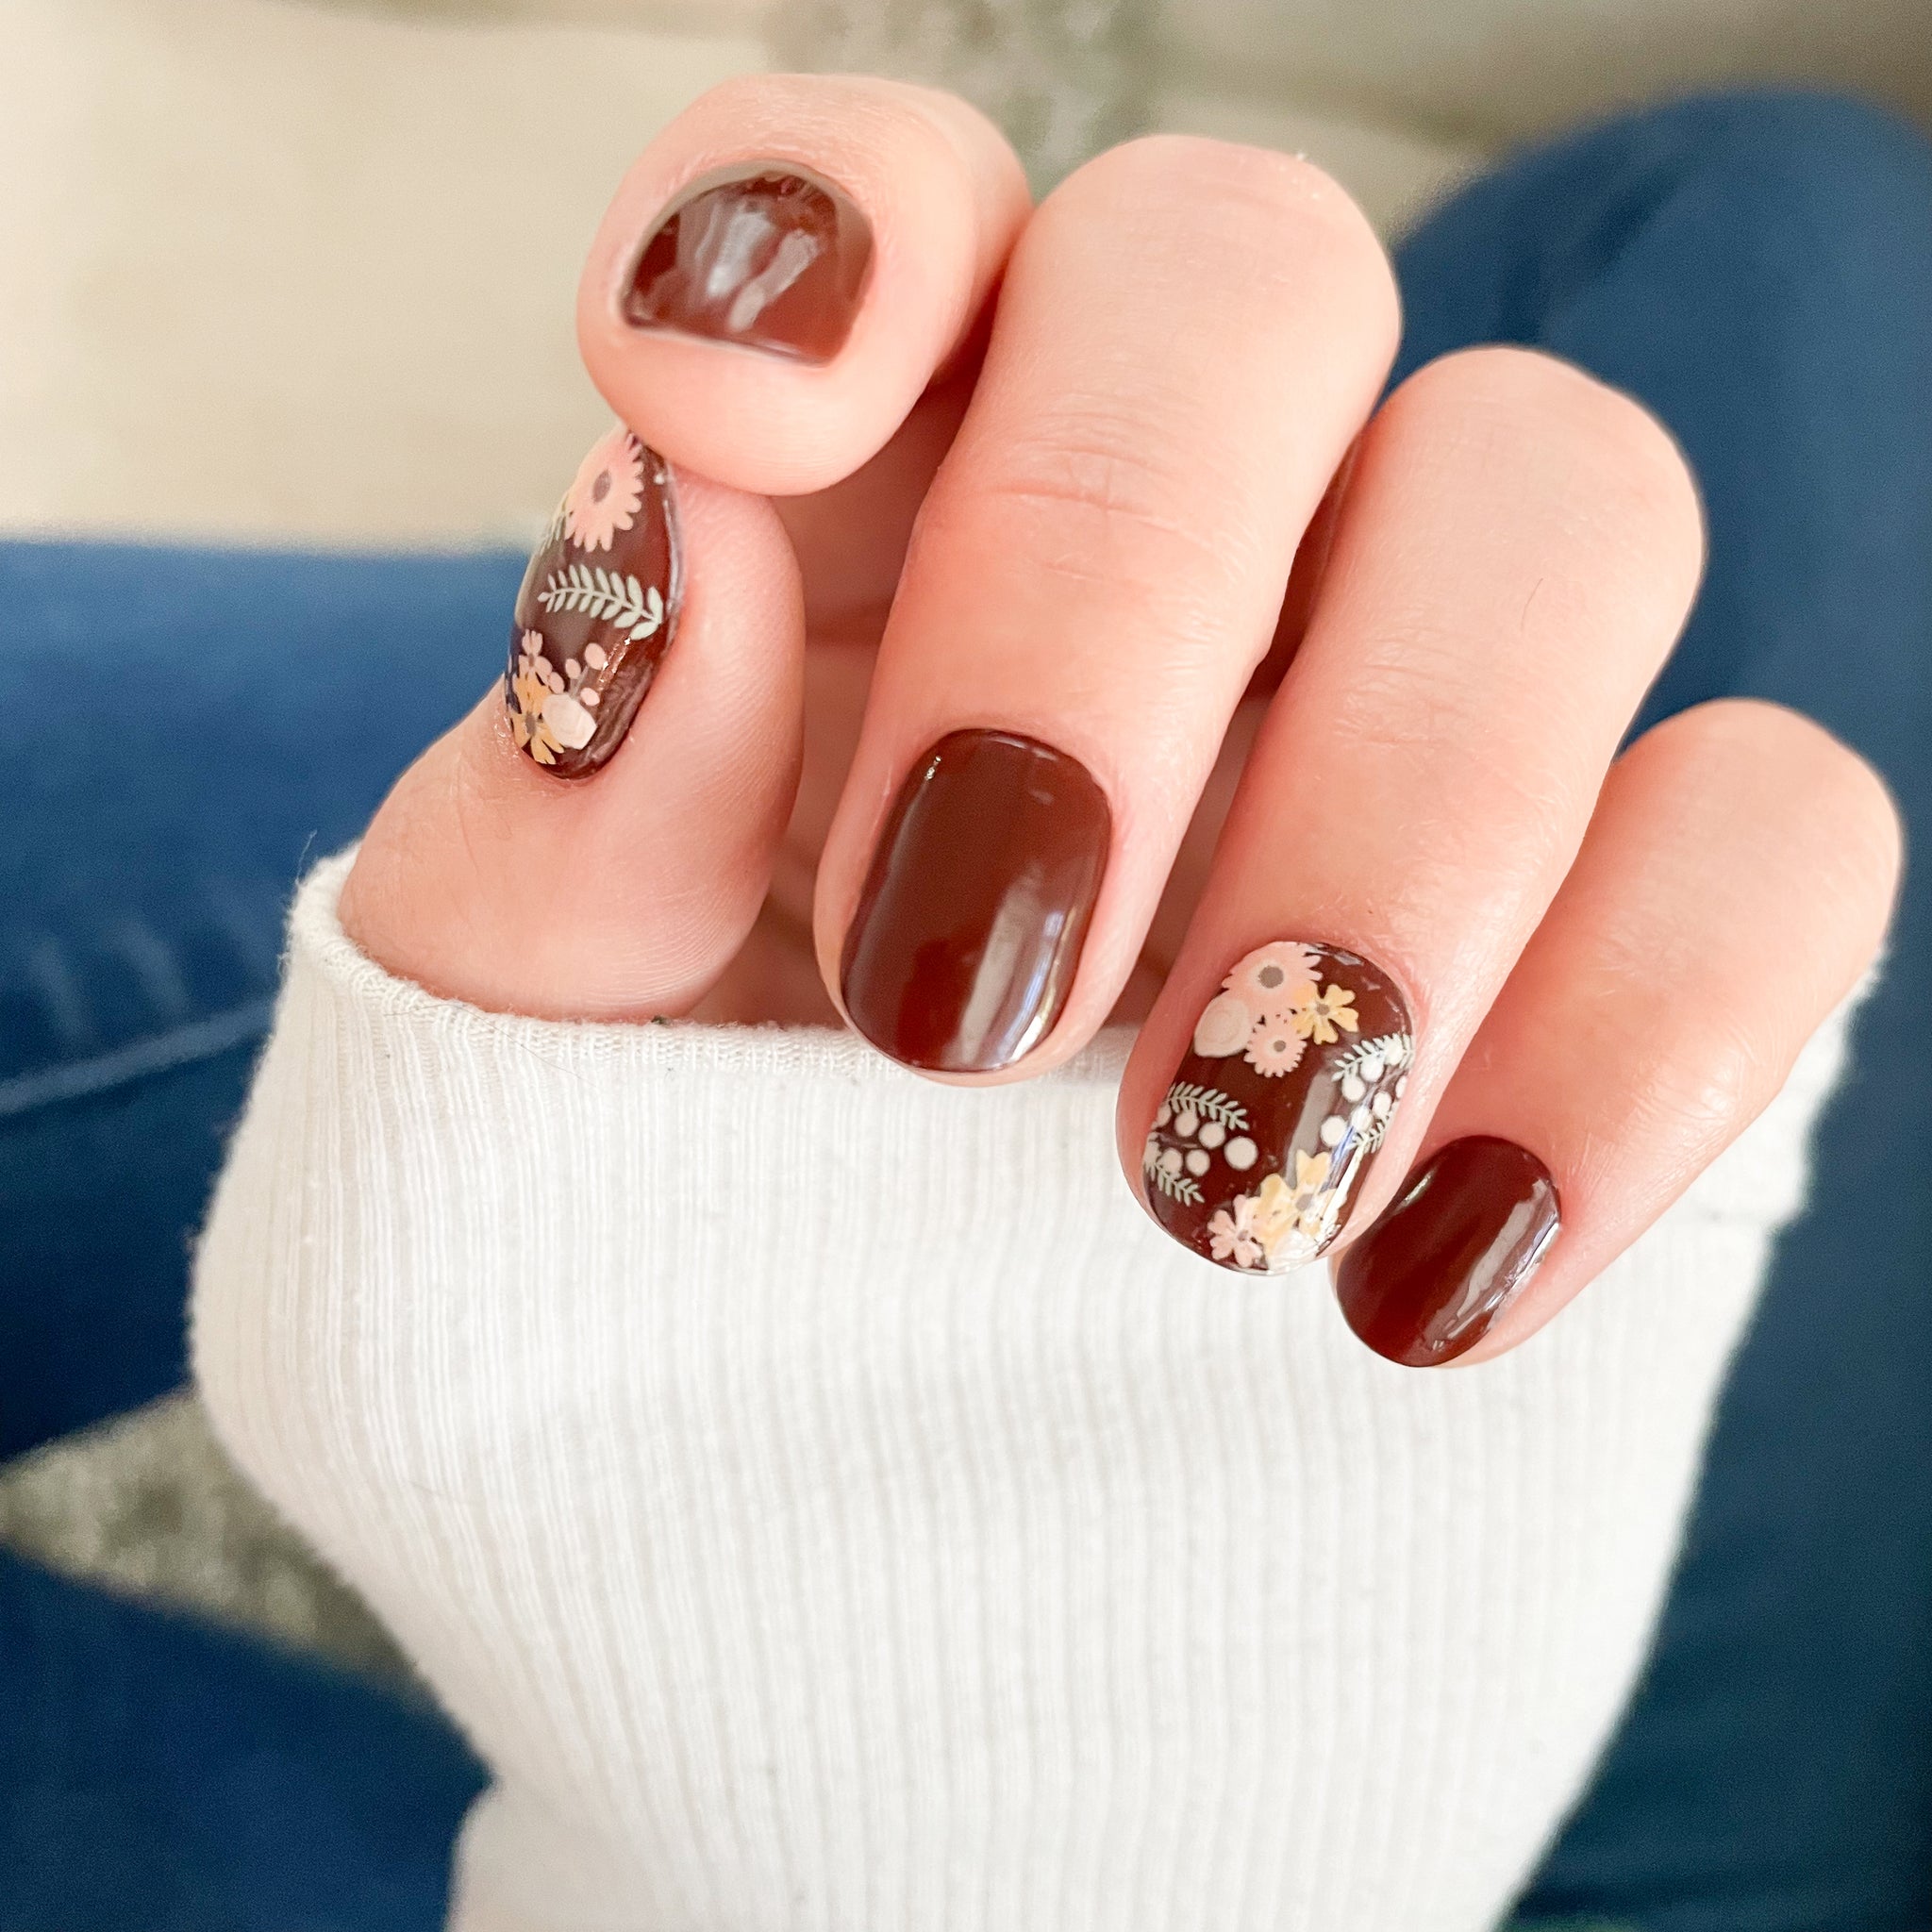
Giving yourself a quality manicure at home doesn’t have to just be a daydream when you know about high-quality nail wraps like the ones from Polish Pops. With nail wraps, you can give yourself a DIY manicure that lasts longer, looks fantastic, and is a fraction of the price of a salon manicure.
But, if you’re new to applying nail wraps and are still wondering–are nail wraps worth it?–you can continue reading as we tell you everything you need to know about how to get nail wraps to stay on better and help you troubleshoot what you’re doing incorrectly if they keep peeling off.
Once you’ve read through this guide, you’ll be sure to impress with your freshly manicured nails.
What are Nail Wraps Exactly?
Before we talk about how to make nail wraps stay on, let’s get on the same page about what this product is, to begin with.
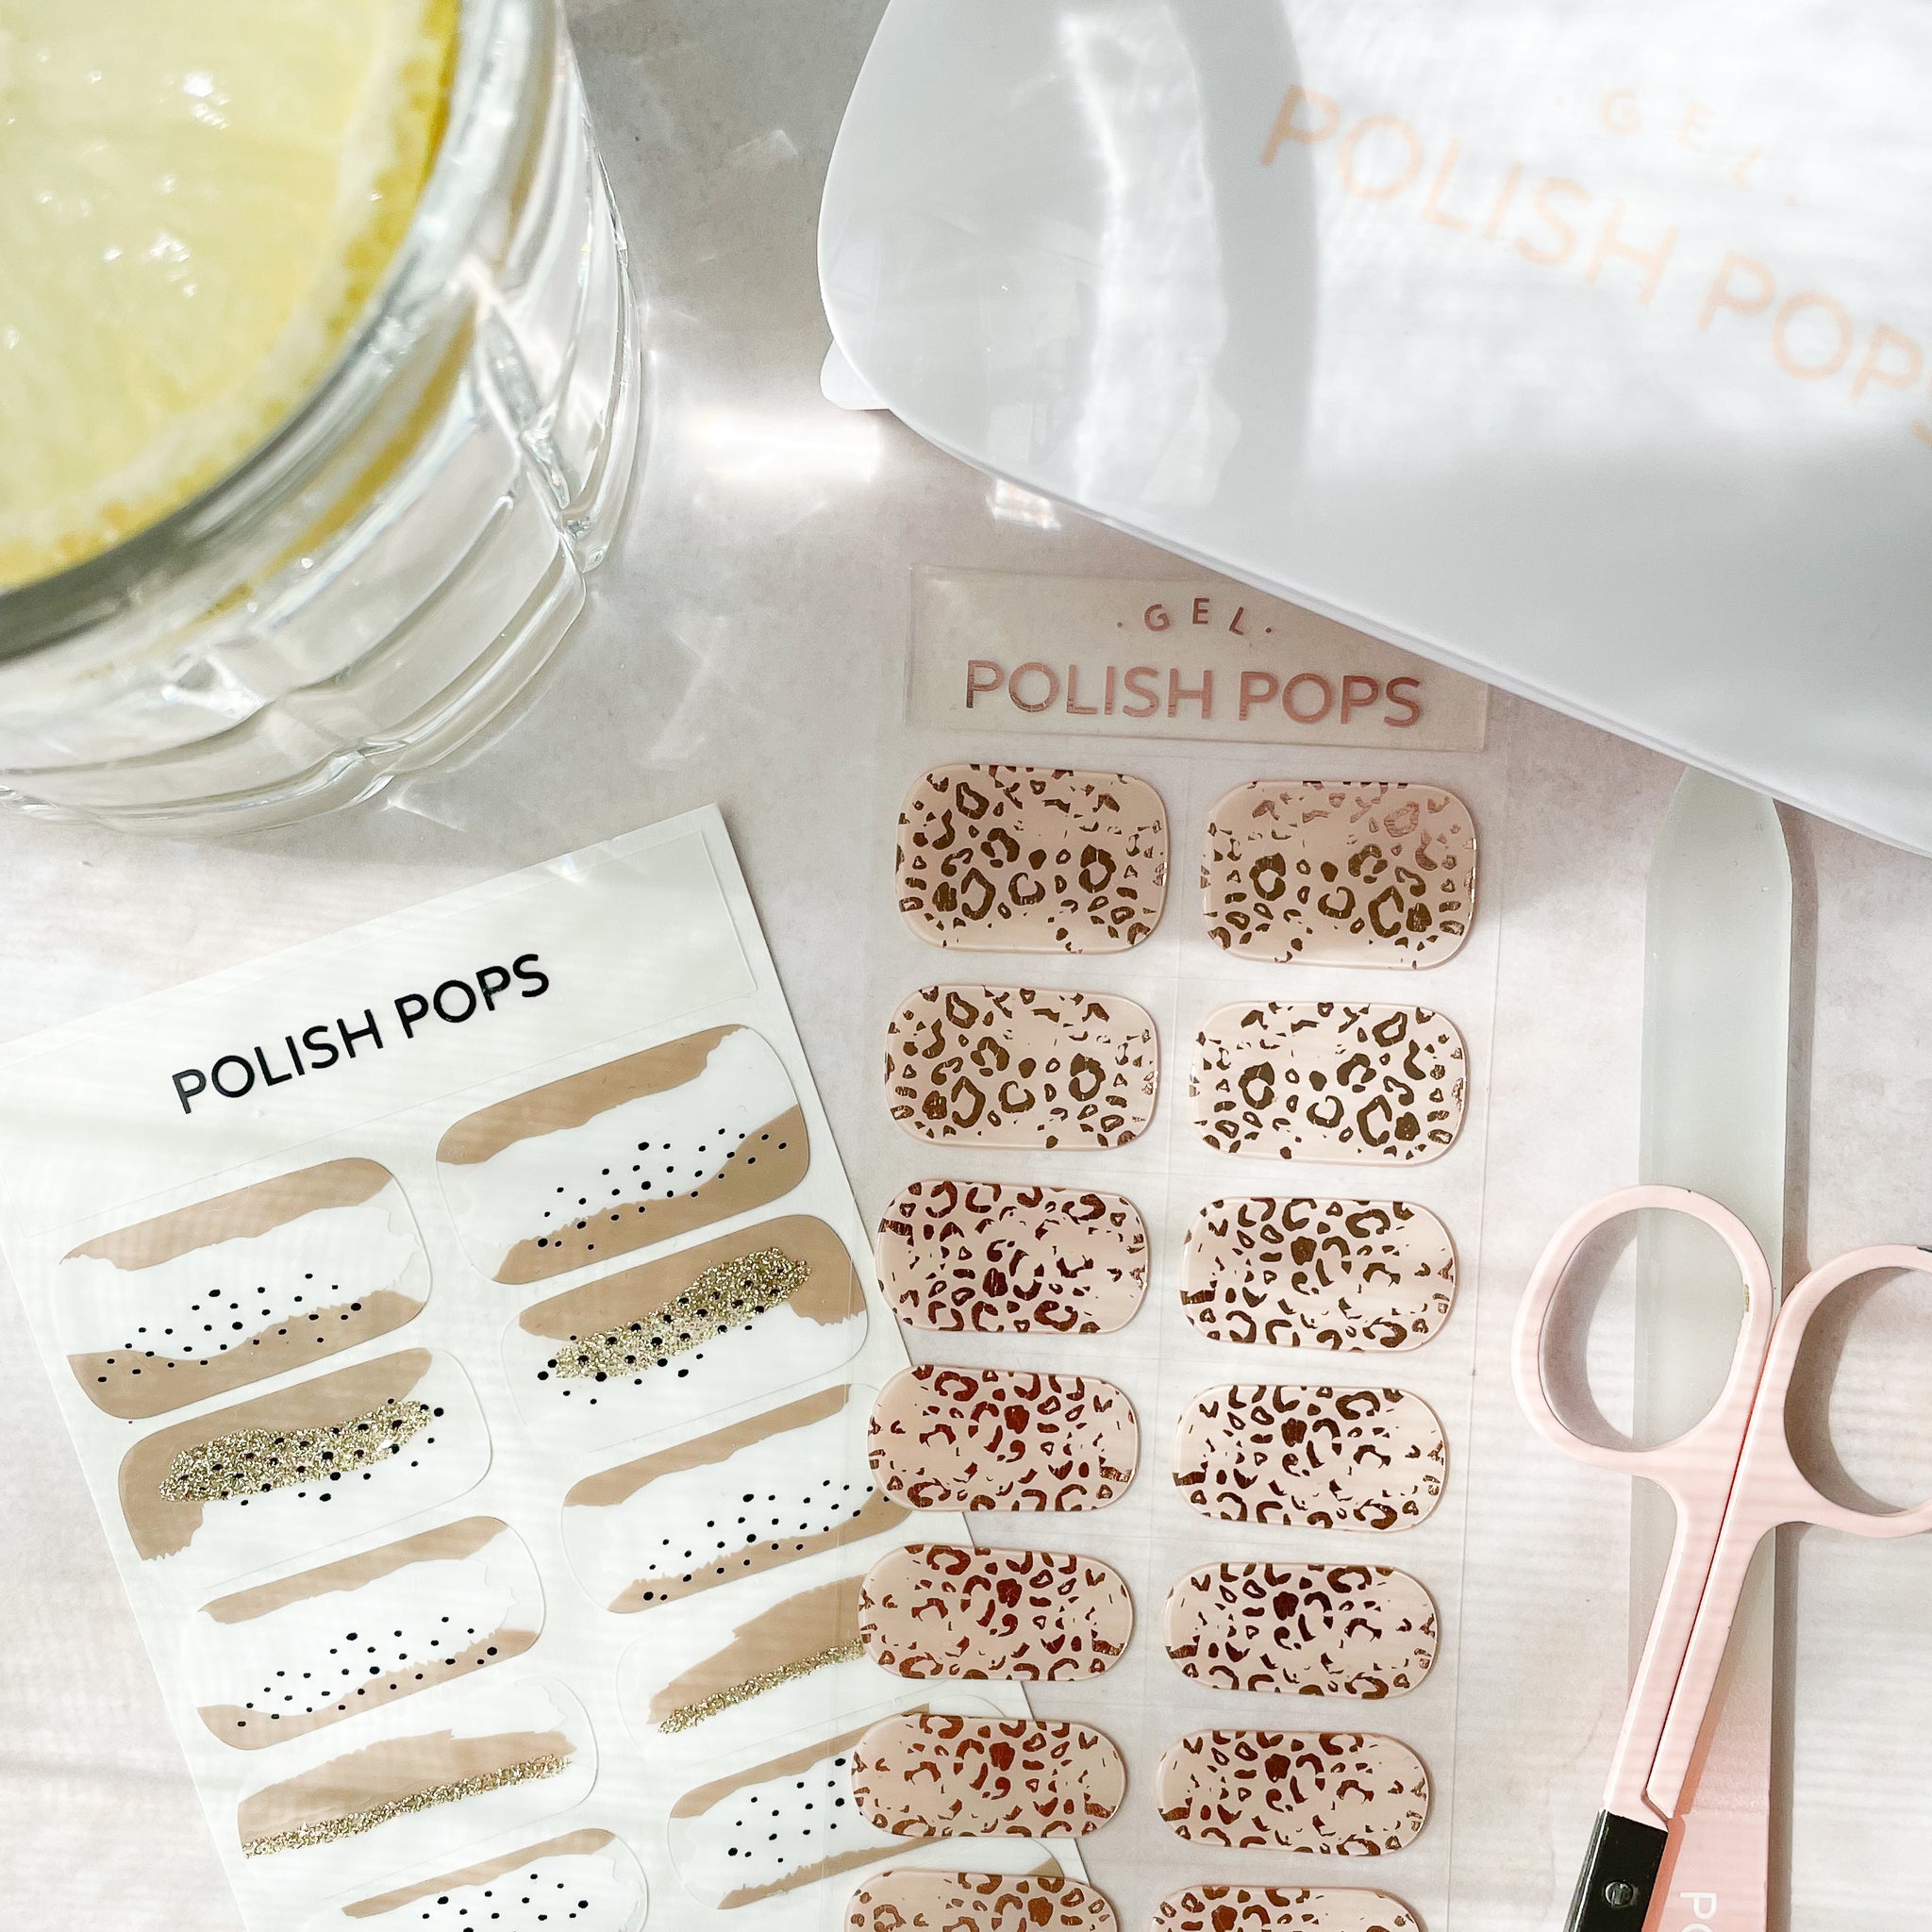
Nail wraps are thin and flexible sheets that are made in a wide range of colors, patterns, prints, and designs that can be easily applied to your nails in just a few steps for a homemade manicure.
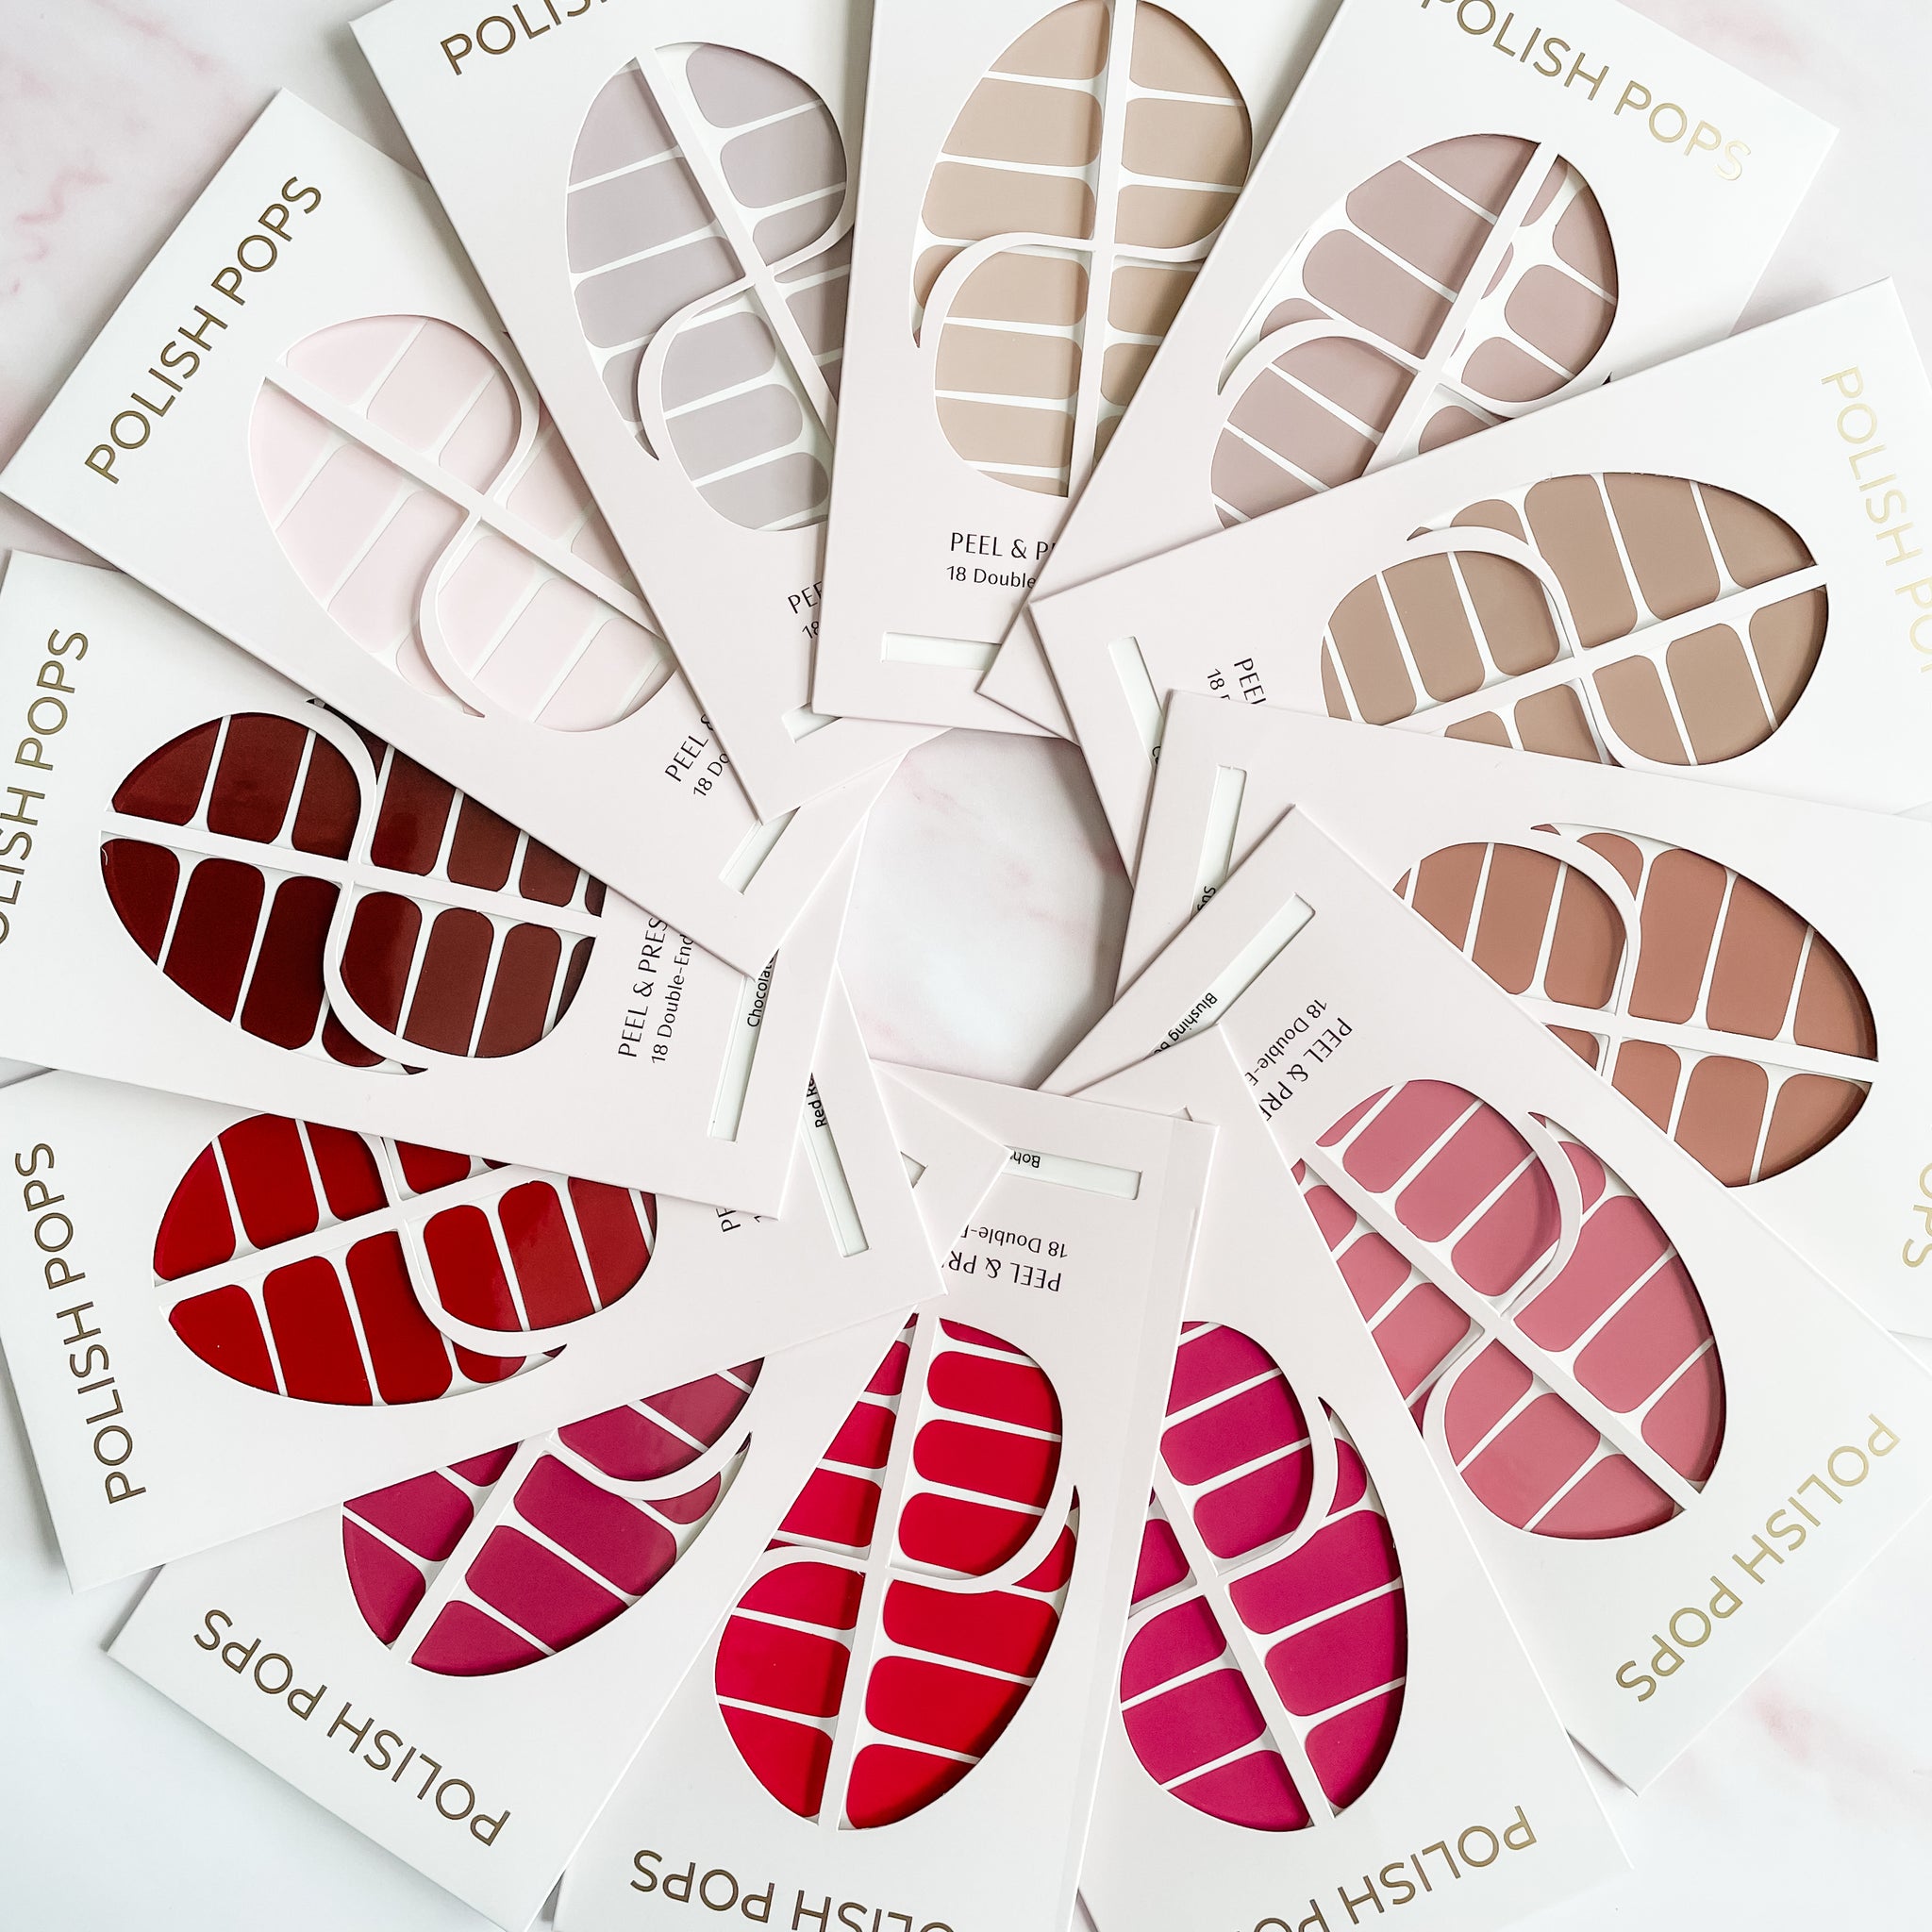
You may be wondering what are nail wraps made of, and in most cases, they’re made from materials like vinyl or a nail polish base. They can have a sleek and elegant look or make a bold and bright statement; either way, you can find the nail wraps in the right style to look just how you like.
Why are My Nail Wraps Peeling?
If you’re putting on nail polish wraps and seeing that they’re not lasting nearly as long as they should, there could be a few things that are to blame.
First, if you’re not doing the proper preparation for your nails before applying the nail wraps, you could be doing yourself a disservice. Skipping out on shaping your nails with a file, pushing back your cuticles, wiping them clean with an alcohol wipe, or applying a base coat could all be reasons why your nail wraps are peeling prematurely.
Additionally, your nail wraps could be peeling off too early if you aren’t ordering them in the right size either. We will discuss each of these in more detail below to make sure you’re doing the proper steps to help your nail wraps last as long as possible.
The Importance of Learning How to Get Nail Wraps to Stay On
When you find nail wraps in patterns and designs that you love, it can be frustrating when you can’t seem to get them to stay on as they should.
Given how long nail wraps last–up to two weeks–you may be confused if they’re peeling up or chipping off after just a few days of wear. Especially when you’re investing in quality nail wraps, you don’t want to waste a set and have them ruined because you don’t know how to get them to stay on properly.
Constantly dealing with peeling nail wraps is a hassle, it’s unsightly, and overall, it prevents you from attaining the effortless and beautiful nail look that made you interested in these wraps in the first place. So if you can’t get the full 1-2 weeks of use out of your wraps, what’s the point?
How to Get Nail Wraps to Stay On: 6 Tips for a Stronger Hold & Longer Use
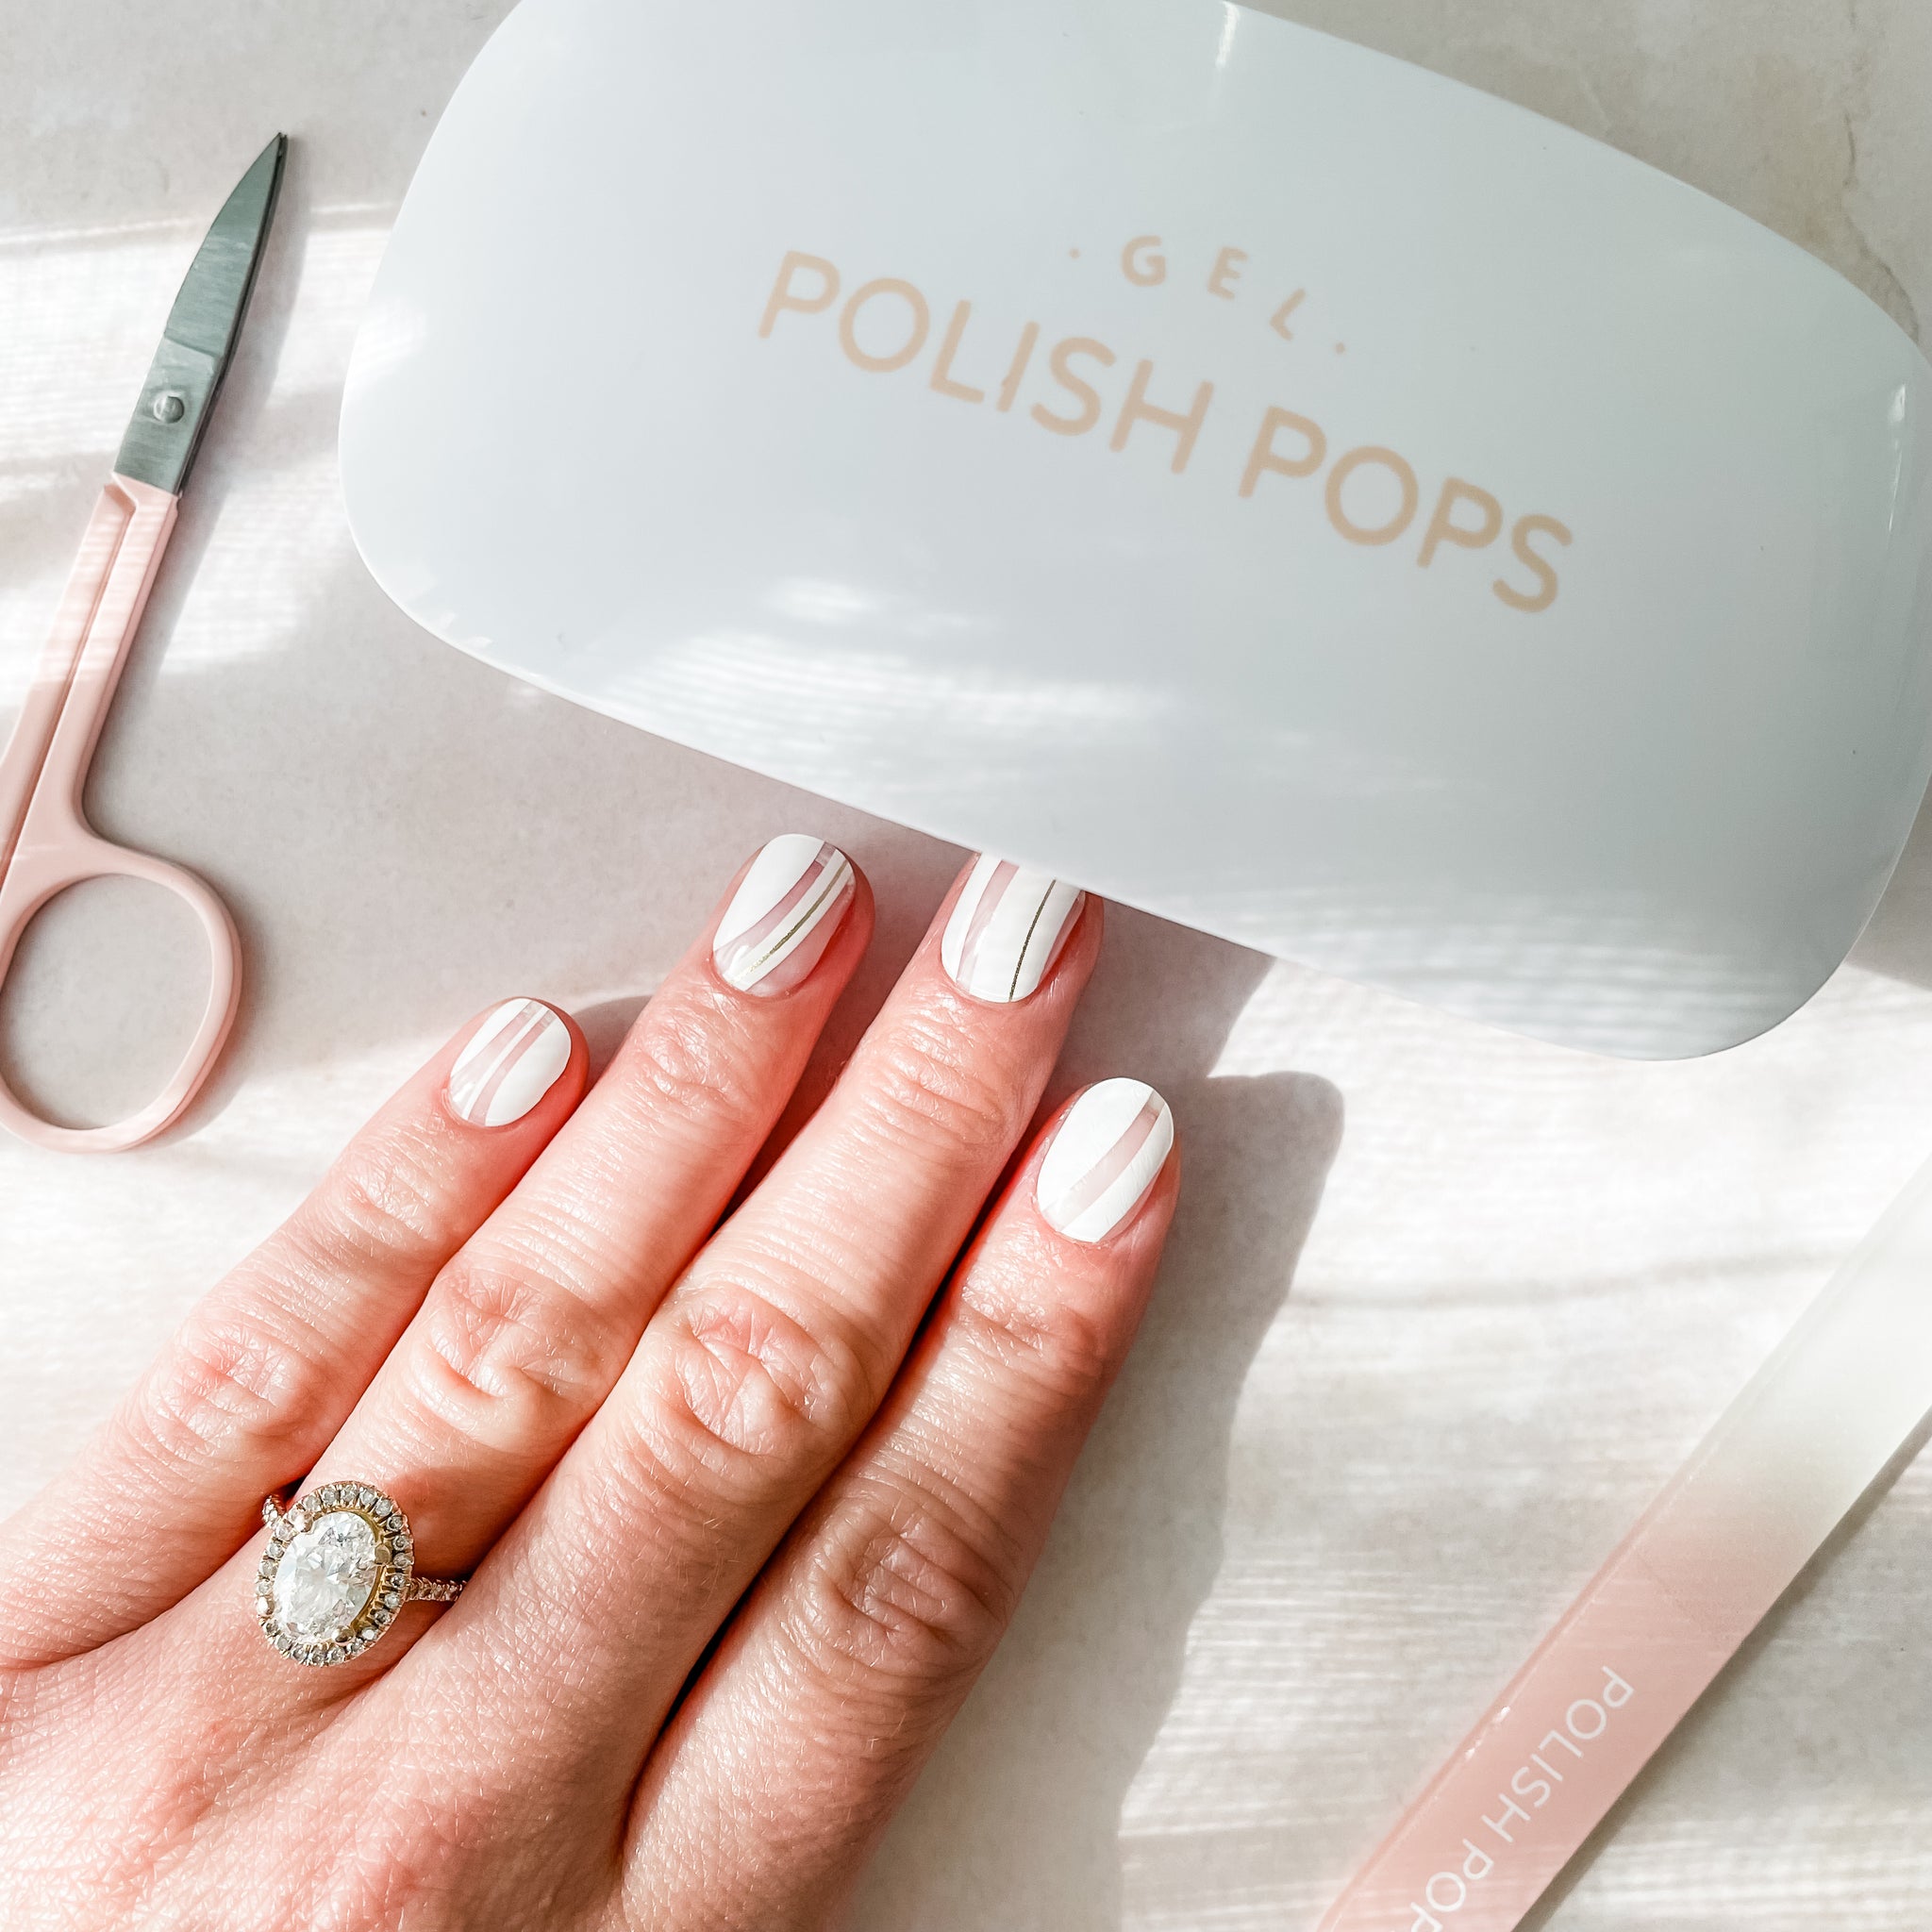
Our guides on how to put on nail wraps and how to make gel nail strips last longer are great resources for proper application, but here are some more tips to make sure your nail wraps are looking their best and lasting the proper amount of time.
First, Make Sure You’re Using the Best Nail Polish Wraps or Gel Nail Strips
When it comes to making your nail wraps look pristine and long-lasting, you can’t just get any nail wraps. You need to find the best nail polish wraps or gel nail wraps that are made from quality materials and formulations.
So if you’re wondering what are the best nail wraps brands, Polish Pops has you covered. We have an unbeatable selection of different styles, colors, and designs that you won’t find anywhere else, so you can find the perfect nail wraps no matter what your preferences are.
Plus, we help you give yourself a salon-quality manicure from your own home in just minutes, and for a fraction of the cost. So when you have the best nail wraps available, you’re ensuring a long-lasting and professional-looking manicure.
Order the Right Size
Additionally, you need to order nail wraps in the right size, otherwise, they could end up peeling off quickly after application.
This is especially true if you order nail wraps that are too big, as the excess edges will overlap on your skin and cause premature peeling. Good nail wraps bond strongly to clean nails, but not to your skin.
Thus, the size of your nail wraps is something you’ll want to keep in mind when you want them to last as long as possible.
Prepare Your Nails Before Application
Doing the proper prep steps before applying your nail wraps is also a big contributor to how long they will last.
You need to push back your cuticles before applying so the wraps only adhere to the nail–not your skin. Plus, you have to wipe down the nail bed with an alcohol pad beforehand to ensure that they’re fully clean and nothing will keep the wraps from sticking firmly to the nail.
Each of these steps is important to make sure the nail wraps look their best for the intended amount of time. Additionally, for the one hour leading up to the application and an hour afterward, you’ll want to keep water, oils, and lotions away from the nails to not weaken the adhesive of the wraps.
Use a Strong Base Coat
With all the prep steps out of the way, the last thing you’ll need to do before putting on the wraps is to apply a good and strong base coat. This will improve the bondability of the nail wraps for the best results, and keep them from peeling off any earlier than they should.
Not just any base coat will do, so make sure you find a product that’s made from strong ingredients, like the one we offer at Polish Pops. Apply evenly, and make sure it fully dries before you move on to the next step, otherwise, you could defeat its whole purpose!
Apply with a Strong Press
Now, you’re finally ready to apply the nail wraps in your chosen design! Don’t rush through the actual application step, as you’ll want to take your time here and do it properly so they actually last.
This means that you avoid touching the adhesive with your fingers before putting them on the nail and that you firmly press down on the wraps to help them bond to the nail and the base coat, then trim away the excess wraps for the perfect look.
Make the Final Touches
Once you apply the nail wraps–you’re not fully done just yet. You still need to cure your gel nails or apply a top coat to your nail polish wraps before you can unveil your fantastic DIY manicure.
Again, don’t rush through this step, as this is one of the most important factors that determine how long your nail wraps will last!
So after you’ve trimmed away the excess nail strip, cure all your nails for at least 60 seconds when you’re using gel wraps, or evenly apply a top coat to your nail polish wraps. This step will help seal your nail look and keep it looking sleek and pristine for longer.
Final thoughts on How to Make Nail Wraps Stay On
Hopefully, you’ve learned all you need to know about how to make nail wraps stay on and look their best for as long as possible with the above guidelines.
Though there are many tips and tricks to making your nail wraps last longer, the most important factor is to only buy the best nail wraps–like Polish Pops. So when it comes to giving yourself a professional-looking manicure at home that will make you look and feel your best, you can’t go for anything less than the best.
Our nail wraps are made from quality ingredients, available in a wide range of styles and designs, and are easy to apply in just a few steps, all at affordable prices–what more could you want?!
Shop Polish Pops today to book your next nail appointment right at home!