Learning how to do a manicure at home can save you so much time and money in the long run. But most people find their DIY manicures leave a lot to be desired, be it the look or longevity. That’s why we’re going to show you a smarter at-home manicure method: Polish Pops.
Whether you go with our semi-cured gel nails or traditional nail polish wraps, you gain access to an endless array of styles - from simple, subtle designs to statement makers. Both options take just a few minutes and anyone can get a beautiful manicure from the comfort of home. Everything is 14-free and the removal process is super gentle, too.
Thousands of women have already made the switch and never looked back. Once you order your nail kit and see the end result of your first DIY manicure, you’ll see why!
“The glitter and details in this one are gorgeous! I feel like I just left the salon but did this myself at home in 45 minutes. It simply doesn’t get better than Polish Pops! 🩷” - Lindsey
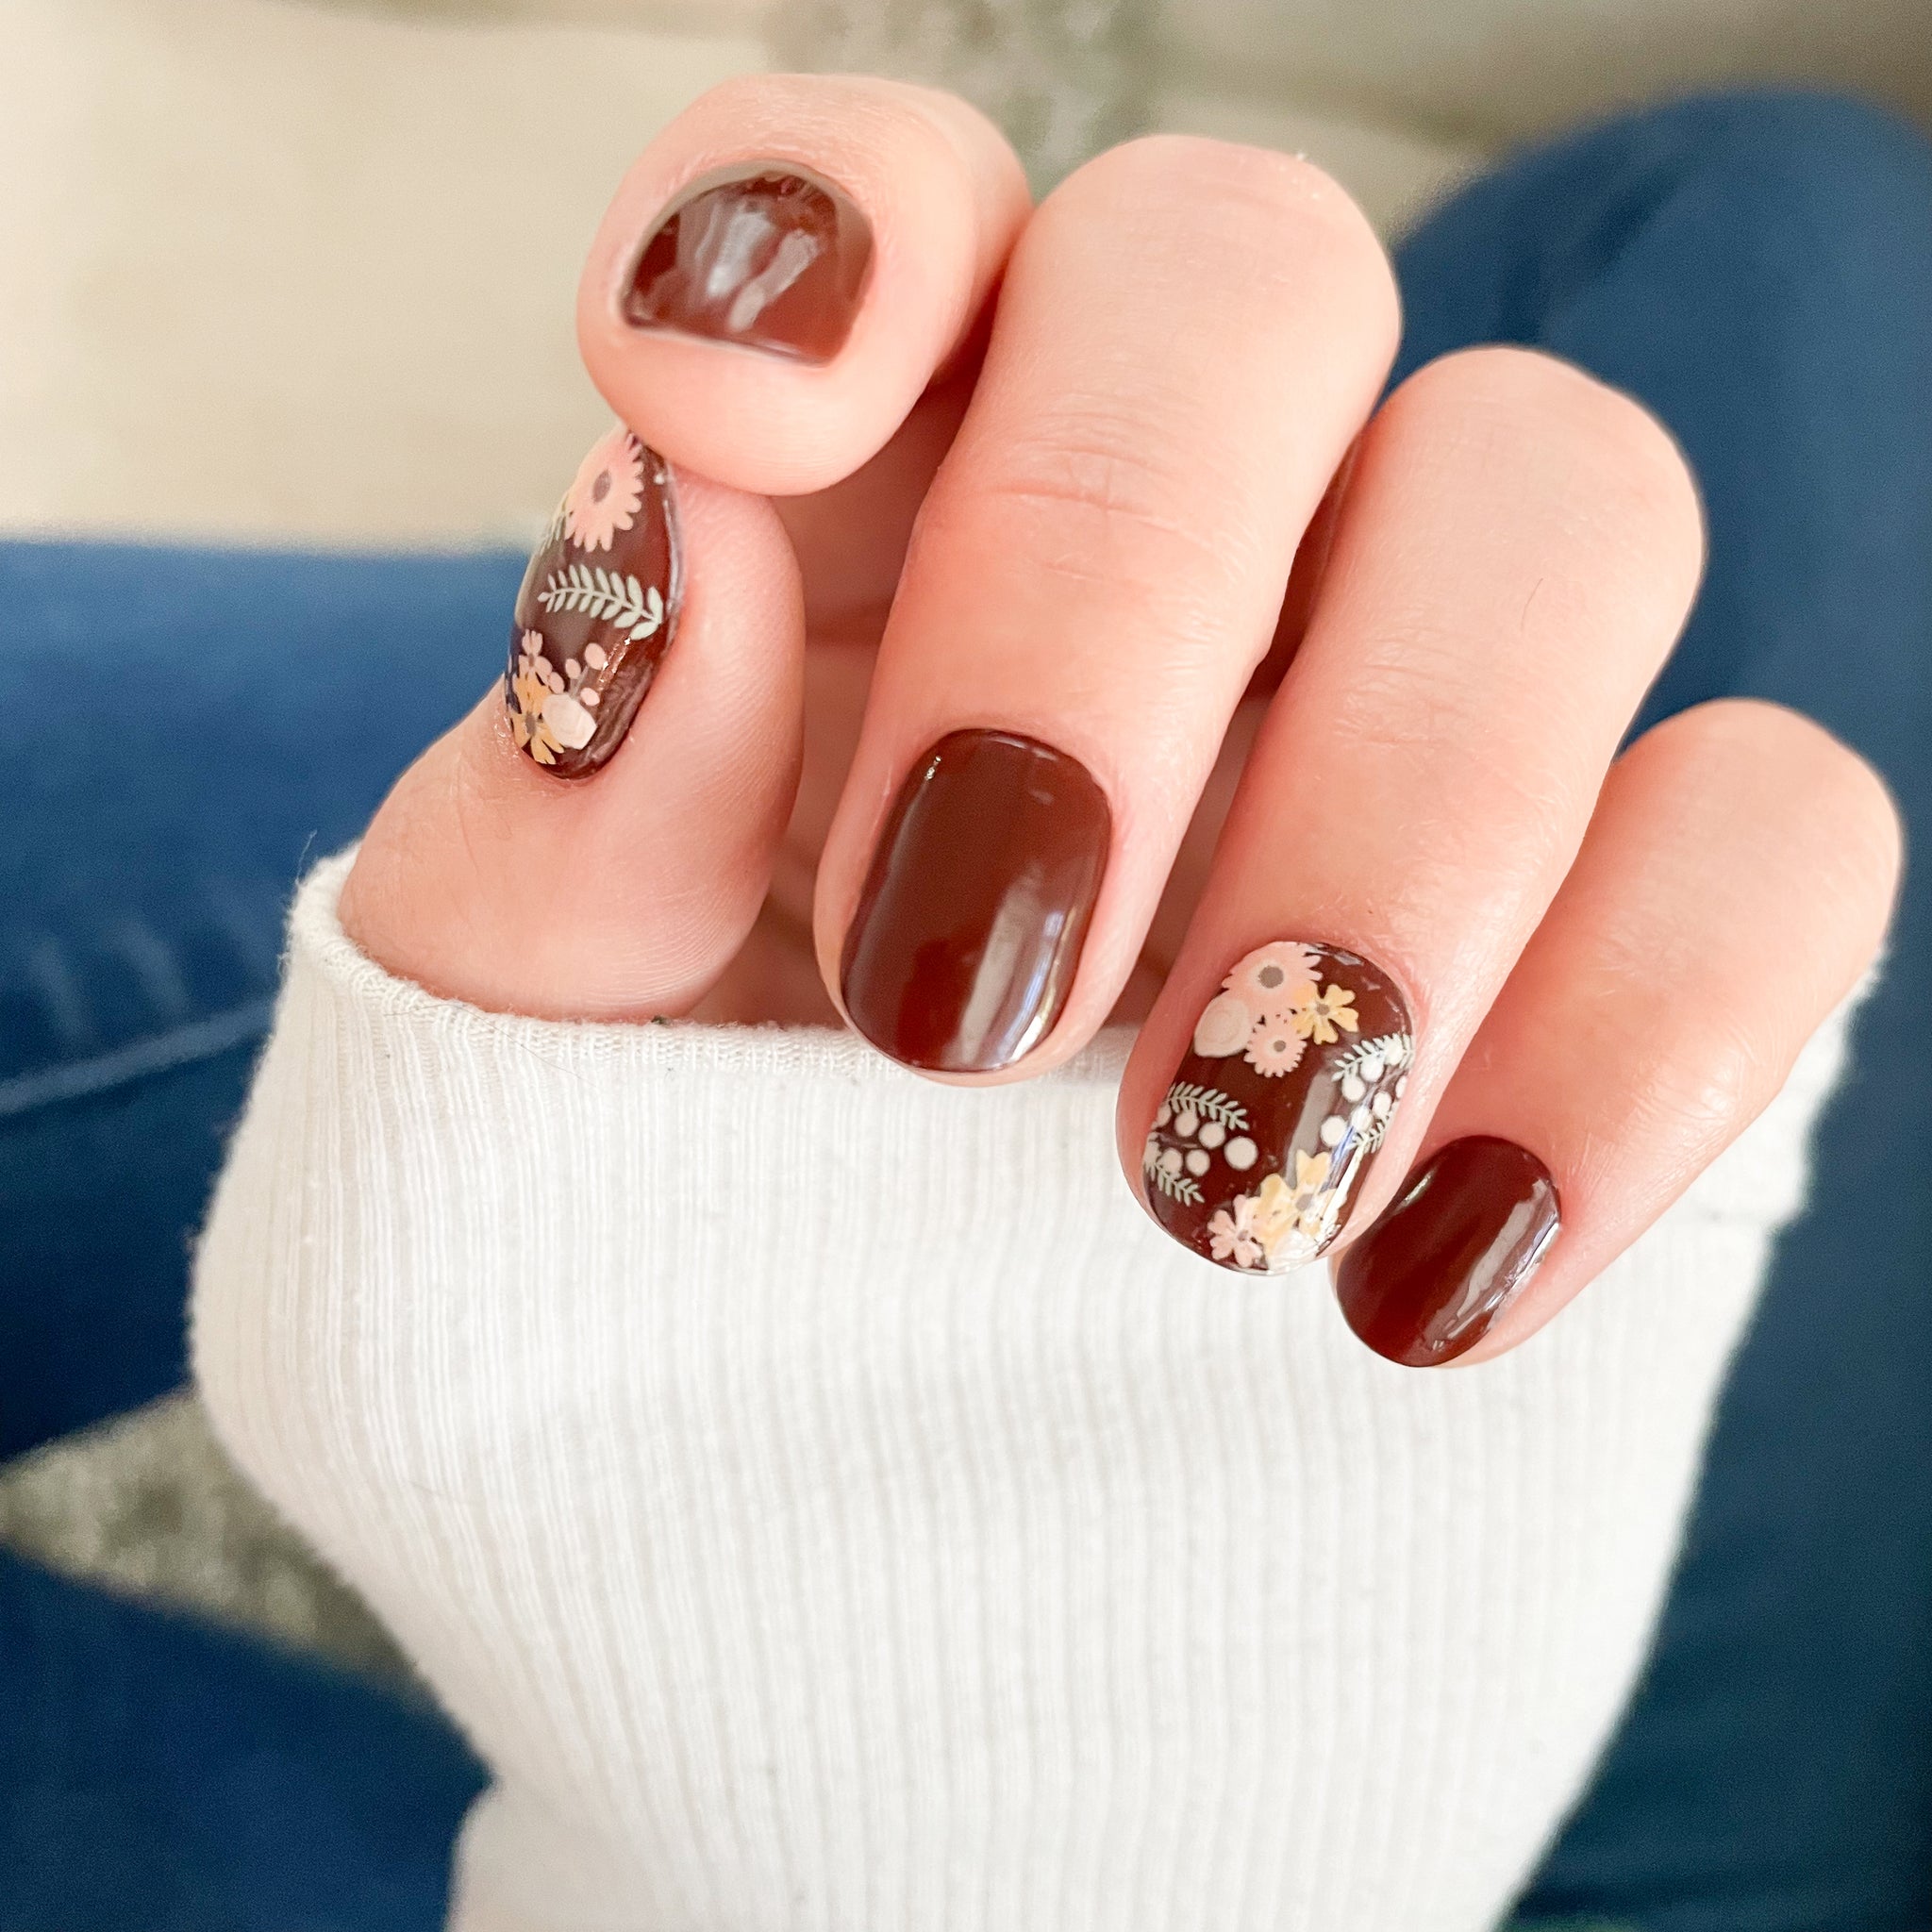
“Polish Pops are the best at home kits for beautiful, sturdy nails! The best color for fall for brown lovin girlies! 🤎” - Danielle
“I can easily get 2 weeks of wear, sometimes 3! I tell everyone I know about Polish Pops because they feel like salon style nails and only take me maybe 30 minutes to do at home!” - Melanie
Pros and Cons of DIY Manicures
At-home manicures can be such a vibe. You get cute nails and total control over your look without the appointment-hunting or constant expenses. You can refresh your nails while watching your favorite show or catching up with loved ones!
But depending on the method you use, some parts can be fun while others feel like a chore. That’s where people usually fall out of love with DIY.
Pros
- You can do your nails whenever you want - late at night, during a movie, or right before a trip.
- It’s way more affordable long-term than booking salon appointments every two weeks.
- You get to switch colors and designs as often as your mood changes.
- No rushing to a salon after a long day or sitting next to a drill for an hour.
- You control the whole process, from prep to top coat, to perfect your style over time.
Cons
- Regular polish chips fast, especially if you’re doing chores or typing all day.
- Painting takes practice, and smudges happen the second you think your nails are dry.
- Gel polish kits can be messy, time-consuming, and hard to remove without damaging your nails.
- Some DIY options need multiple tools, bottles, and steps, which can turn a cute idea into a whole project.
- Nail art is tough to recreate at home unless you’re naturally crafty - or incredibly patient.
Now, what if we told you that you could enjoy all the benefits of DIY manicures with none of the downsides? You’d probably think we were pulling your leg. It sounds too good to be true. But it’s totally possible with Polish Pops.
How Polish Pops Simplifies and Improves Your At-Home Manicure
Polish Pops takes all the best parts of doing your nails at home and removes the messy, time-consuming pieces that only lead you back to the salon.
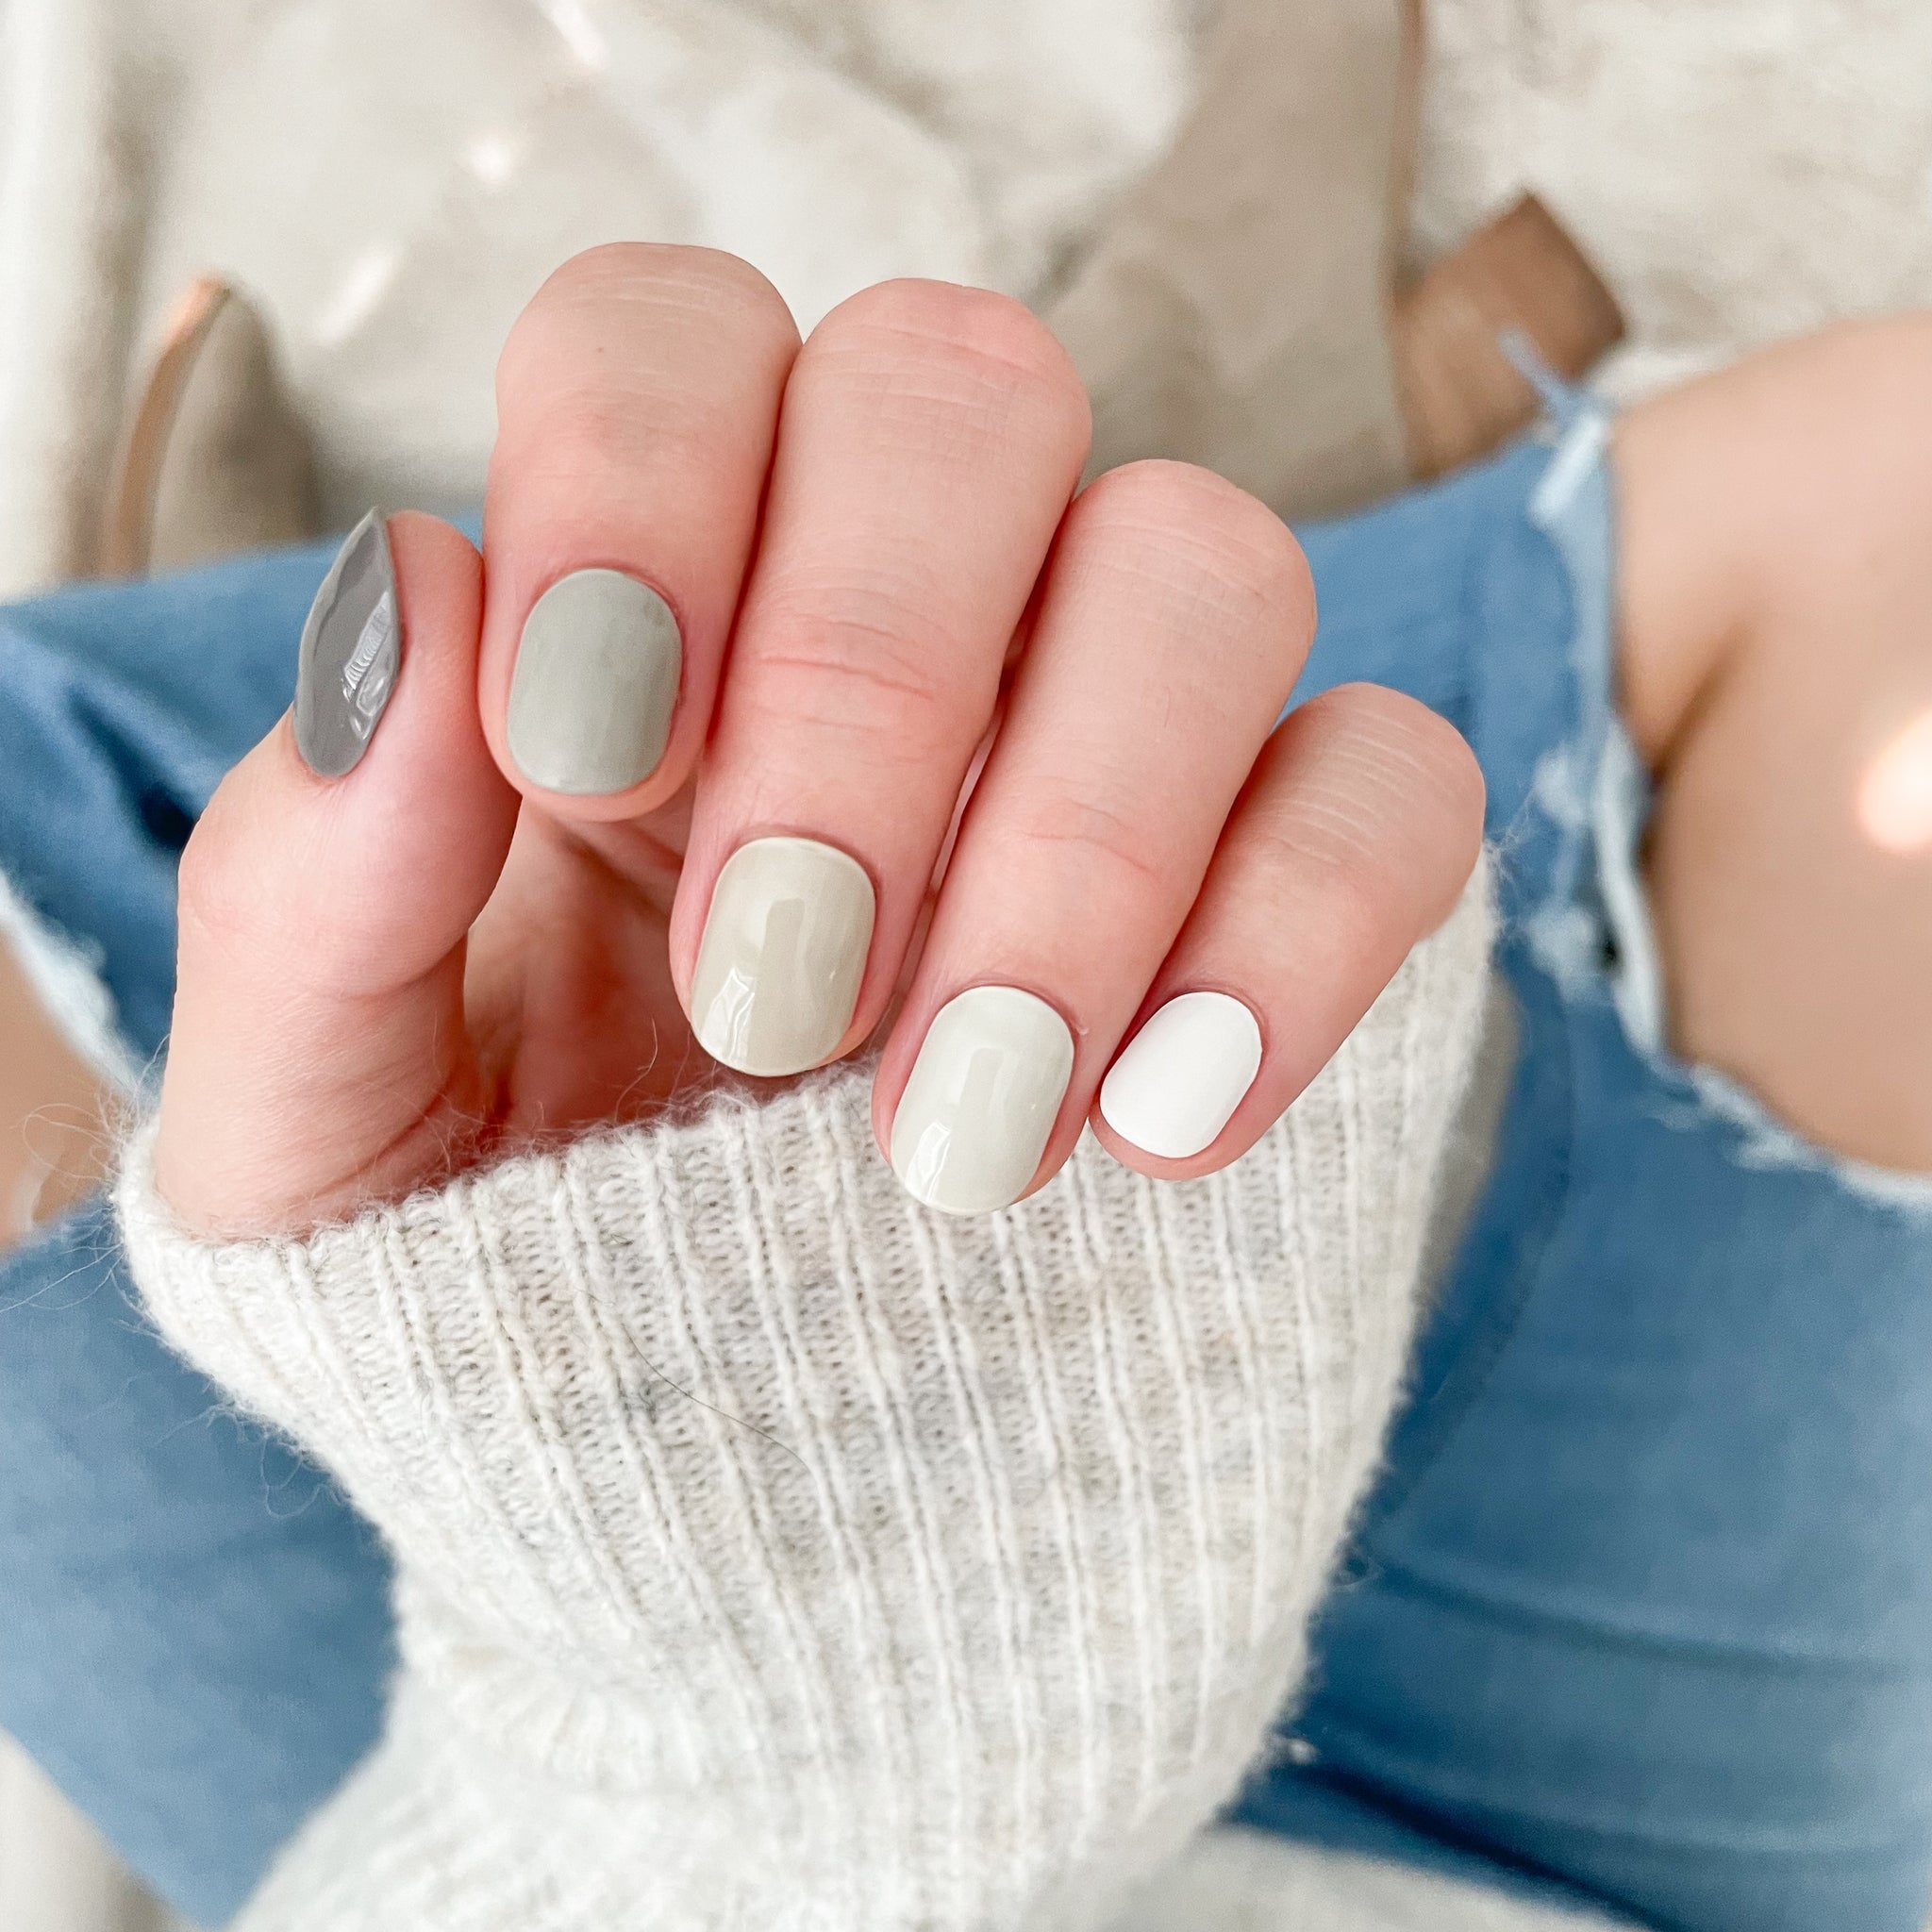
Our nail wraps - both polish and semi-cured gel - come pre-shaped, pre-designed, and ready to apply. You get to skip the streaky layers and endless drying time. Every set is made with clean, 14-free ingredients, and the designs look like something you’d screenshot from Instagram.
You’ll love the natural fit and feel, the long-lasting shine, and gentle, effortless removal. Whether you love soft neutrals or bold patterns, the whole experience feels faster, cleaner, and way more fun than traditional DIY manicures.
Our nail polish wraps are the easiest entry point if you want to learn how to do a manicure at home the simple way. They go on super fast, feel light, and last 7-10 days before starting to chip or peel. They’re perfect if you love switching your look up often.
On the other hand, our semi-cured gel wraps give you that salon-level shine and durability, wearing closer to a real gel manicure and holding up beautifully for 10-14 days - sometimes longer! They take an extra minute to cure under the lamp, but the payoff is gorgeous, glossy nails that look like you spent an hour in a salon.
Either way, you’re going to wish you;d learned how to do a manicure at home with Polish Pops sooner! Let’s walk you through the at-home manicure steps below so you get in on the fun ASAP.
How to Do a Manicure At Home: Step-by-Step Guide to Using Polish Pops
The process is pretty similar whether you go with our nail polish wraps or our semi-cured gel wraps. But there are subtle differences you need to know about. Here’s how to do a manicure at home that looks like you shelled out for a salon visit - without every leaving your couch!
Step 1. It Starts With a Bit of Prep
Prep makes the biggest difference in how smooth and long-lasting your manicure turns out. A little effor there pays off down the road. If you have nail polish or gel on right now, you’ll need to begin my removing it and getting a clean slate.
From there you can shape your nails with a file, and gently push back your cuticles using the wooden stick. Wash your hands, dry them well, and swipe each nail with the alcohol pad to remove oils.
Our base coat is a great addition to your DIY manicure arsenal because it ensure the wraps stick and wear better. Let it fully dry before moving on.
Step 2. Select the Right Nail Wrap
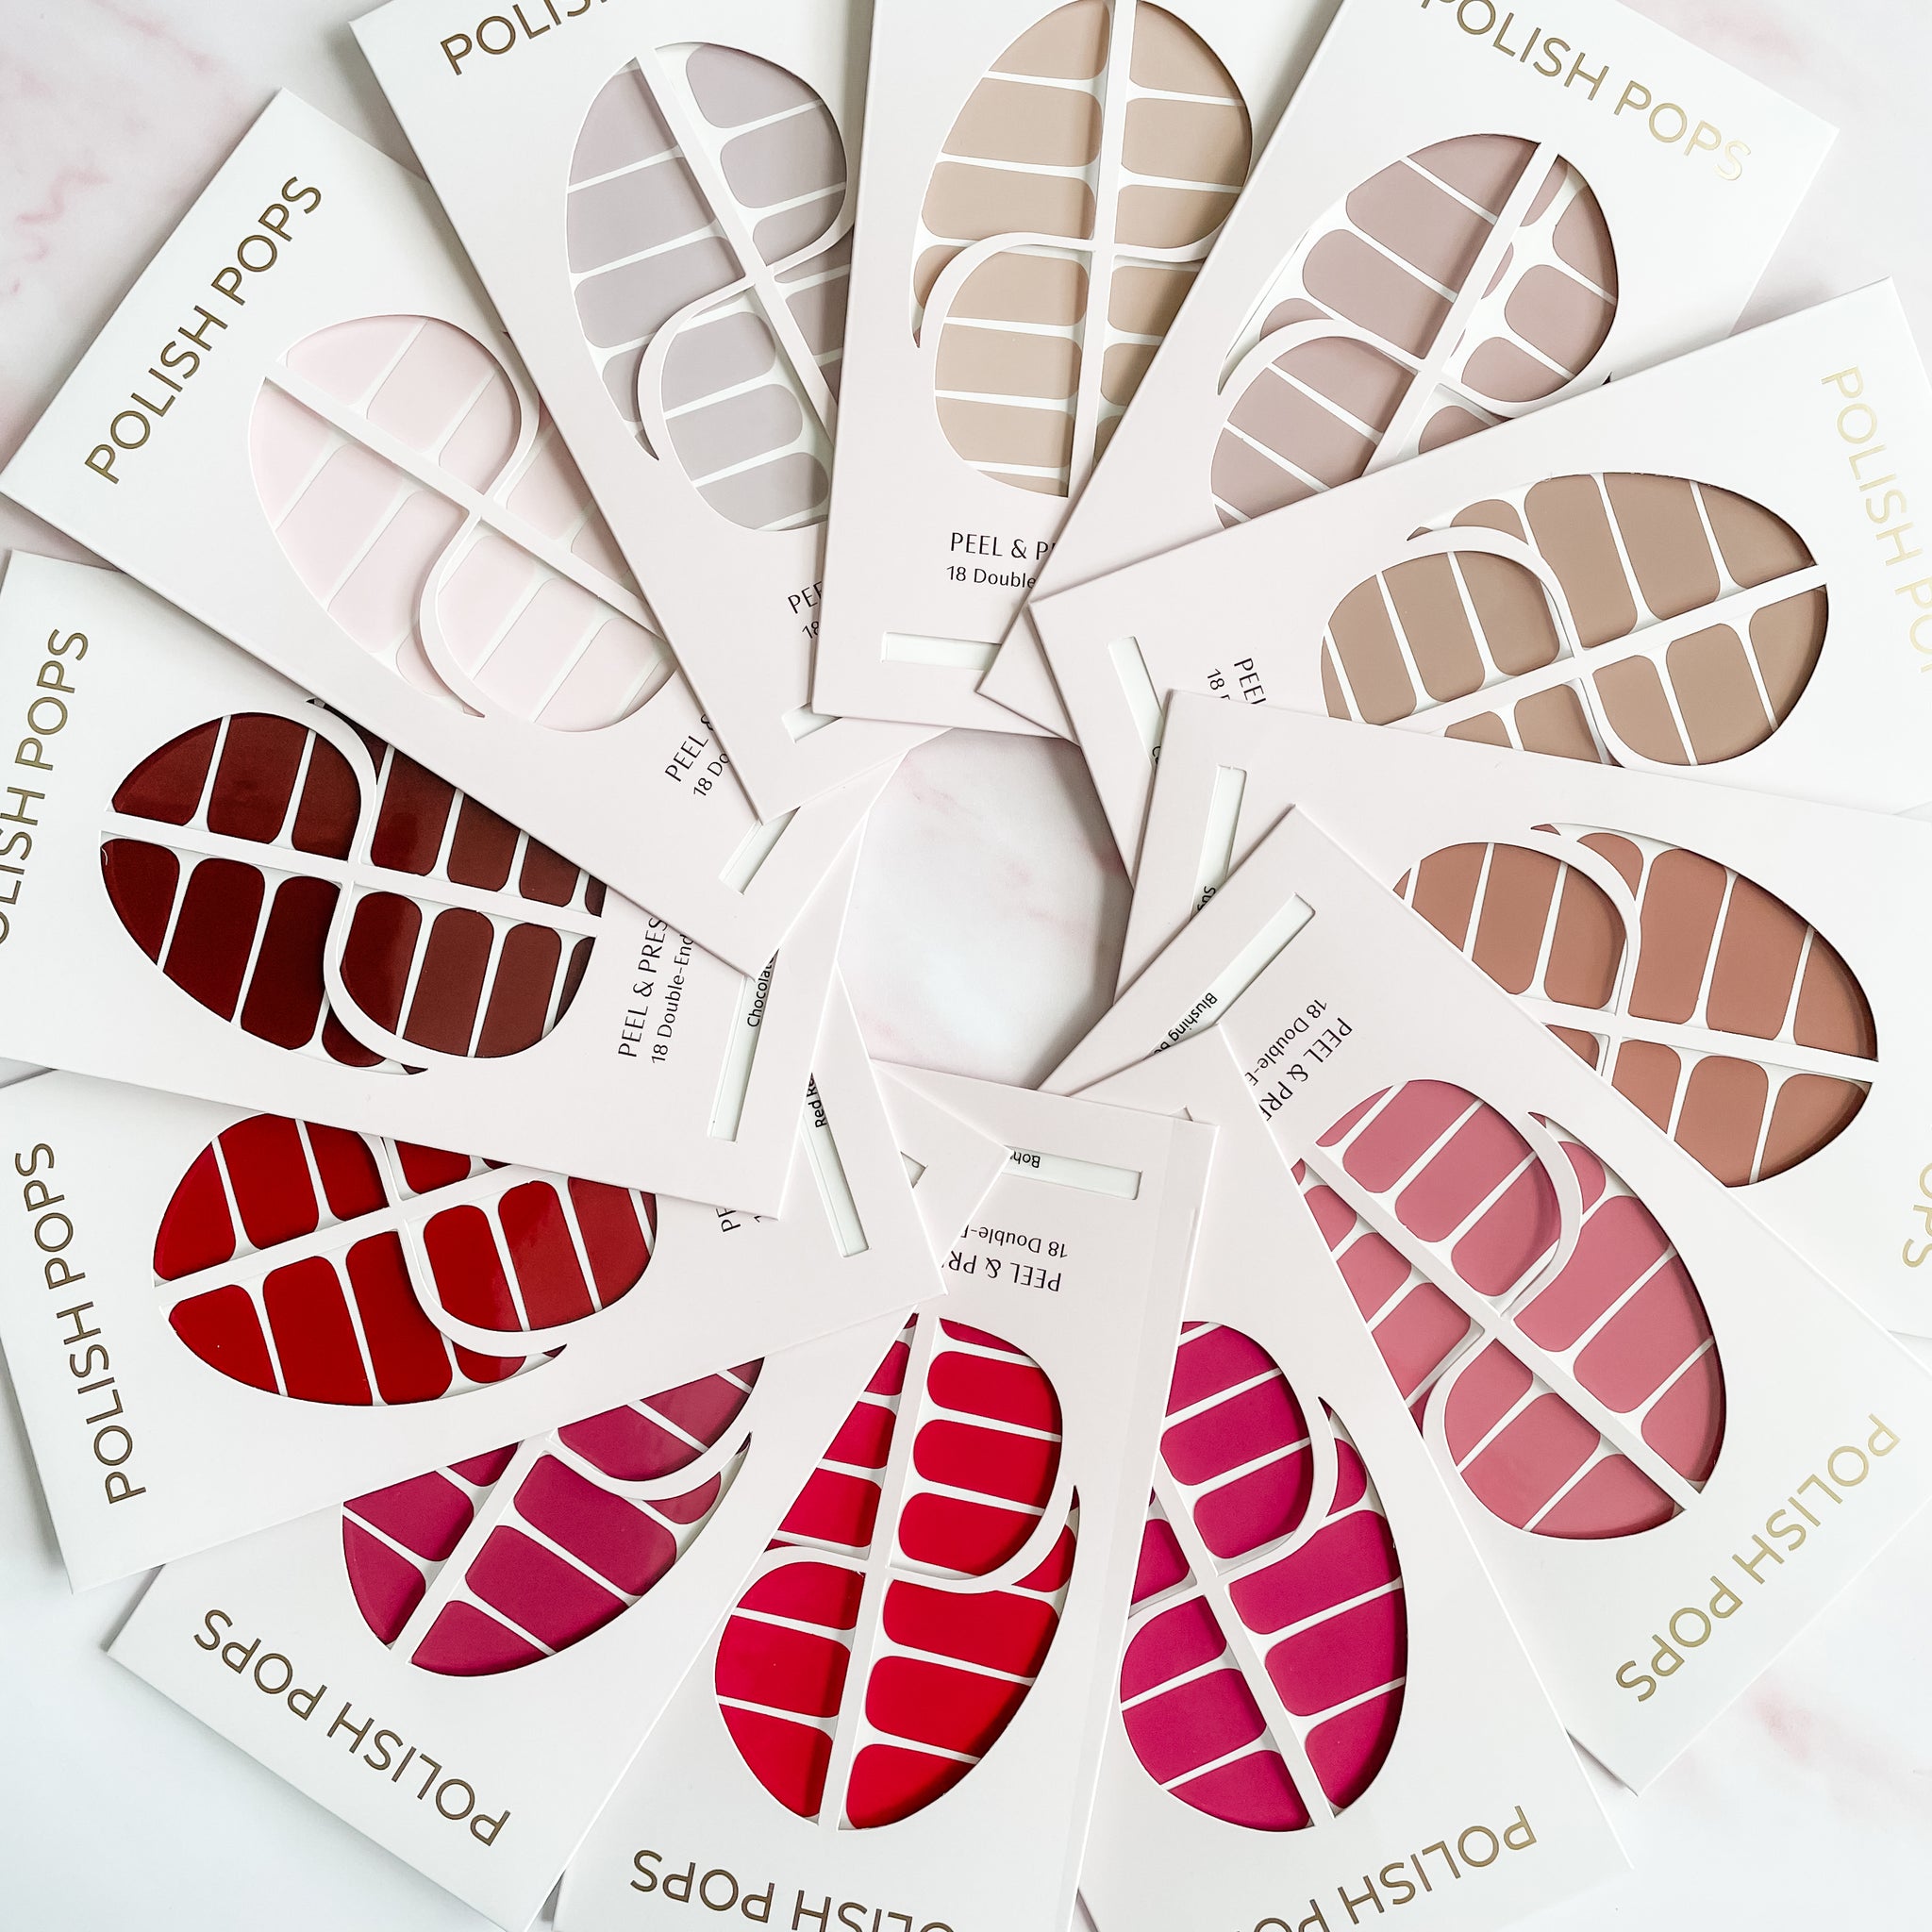
By now you should have browsed our catalog here at Polish Pops and found a style that resonates. Once it arrives at your doorstep, rip that set open and find the strip that matches your nail width - without touching your skin.
Each strip has two different sizes, so you’ll almost always find a perfect fit. Go slightly narrower if you’re between sizes. This keeps the edges sealed and smooth so the wrap stays put.
Step 3. Apply the Nail Wrap
Peel the strip off the backing and place it about a hairline above your cuticle. Press it down from the center, smoothing outward to the sides so there are no bubbles. Use the cuticle stick to really press the edges in place. This helps your wrap look seamless and polished.
Step 4. Trim to Shape
Fold the excess length over the tip of your nail. You can clip the extra with small nail scissors or use a file to remove it. Clipping gives you more control before you file the edge smooth if your nails are short.
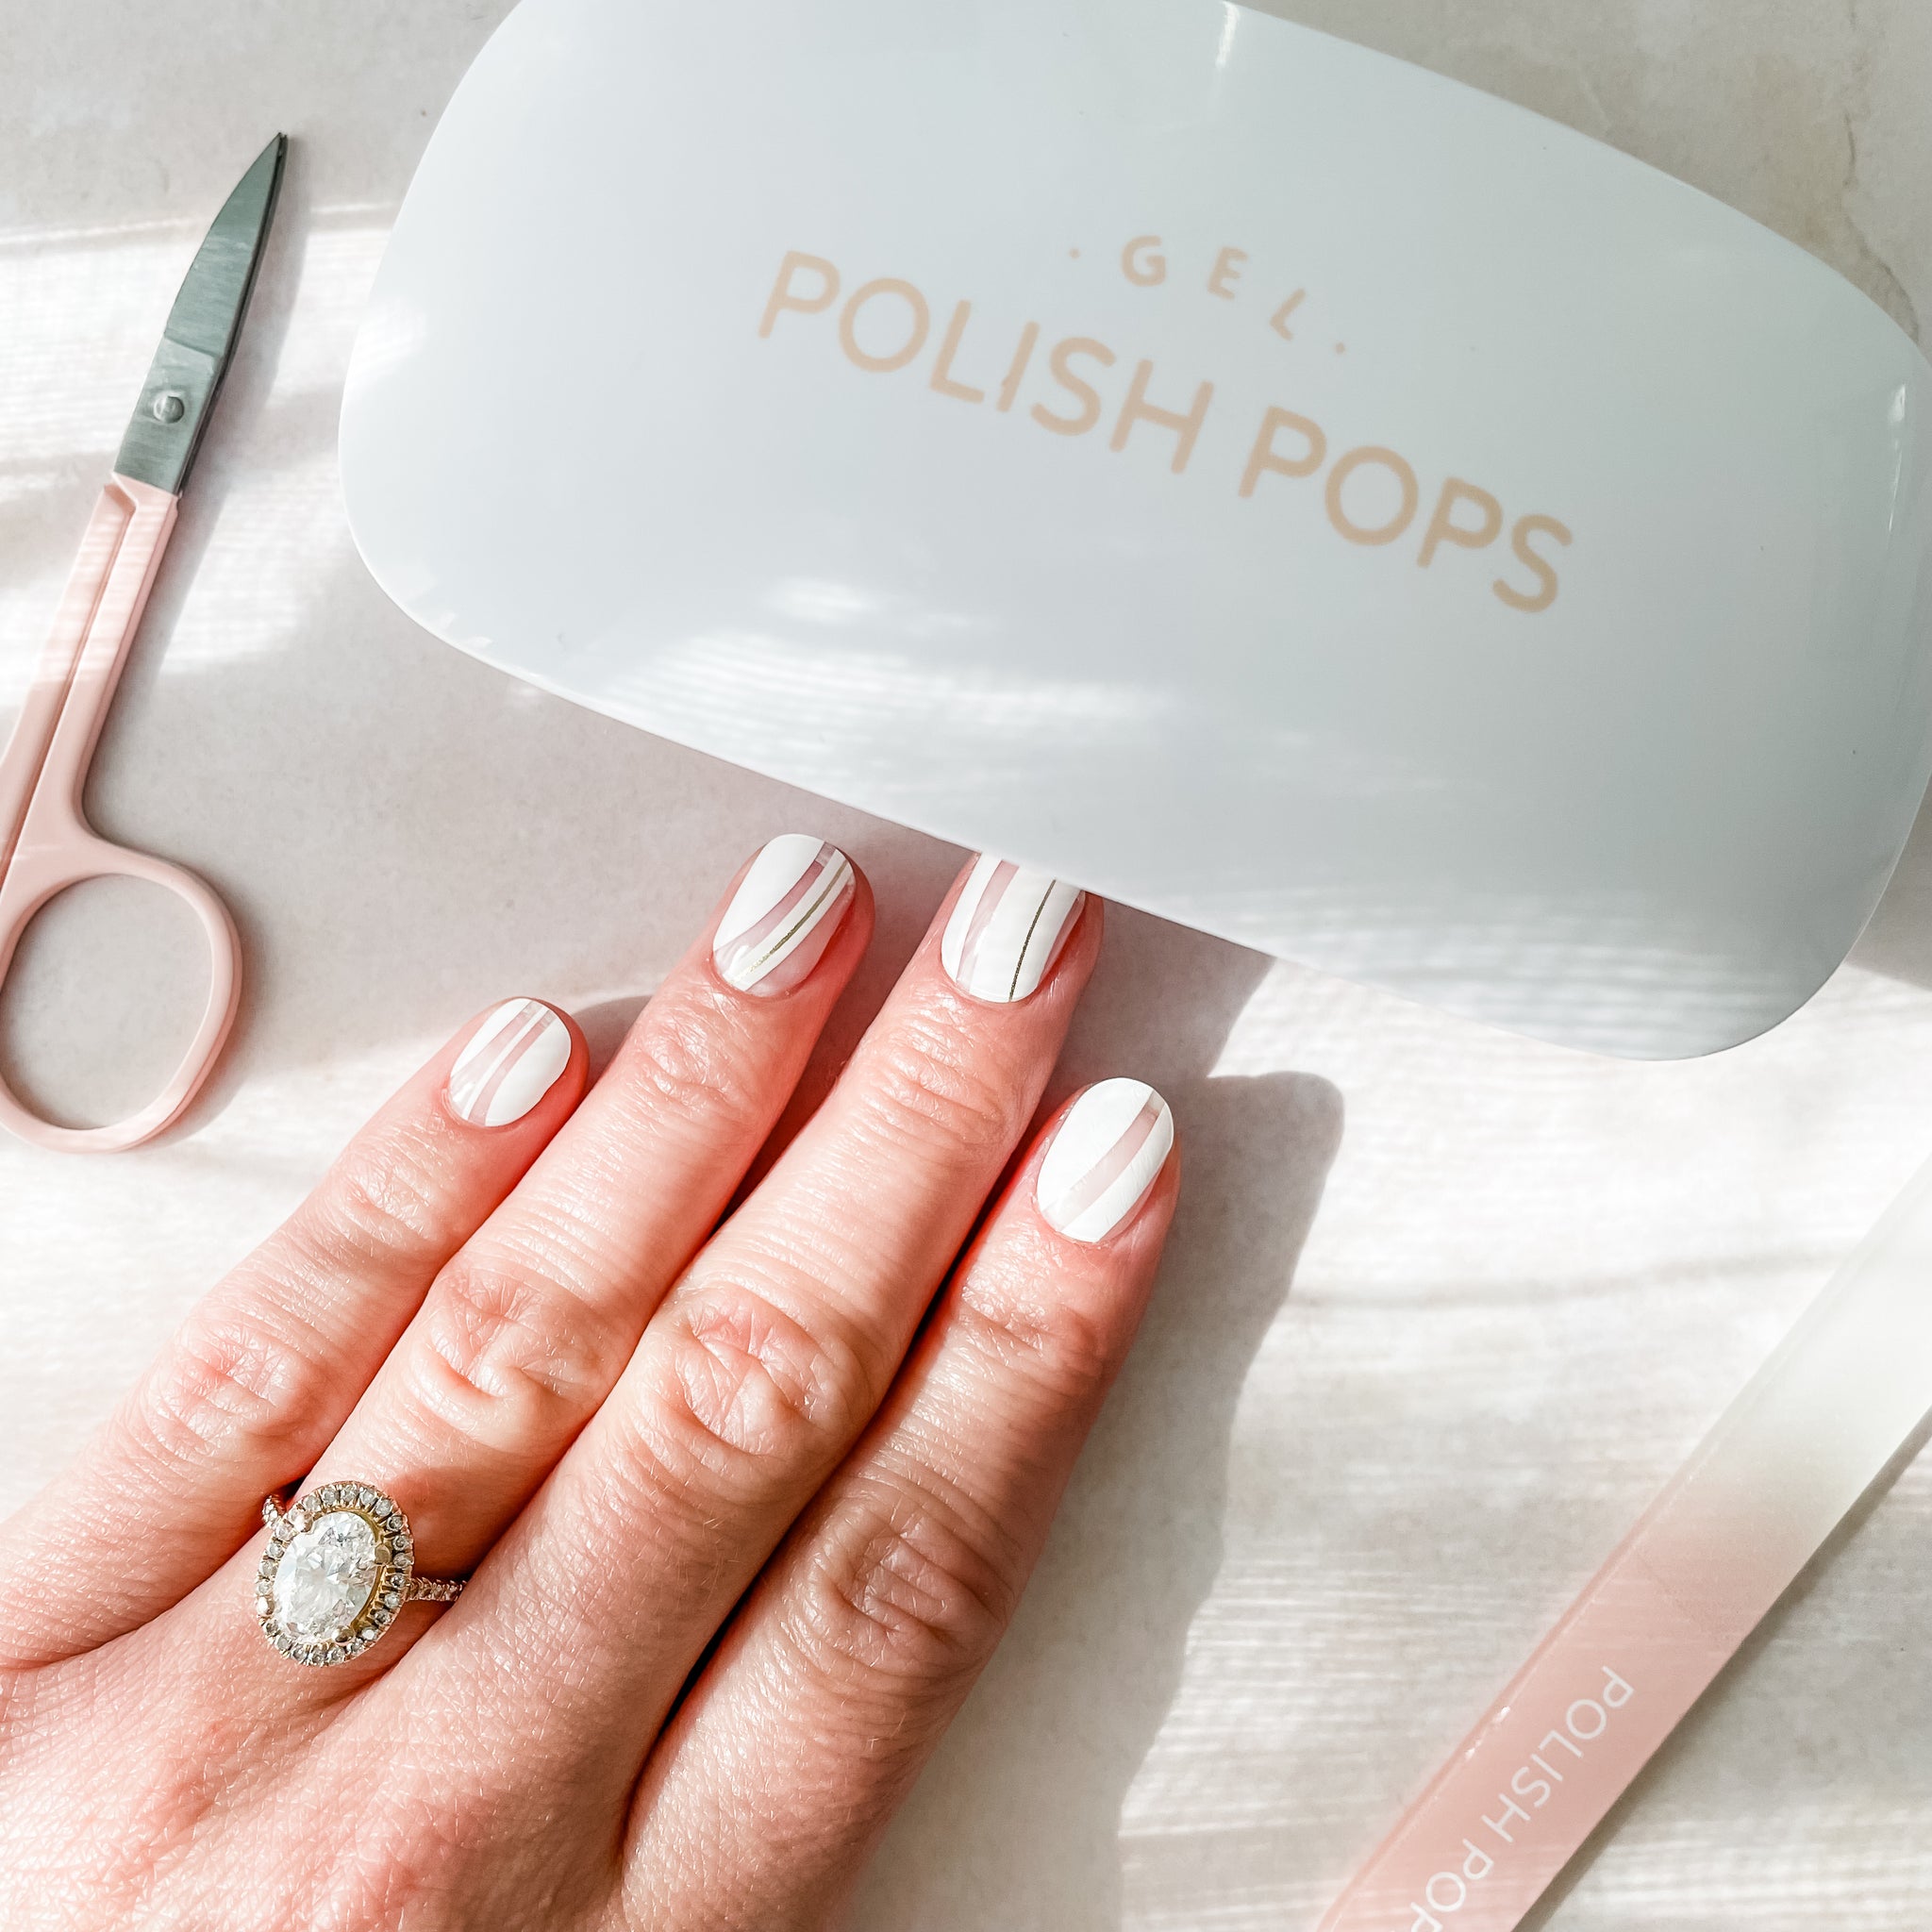
Step 5. Cure the Wraps (For Gel)
This step in how to do a manicure at home only applies to our semi-cured gel nail strips. Your kit will come with an LED lamp. Slide your hand under it and let the look cure for 60 seconds.
After that you’ll see and feel the wraps harden into that glossy, salon-style finish while keeping the shape you laid down. Keep unused wraps away from the lamp so they don’t cure early.
Step 6. File Smooth (For Gel)
You can use a file to refine the tips after curing. A few light strokes are all you need to blend the edge so it feels natural and clean.
Step 7. Seal (For Polish)
We recommend using a layer of top coat if you go with our traditional nail polish wraps. This will bring out the full shine and keep the edges smooth so your manicure stays cute and pristine all week. Your nails are officially photo-ready once the top coat dries!
Quick Overview of the Removal Process
There you have it, how to do a manicure at home! How long does a manicure take, all in? Once you get the hang of it, no more than a few minutes per hand. Our blog has more tips on how to do gel nails at home with UV light if you want the full scoop.
But we want to quickly go over some tips on removing your nail wraps once you’re ready for a new look. You’ll love how gentle and easy this process is, just like the DIY manicure itself.
For gel wraps, add a little cuticle oil around the edges, slide the wooden stick underneath, and lift the wrap gently from side to side. They release cleanly without scraping or soaking.
As for polish wraps, you can peel them off the same way or wipe your nails with an acetone-free remover if you prefer a clean reset. Either method keeps your nails feeling healthy instead of dry or brittle, so you can switch to a new design right away!
Tips to Keep Your DIY Manicure Stunning For Longer
A few small habits make a huge difference in how fresh your at-home manicure. These tips will help your wraps stay smooth, sealed, and glossy from day 1 to day 14 and onward:
- Do your DIY manicure right before bed so they can set without water or lotion messing things up.
- Choose a wrap that’s slightly narrower than your nail to prevent lifting around the edges.
- Use the wooden cuticle stick to press the edges firmly. This keeps everything sealed.
- Wear gloves when washing dishes or cleaning to protect the tips.
- Add a thin layer of top coat every few days if you’re using polish wraps for extra shine.
Whether you’re looking for alternatives to acrylic nails or alternatives to gel nails, your search ends here at Polish Pops. Get started today now that you know how to do a manicure at home!
Parting Thoughts on How to Do a Manicure At Home
Learning how to do a manicure at home gives you so much freedom - your schedule, your style, your budget, all on your terms.
We want you to forget all the downsides of traditional DIY manicures, though. Polish Pops changes everything. No mess, no wasted time, no frustrating results, no lackluster longevity. You get a clean, glossy, and totally salon-worthy manicure in minutes.
Pick your vibe, and give yourself a mani that looks professionally done, every time.