There are few things more frustrating than noticing your gel nails lifting, but don’t fret. We’re going to show you how to fix gel nails that have lifted at home. Better yet, we’re going to explain how to prevent gel nails from lifting in the first place!
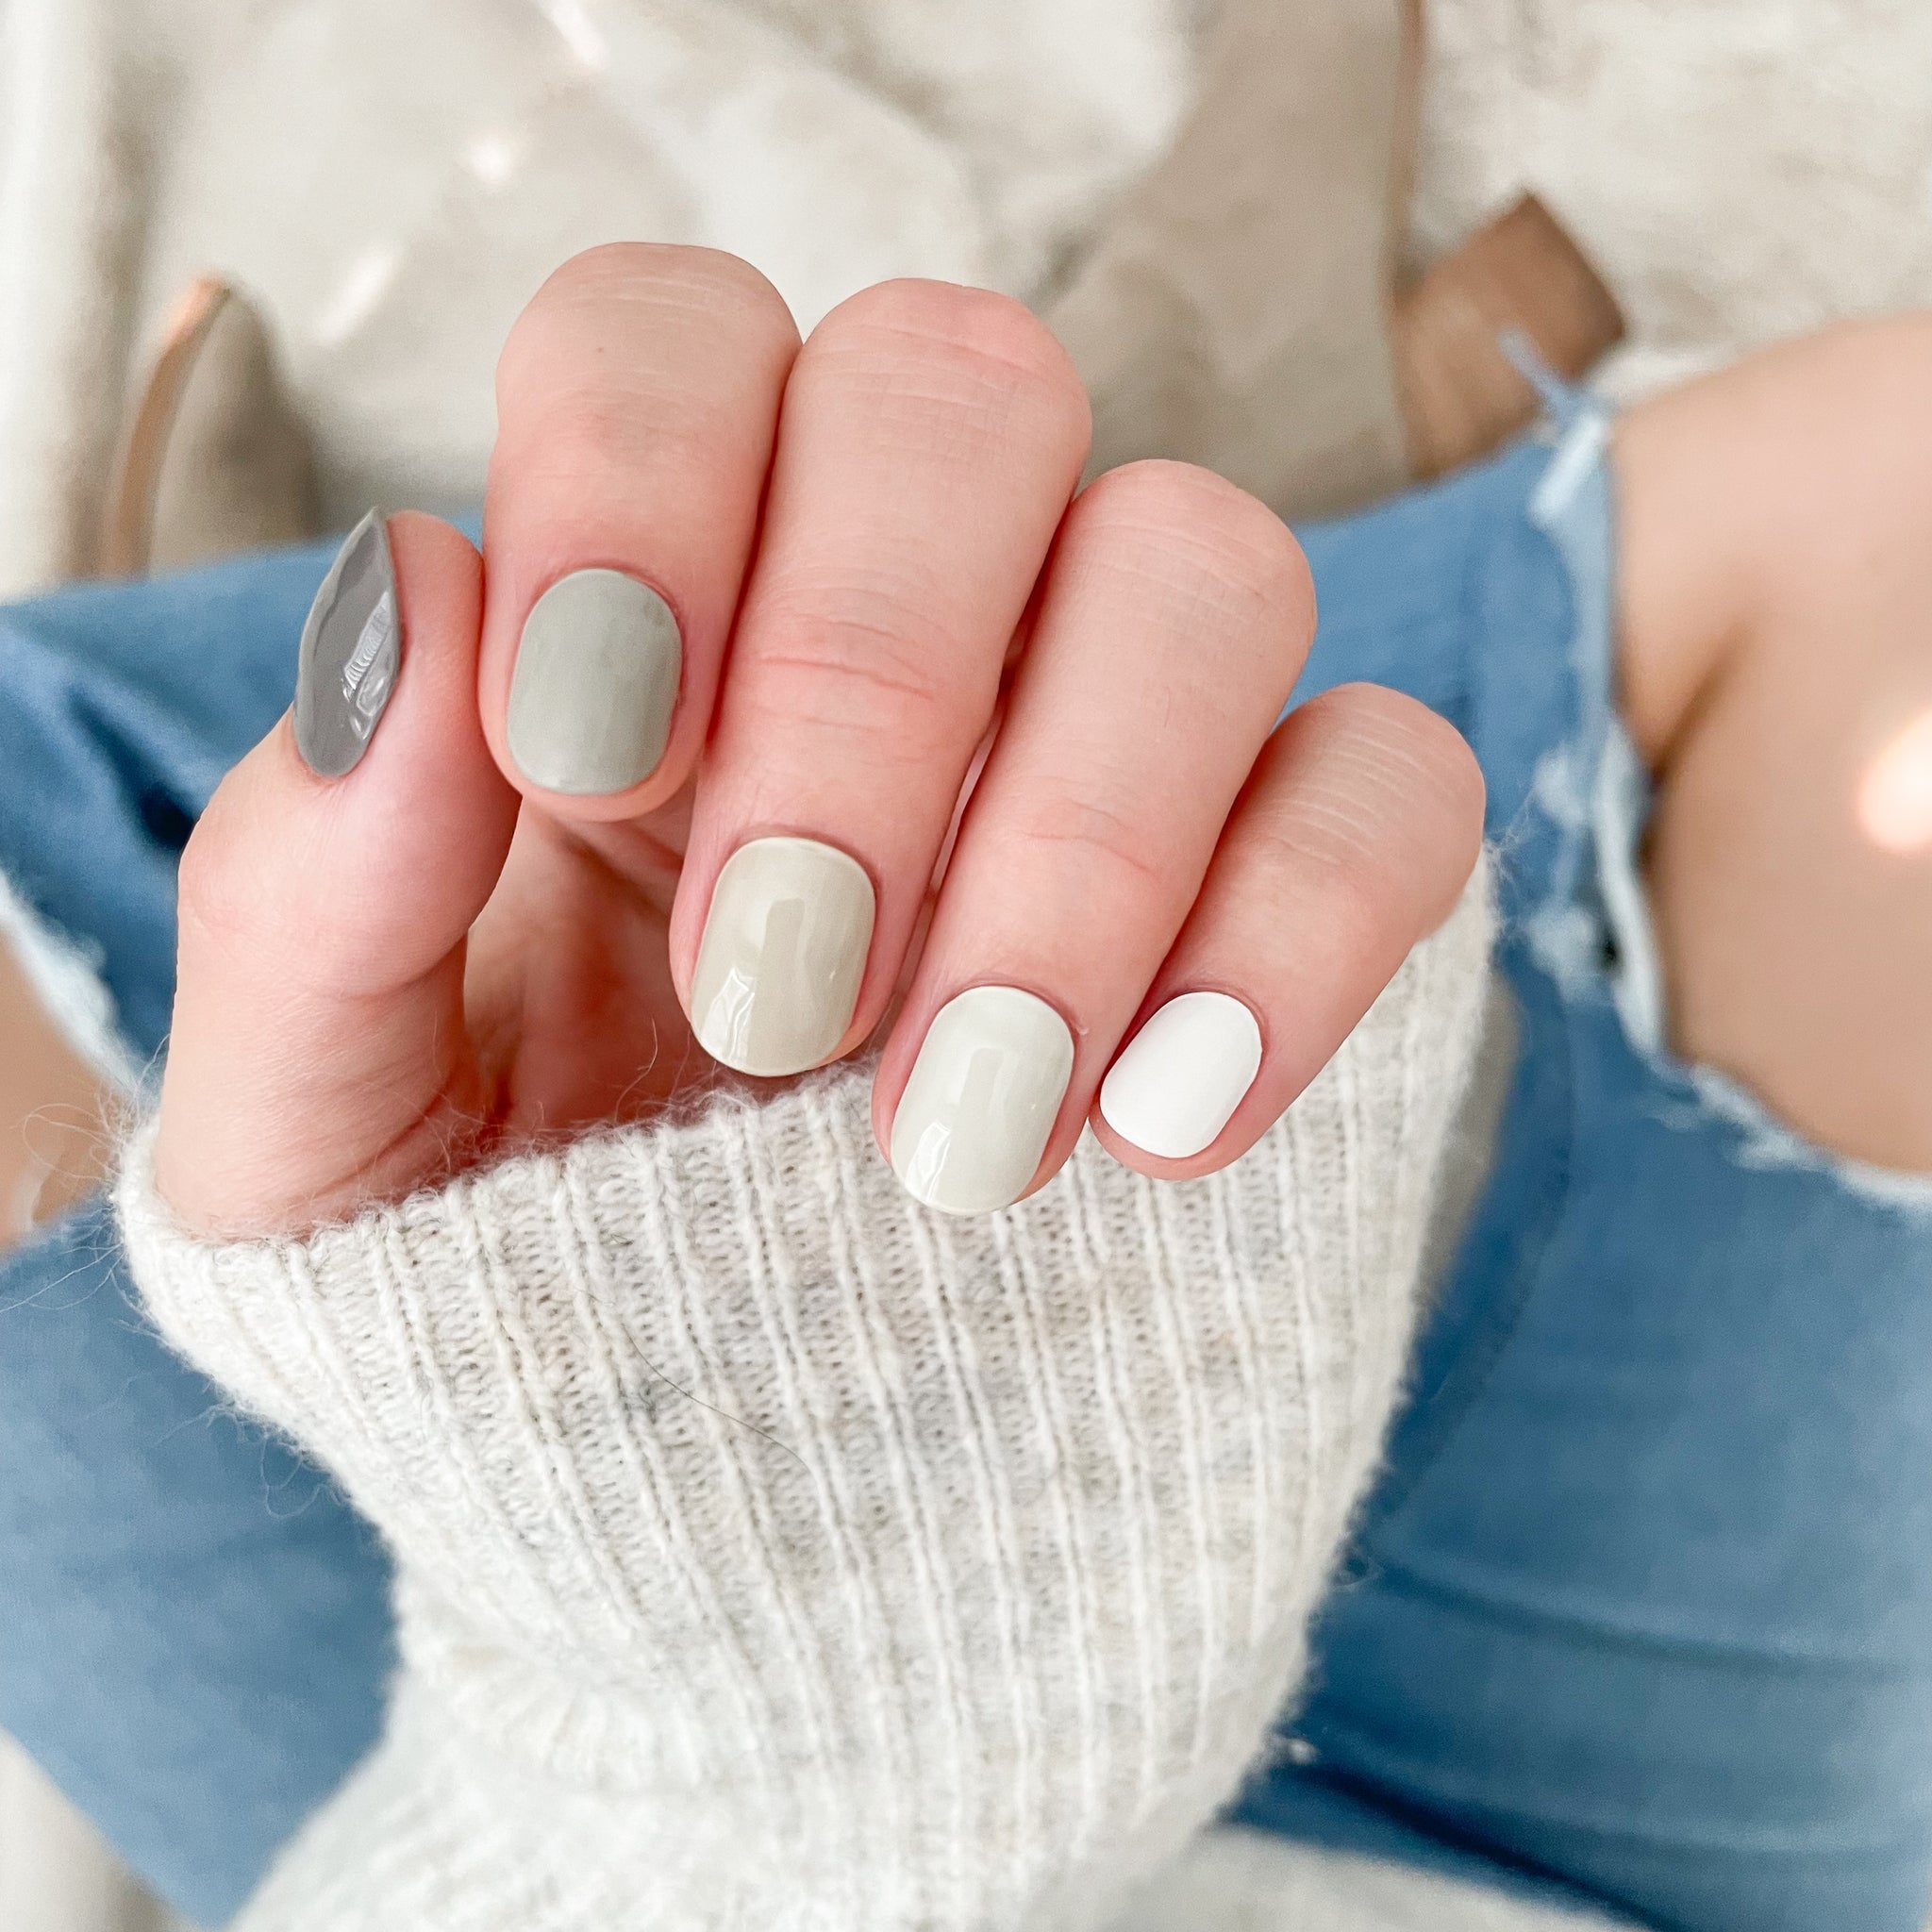
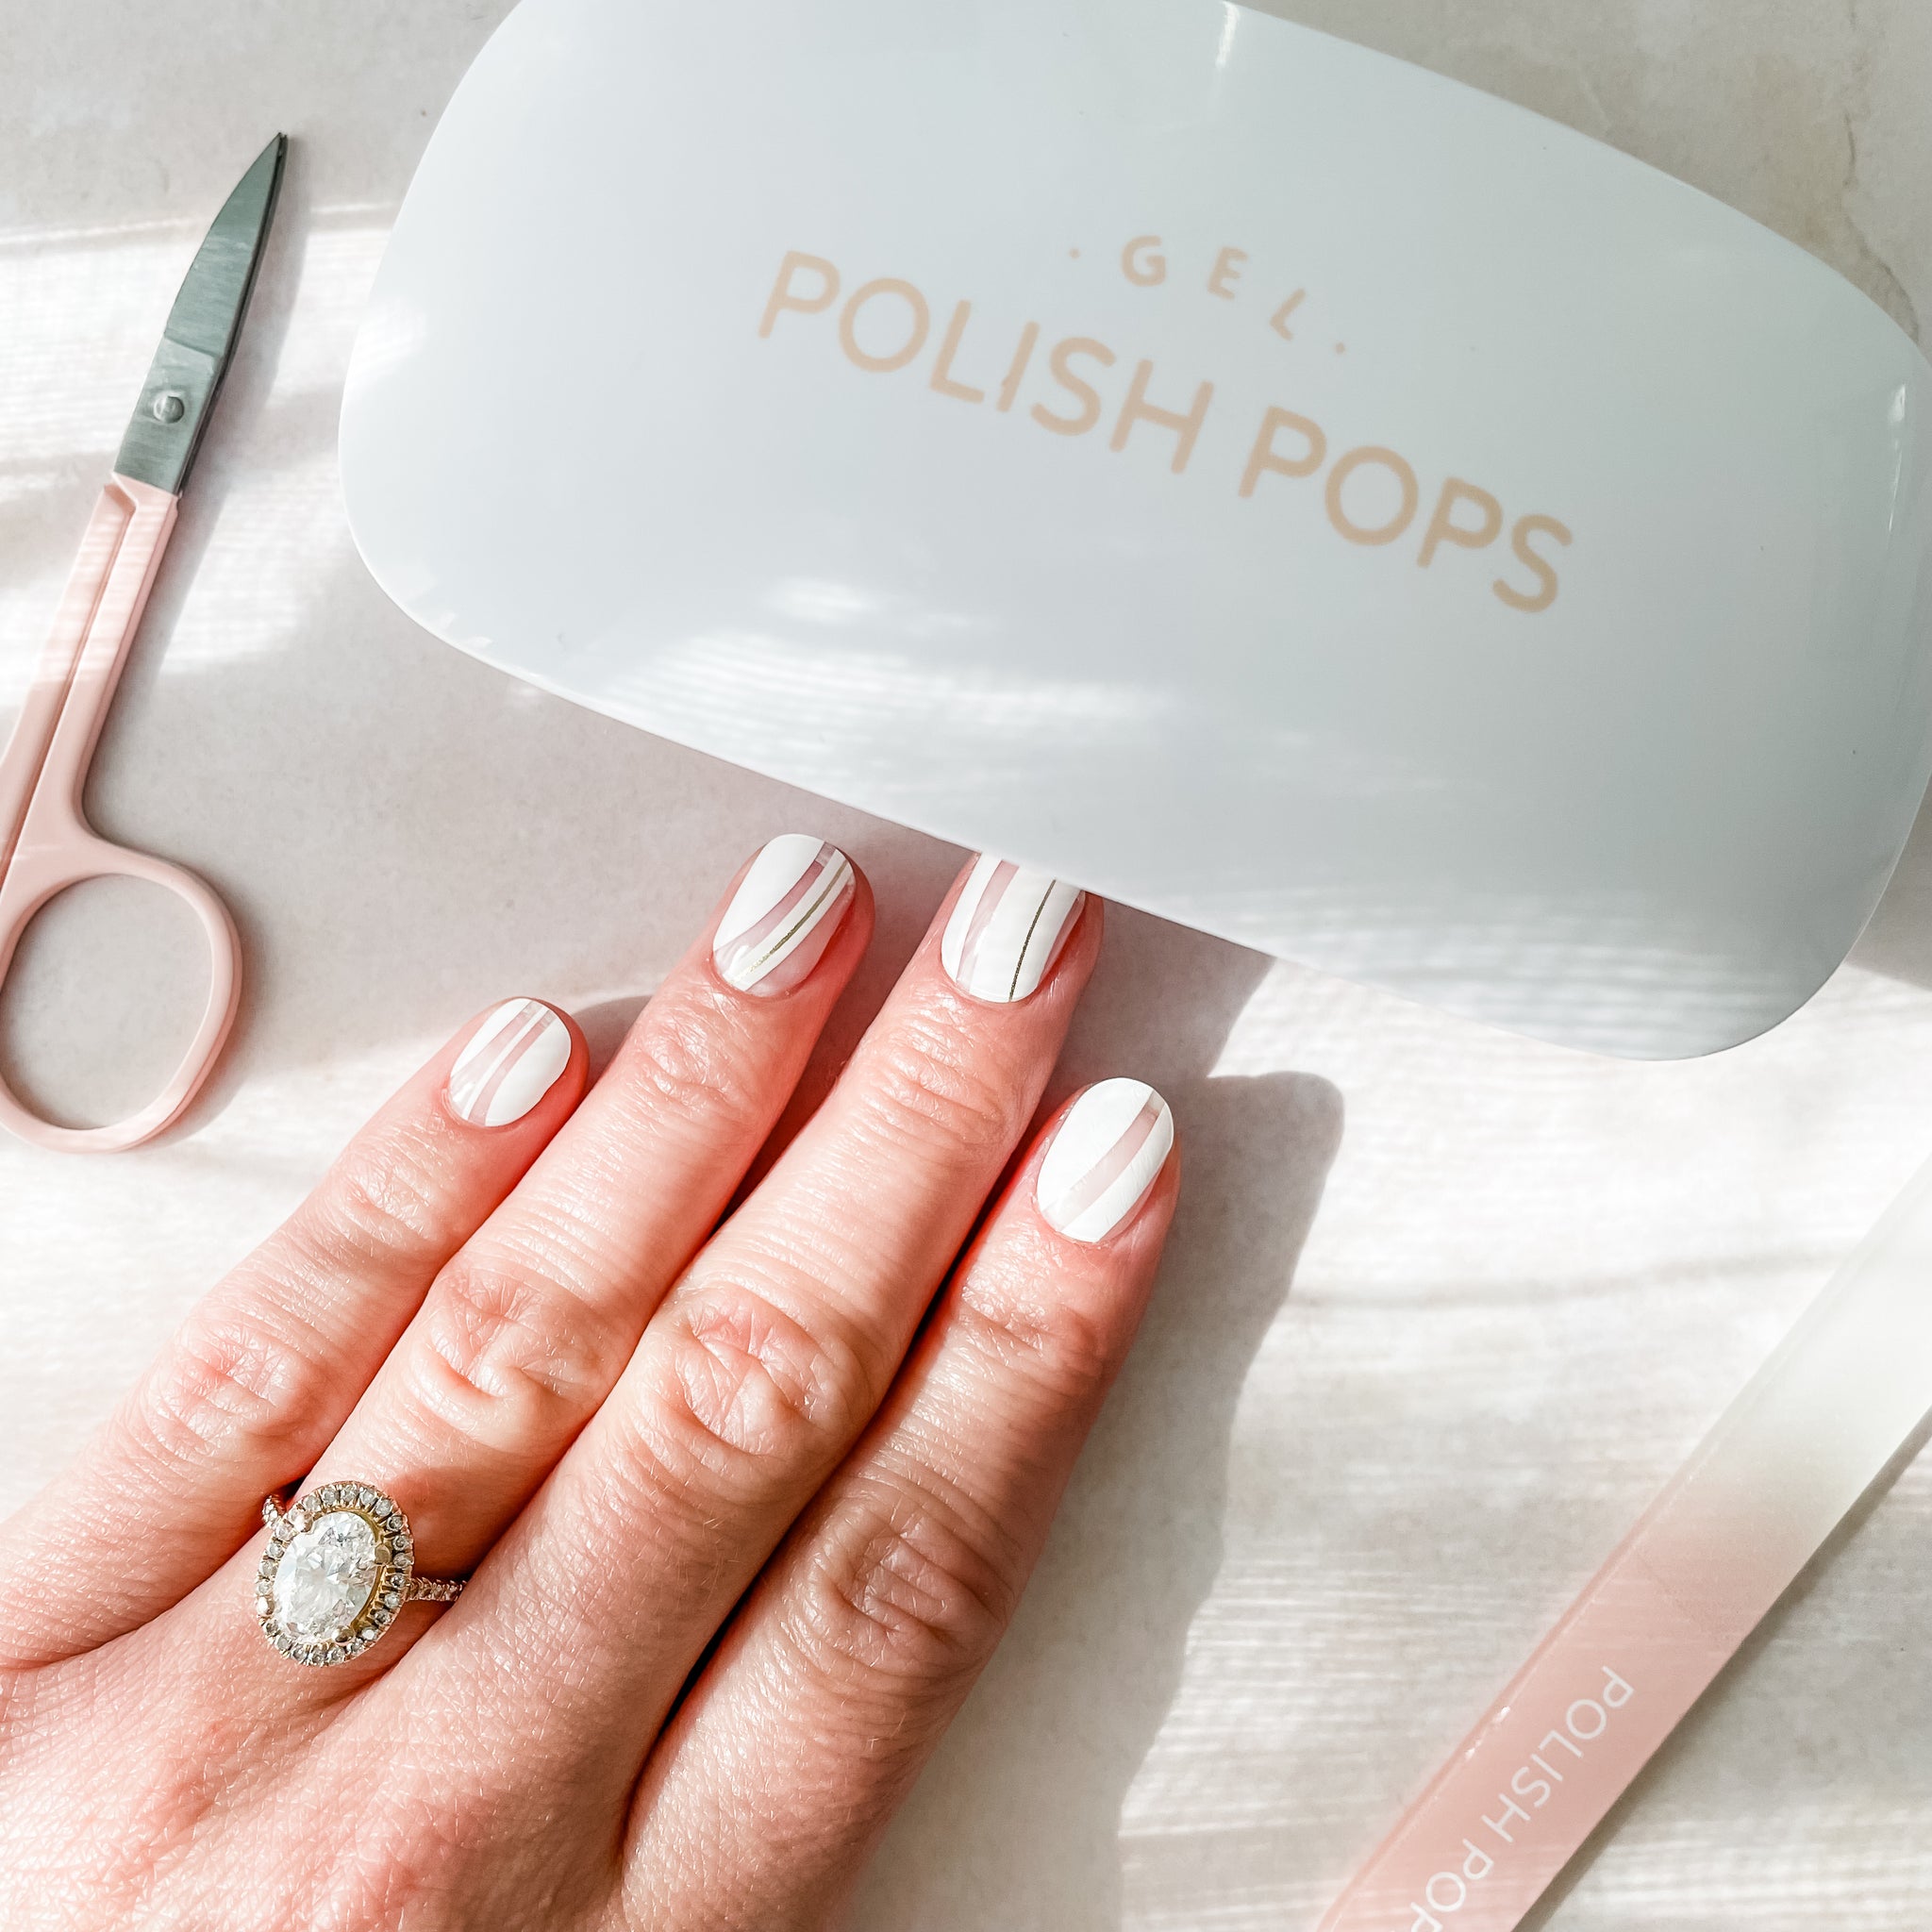
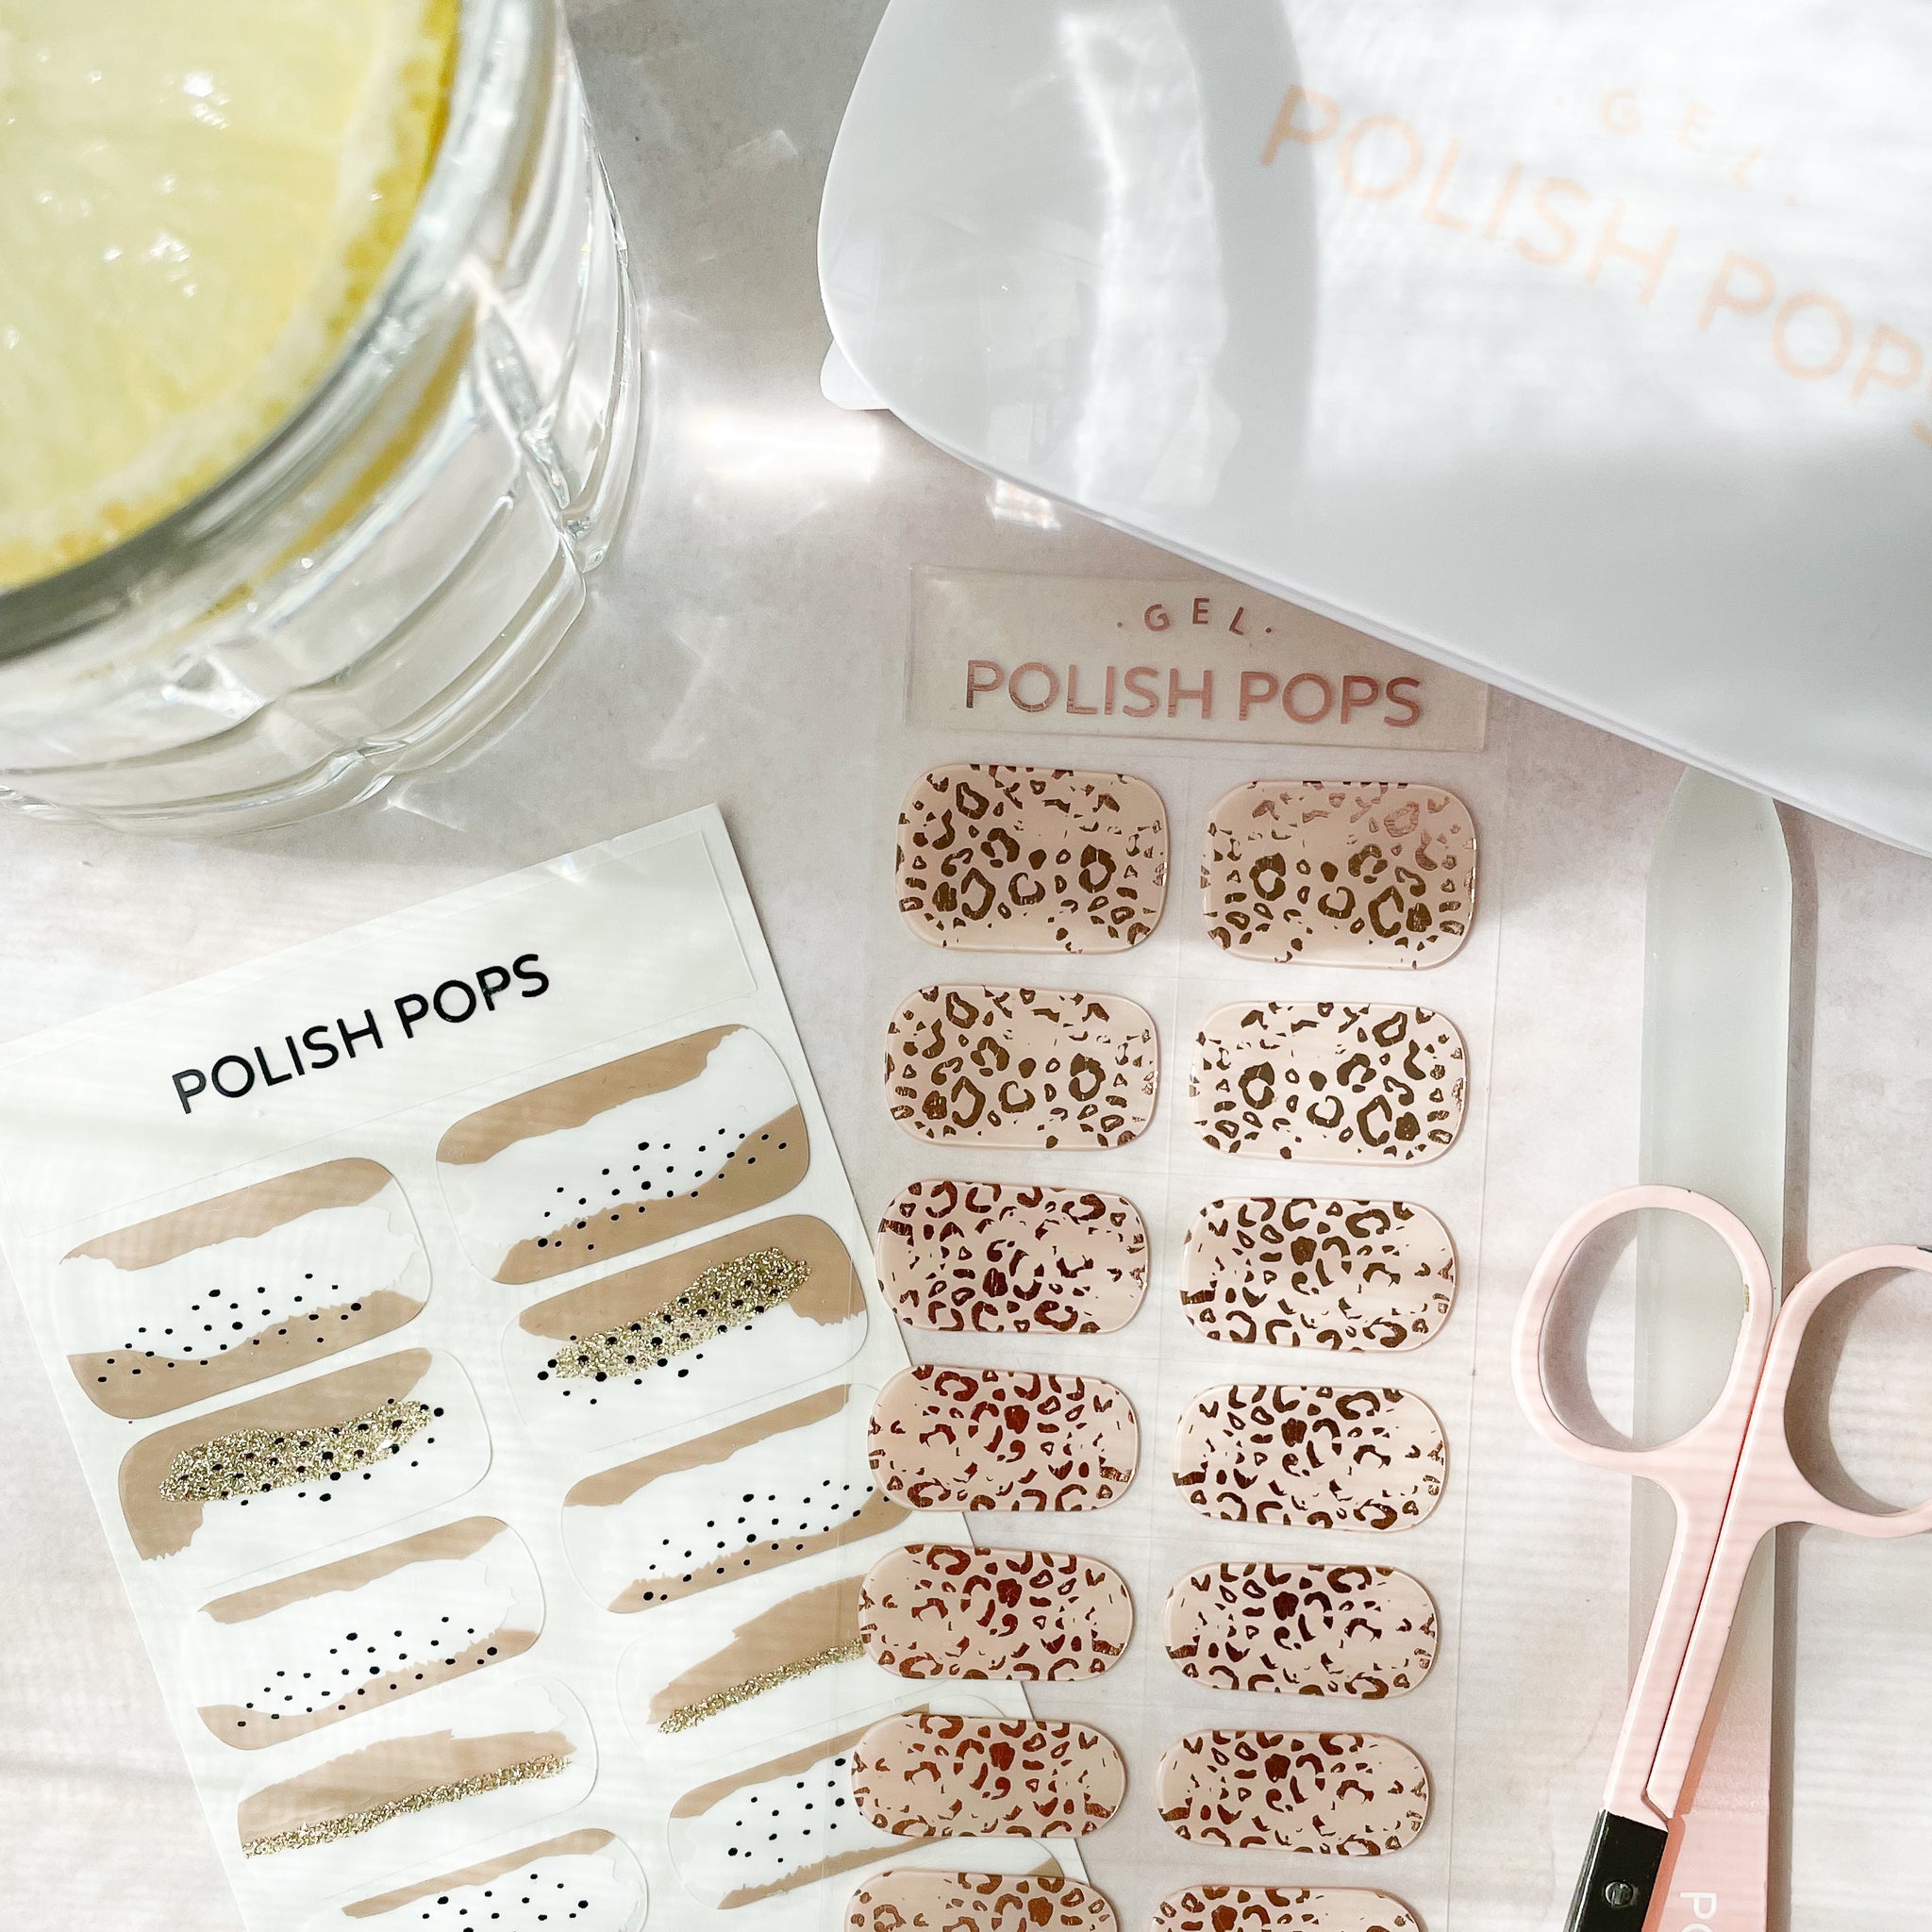
Your best bet is to upgrade to a smarter alternative to gel nails at Polish Pops. These gel nails bring you tons of designs, and you get the perfect at-home manicure in minutes. Just peel, press, cure for 60 seconds, and admire. It’s so easy, and you never have to stress about lifting.
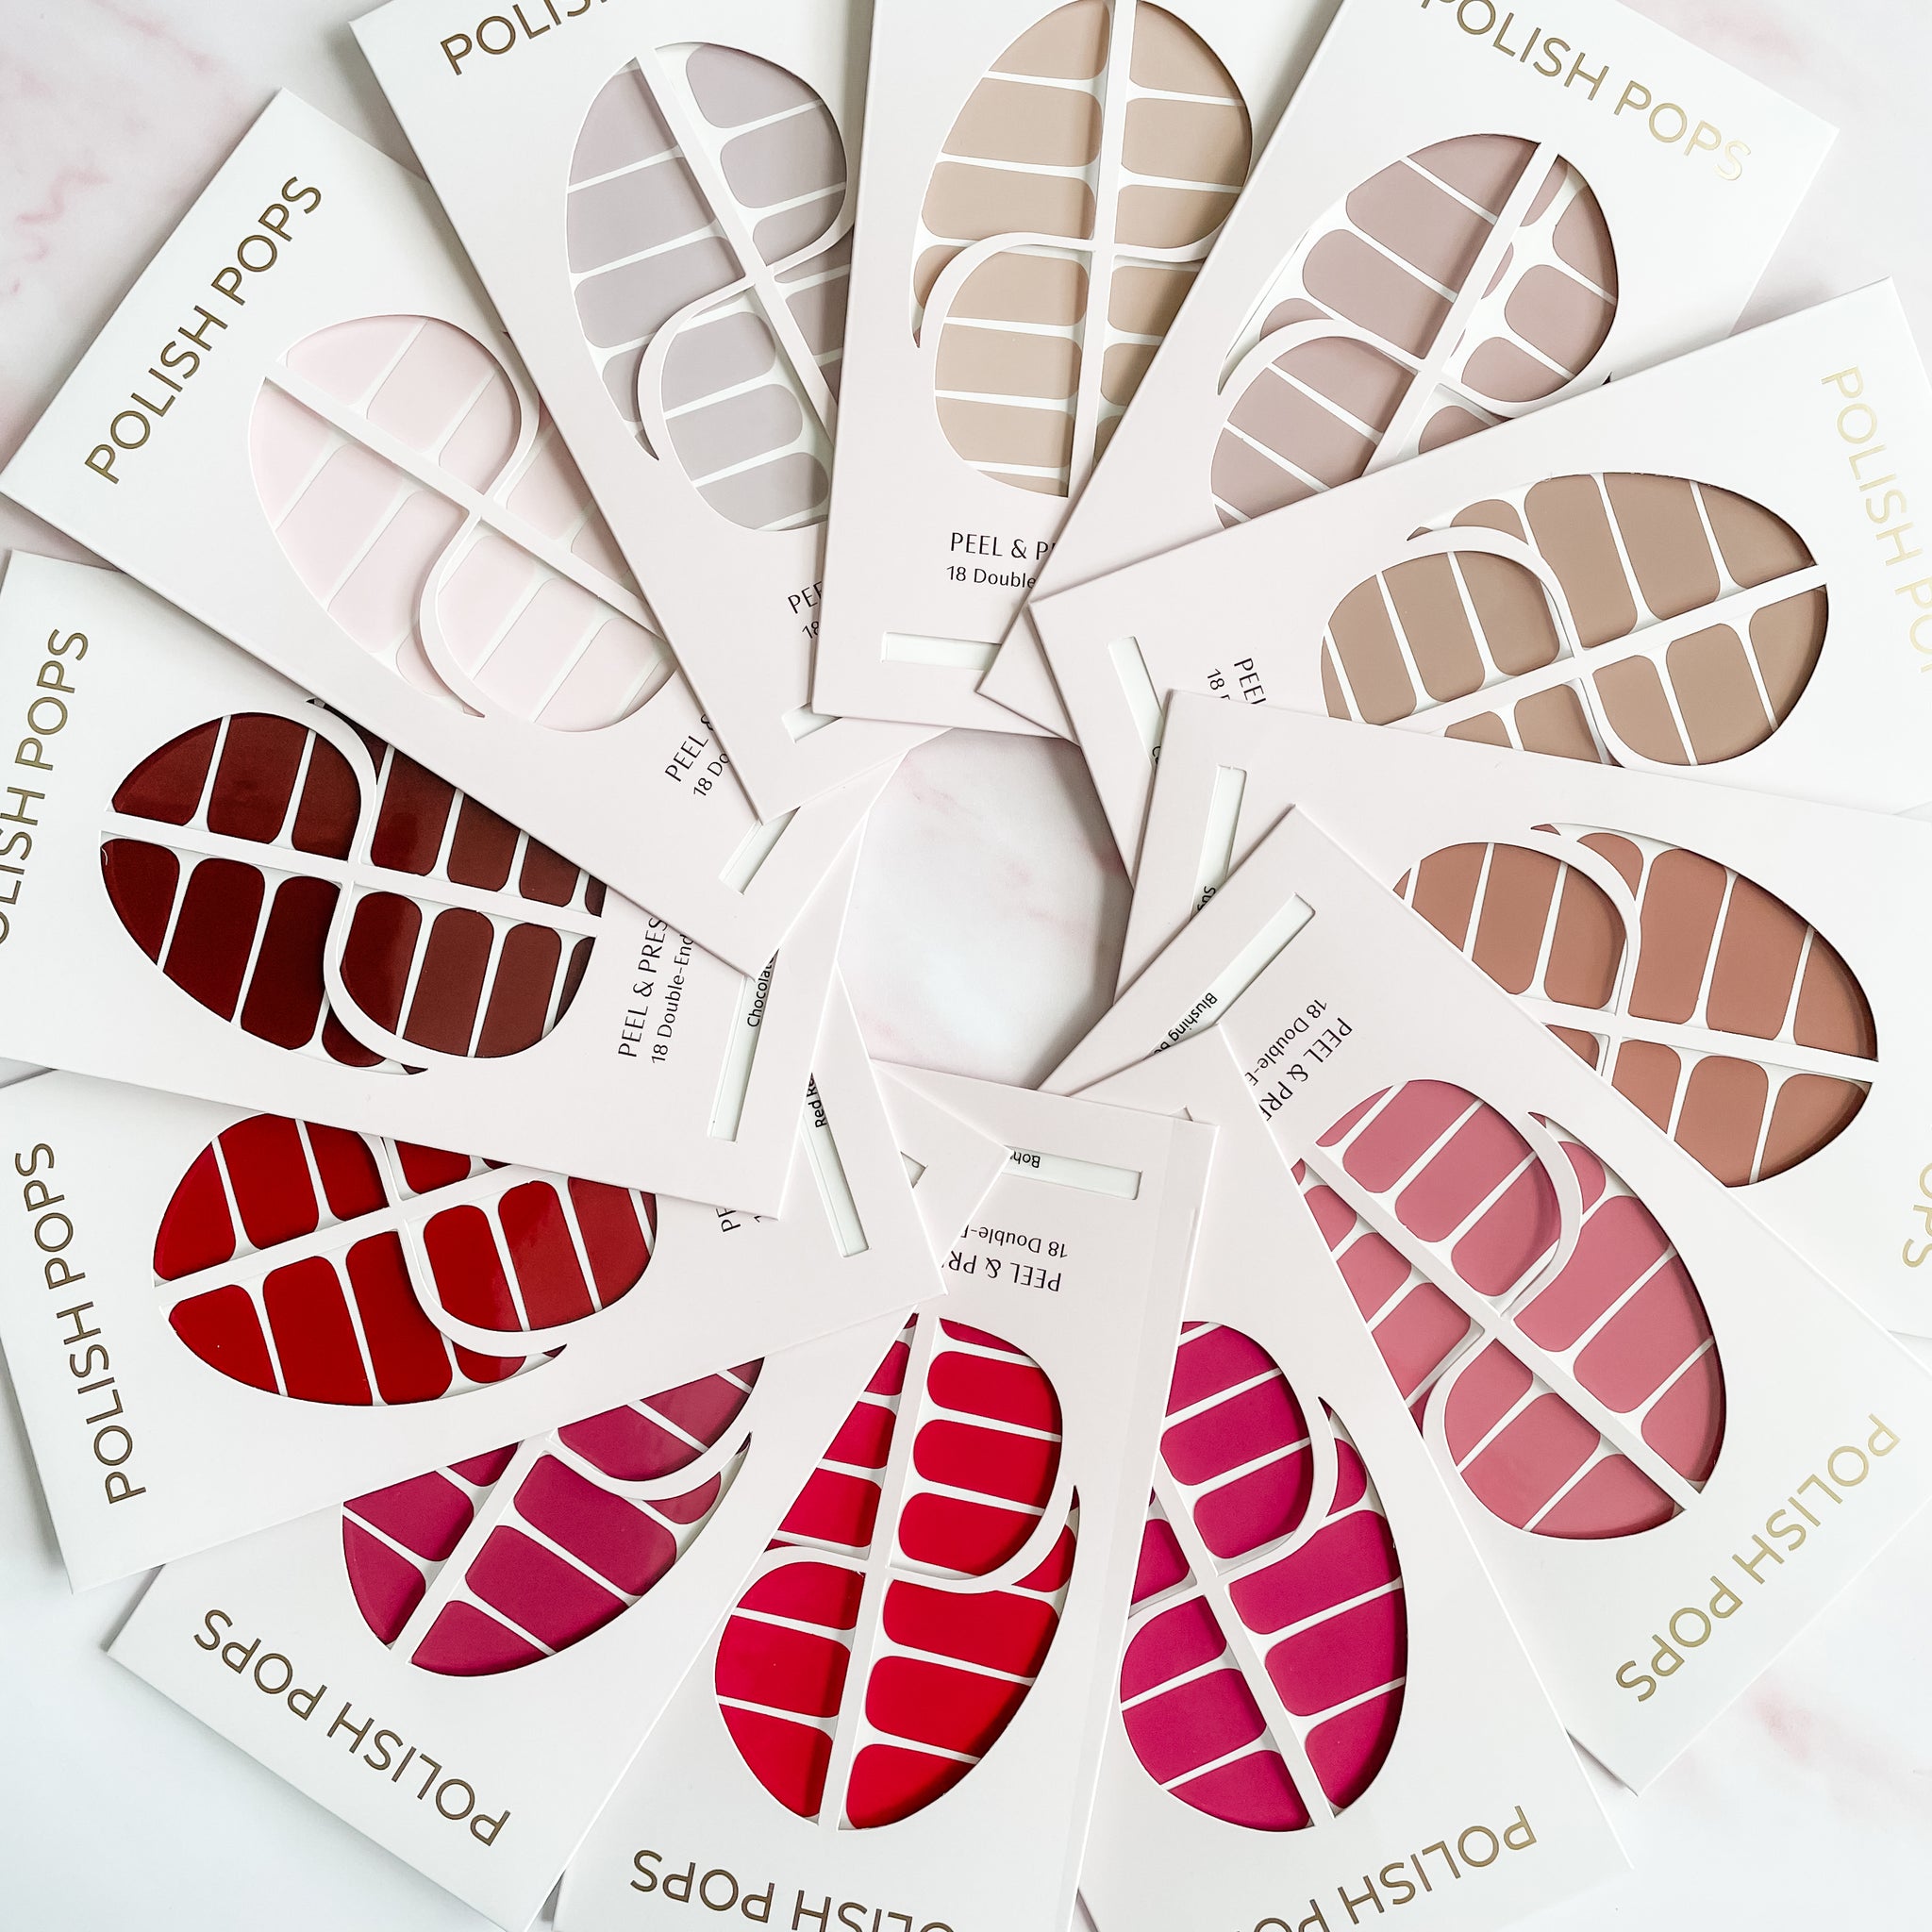
Get a nail kit today and see how much simpler stunning nails can be!
“Love how easy they were to apply and they have lasted 2 weeks. No lifting, no chips just beautiful.” - Tammy
“I am still on my first set and they have held up fantastically. I haven’t tried to remove them yet, but have had on 10 days and done plenty of dishes/hands in water with cleaning and have had no issue with them lifting. I am now a fan!” - Barbara
“I ordered the UV gel wraps for the first time. I was amazed at how easy they were to put on. Also, they have lasted me 12 days so far without any chipping or lifting. I’m definitely a fan and I will be ordering more. Give them a try you won’t be disappointed!” - Karen
Why Are My Gel Nails Lifting?
When we talk about gel nails lifting, we’re describing that frustrating phenomenon where the gel starts pulling away from your natural nail. It usually occurs at the cuticle, sidewalls, or tip, and you’re left with little gaps you can see and/or feel. Here’s what typically causes it:
- Cuticles weren’t pushed back all the way, so gel sat on the skin instead of the nail plate.
- Natural oils were still on the nail, usually from lotion, cuticle oil, or even skincare earlier that day.
- Gel touched the skin during application, breaking the seal before it ever had a chance to hold.
- Layers were applied too thickly, so the gel couldn’t fully cure and grip the nail.
- Curing time was rushed, especially with darker shades or builder-style gels.
- Hands take a beating, from cleaning, dishes, gym time, or lots of typing without gloves.
- Weak or bendy natural nails flex under the gel and cause it to pop loose over time.
Gel nails lifting can lead to a cascade of other issues - water sneaks in, edges catch on everything, and the manicure goes downhill fast. It’s annoying, but it’s also very common.
How to Fix Gel Nails That Have Lifted At Home
Your first instinct when you notice gel nails lifting might be to panic-fix it. But we want to show you how to fix gel nails that have lifted at home without making things worse. Sometimes lifting can be managed, and in other cases, it’s best to cut your losses and start fresh.
When to Fix vs Remove
It’s only worth trying to fix lifting that’s minimal - just a corner at the tip or a slight gap near the sidewall. This can usually be smoothed out and sealed.
However, there are many cases where the gel nail is lifting closer to the cuticle, popping up in multiple spots, or letting water underneath. Removal is the smarter move here. Trying to patch major lifting traps moisture and can leave your nails feeling rough afterward.
How to Smooth and Re-Seal Minor Lifting
If all you’re dealing with is small lift spots, you can start by gently filing just the raised edge until it’s smooth and flush with the nail. Don’t dig or pry - light pressure only. Clean the nail with alcohol to remove dust and oils, then apply a thin layer of gel top coat to reseal the edge. Cure fully under your lamp. This works best when the rest of the nail is still solid and intact.
What you don’t want to do is peel the gel. Sure, it feels satisfying - but it usually takes layers of your natural nail with it. Re-curing over lifted areas doesn’t fix the problem either. It just seals in air and moisture and lets the lifting spread faster.
How to Prevent Gel Nails From Lifting in the First Place
Most “temporary fixes” are only going to turn a small issue into a full removal situation within a day or two. If you encounter gel nails lifting once, fine. Chalk it up to a few mistakes during the application process.
But if it happens often, it’s worth taking a step back and figuring out why. Here’s how to prevent gel nails from lifting in the first place.
Better Nail Prep Habits
Good prep is where long-lasting gel nails actually start. Push your cuticles all the way back so you don’t get any product on your skin. Lightly buff the surface to remove shine (NOT to thin the nail) and wipe each nail with alcohol to clear away oils.
What you don’t do before you manicure is just as important. Skip lotion, cuticle oil, and heavy skincare for at least an hour before you start.
Application Tips for a Cleaner, Longer-Lasting Seal
Keep every layer slightly inside the edges of your natural nail. Gel that touches skin or cuticle will lift first. Apply thin, even coats instead of one thick layer. Thick gel cures unevenly and pulls back as it hardens.
Take an extra second to cap the free edge at the tip, then cure fully. Dark shades and builder gels need the full time. Wipe away any flooding you see near the cuticle before curing. Slow down here - it’s worth it for a smoother finish that actually stays put.
How Product Choice Affects Lifting
Not all gel systems behave the same - and this is the most important takeaway from our guide on how to fix gel nails that have lifted at home.
Traditional bottled gels leave more room for error because every layer depends on perfect prep and curing. Builder gels and thick formulas are stronger, but they’re also heavier. This can pull away on flexible nails.
Our semi-cured gel wraps remove all the guesswork so you never have to deal with lifting. The structure and thickness are already built in before you ever apply them. All you have to do is make sure you’ve handled the prep work well and cured them properly.
Daily Habits That Help Gel Nails Stay Put
There are some things you can do to prevent gel nails lifting on a day-to-day basis, too. Wear gloves for dishes and cleaning, especially in the first 24 hours. Don’t use your nails as tools to open cans or peel labels. You can even just keep your nails a little shorter if they’re prone to bending, as this will reduce stress at the tips.
Upgrade to Polish Pops
It’s time for a simpler system if lifting keeps happening no matter how careful you are. Polish Pops semi-cured gel wraps create a smooth, even seal without thick layers, flooding cuticles, or endless curing cycles.
You get long-lasting wear, easy removal, and way fewer chances for lifting to start. Better prep, better fit, better results - and finally, gel nails that stay put. Try them today!
Closing Thoughts on Gel Nails Lifting
That does it for our guide on how to fix gel nails that have lifted at home. This is a very common issue, but one that can be resolved in some cases and prevented altogether by proper prep, application technique, and lifestyle habits.
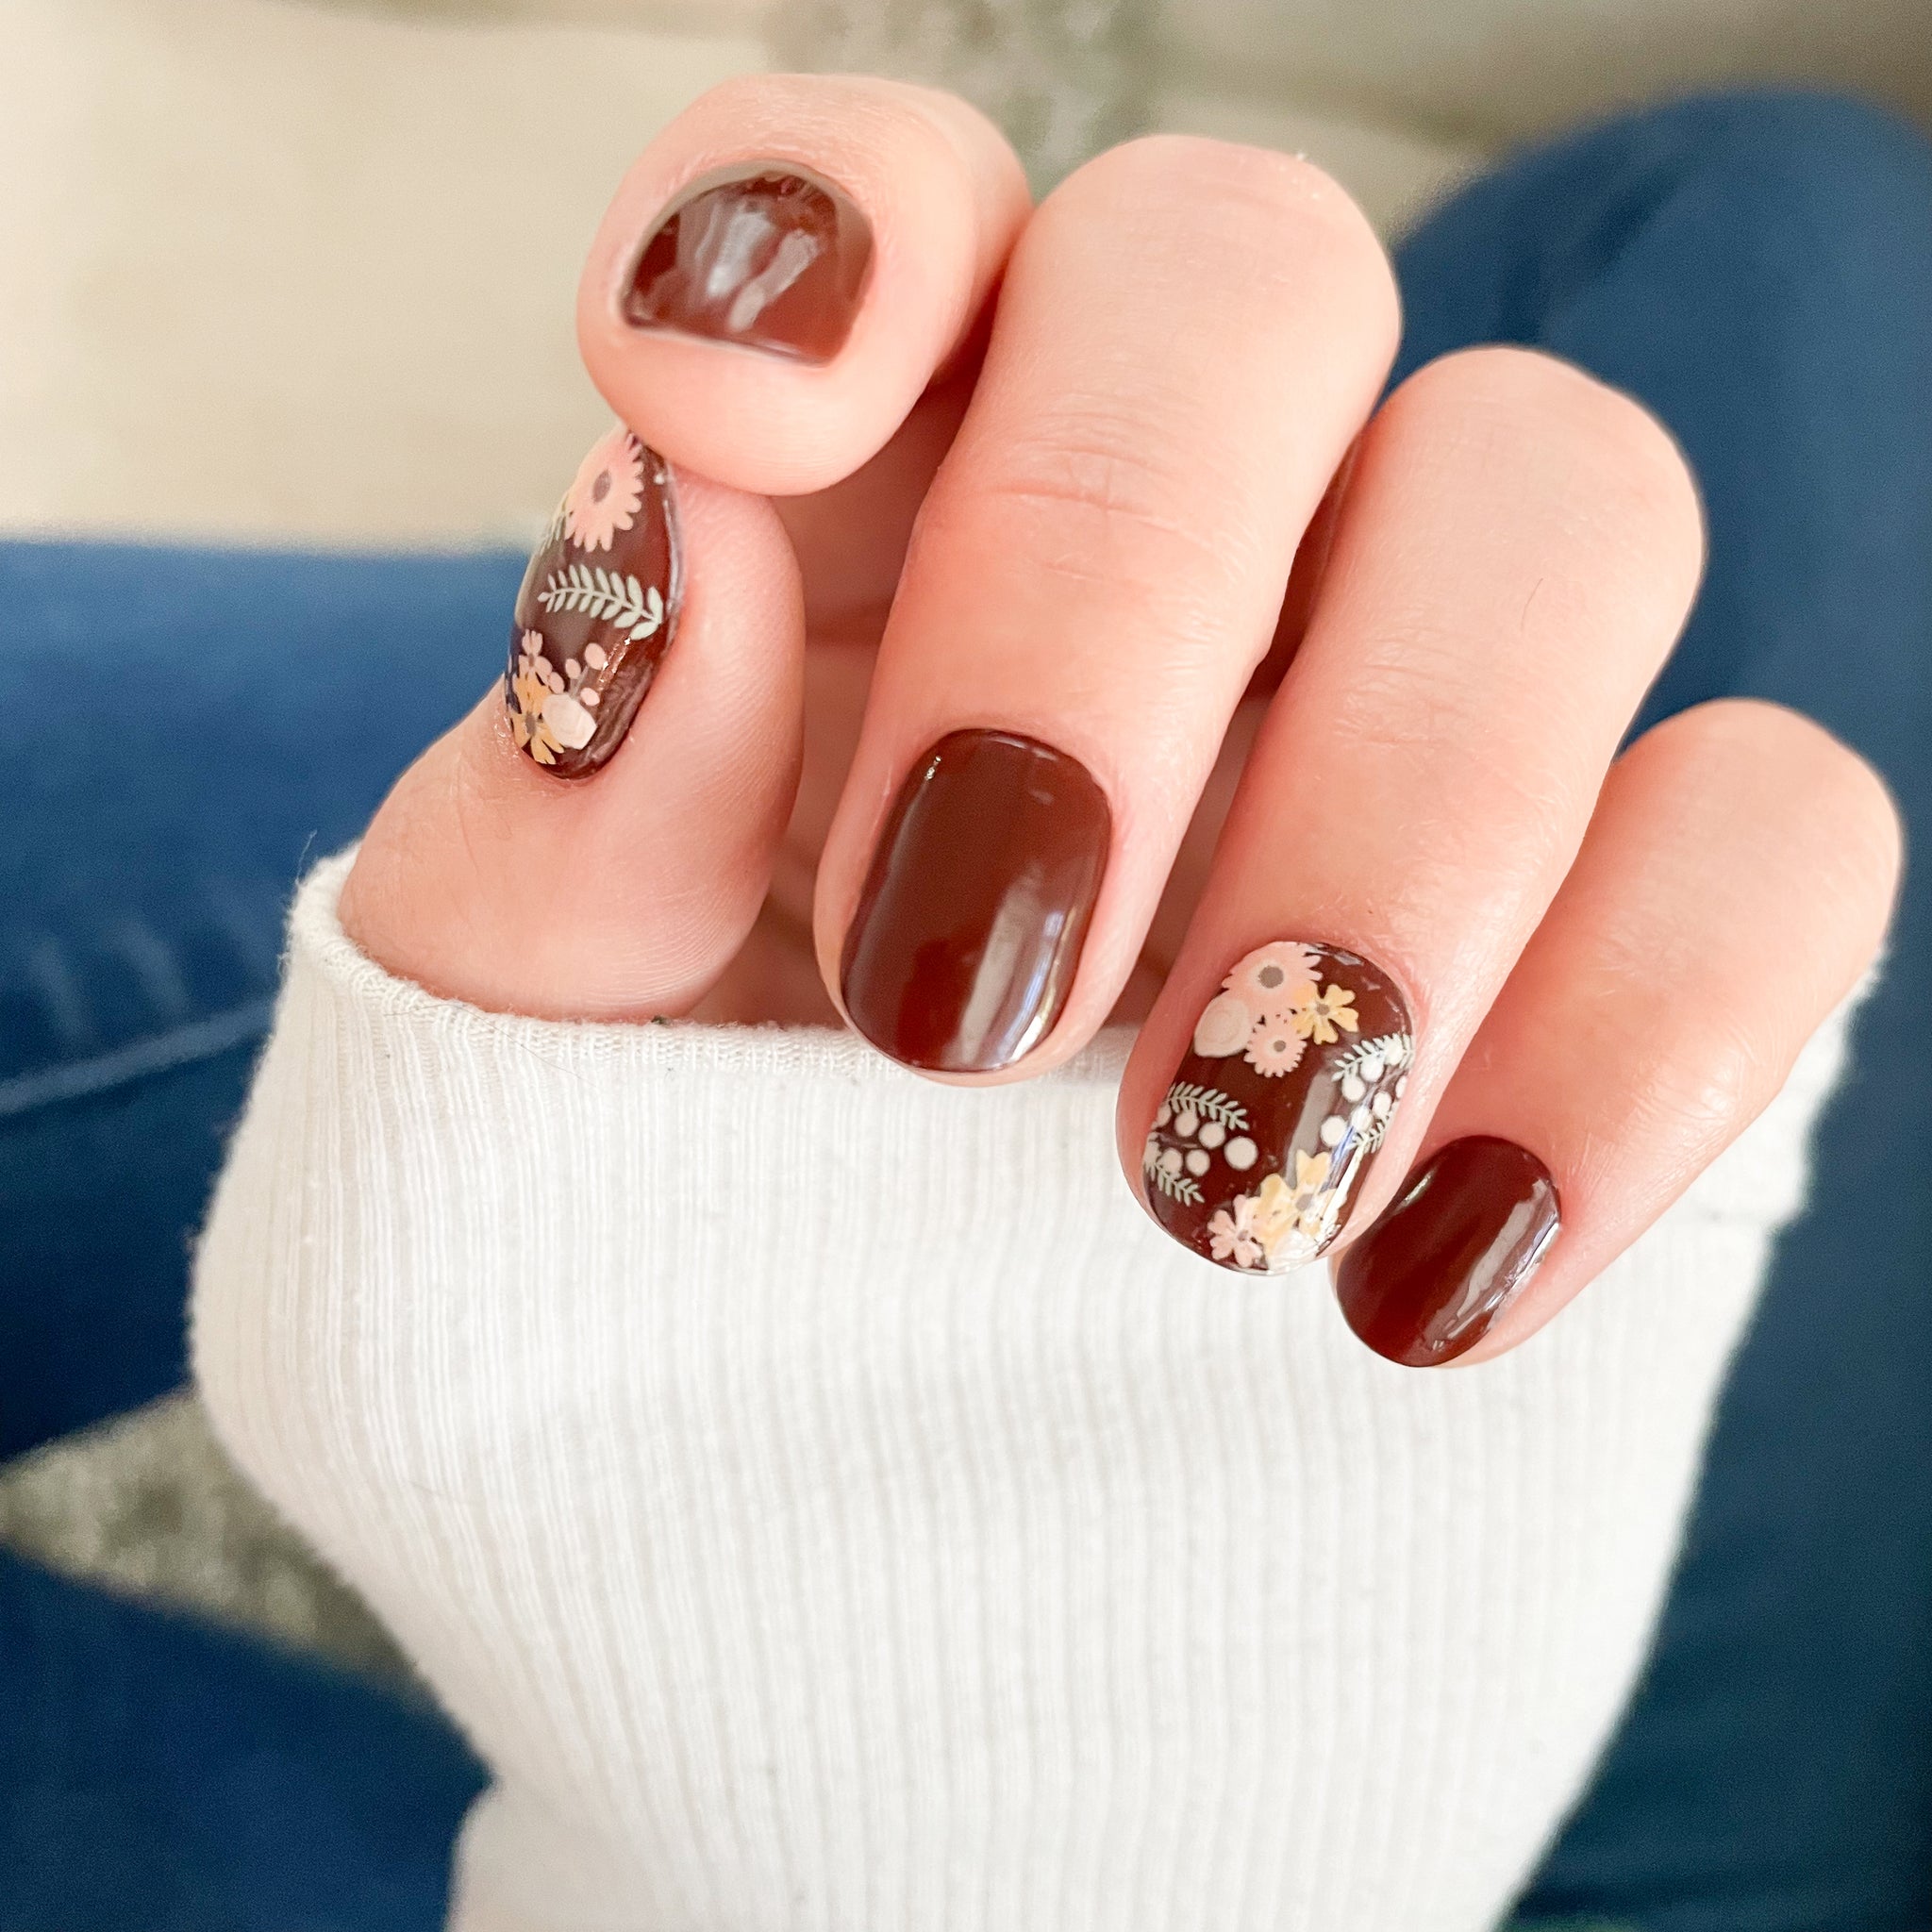
Our blog has more tips on how to do gel nails at home with UV light, including how to make gel nails last longer. But at this point all that’s left to do is explore the gel nails designs we’ve created at Polish Pops and learn how to do a manicure at home the Polish Pops way!
From our semi-cured UV gel nails to our traditional nail polish wraps, we take the stress and frustration out of traditional manicures, while helping you avoid the cost and time commitment of salon visits. Order now and see what keeps customers coming back for more!