Salon visits are expensive and inconvenient, so what do you need to do gel nails at home and take matters into your own hands? Here are the essential supplies needed for gel nails at home:
- UV or LED nail lamp to cure every layer
- Gel base coat to help the polish adhere
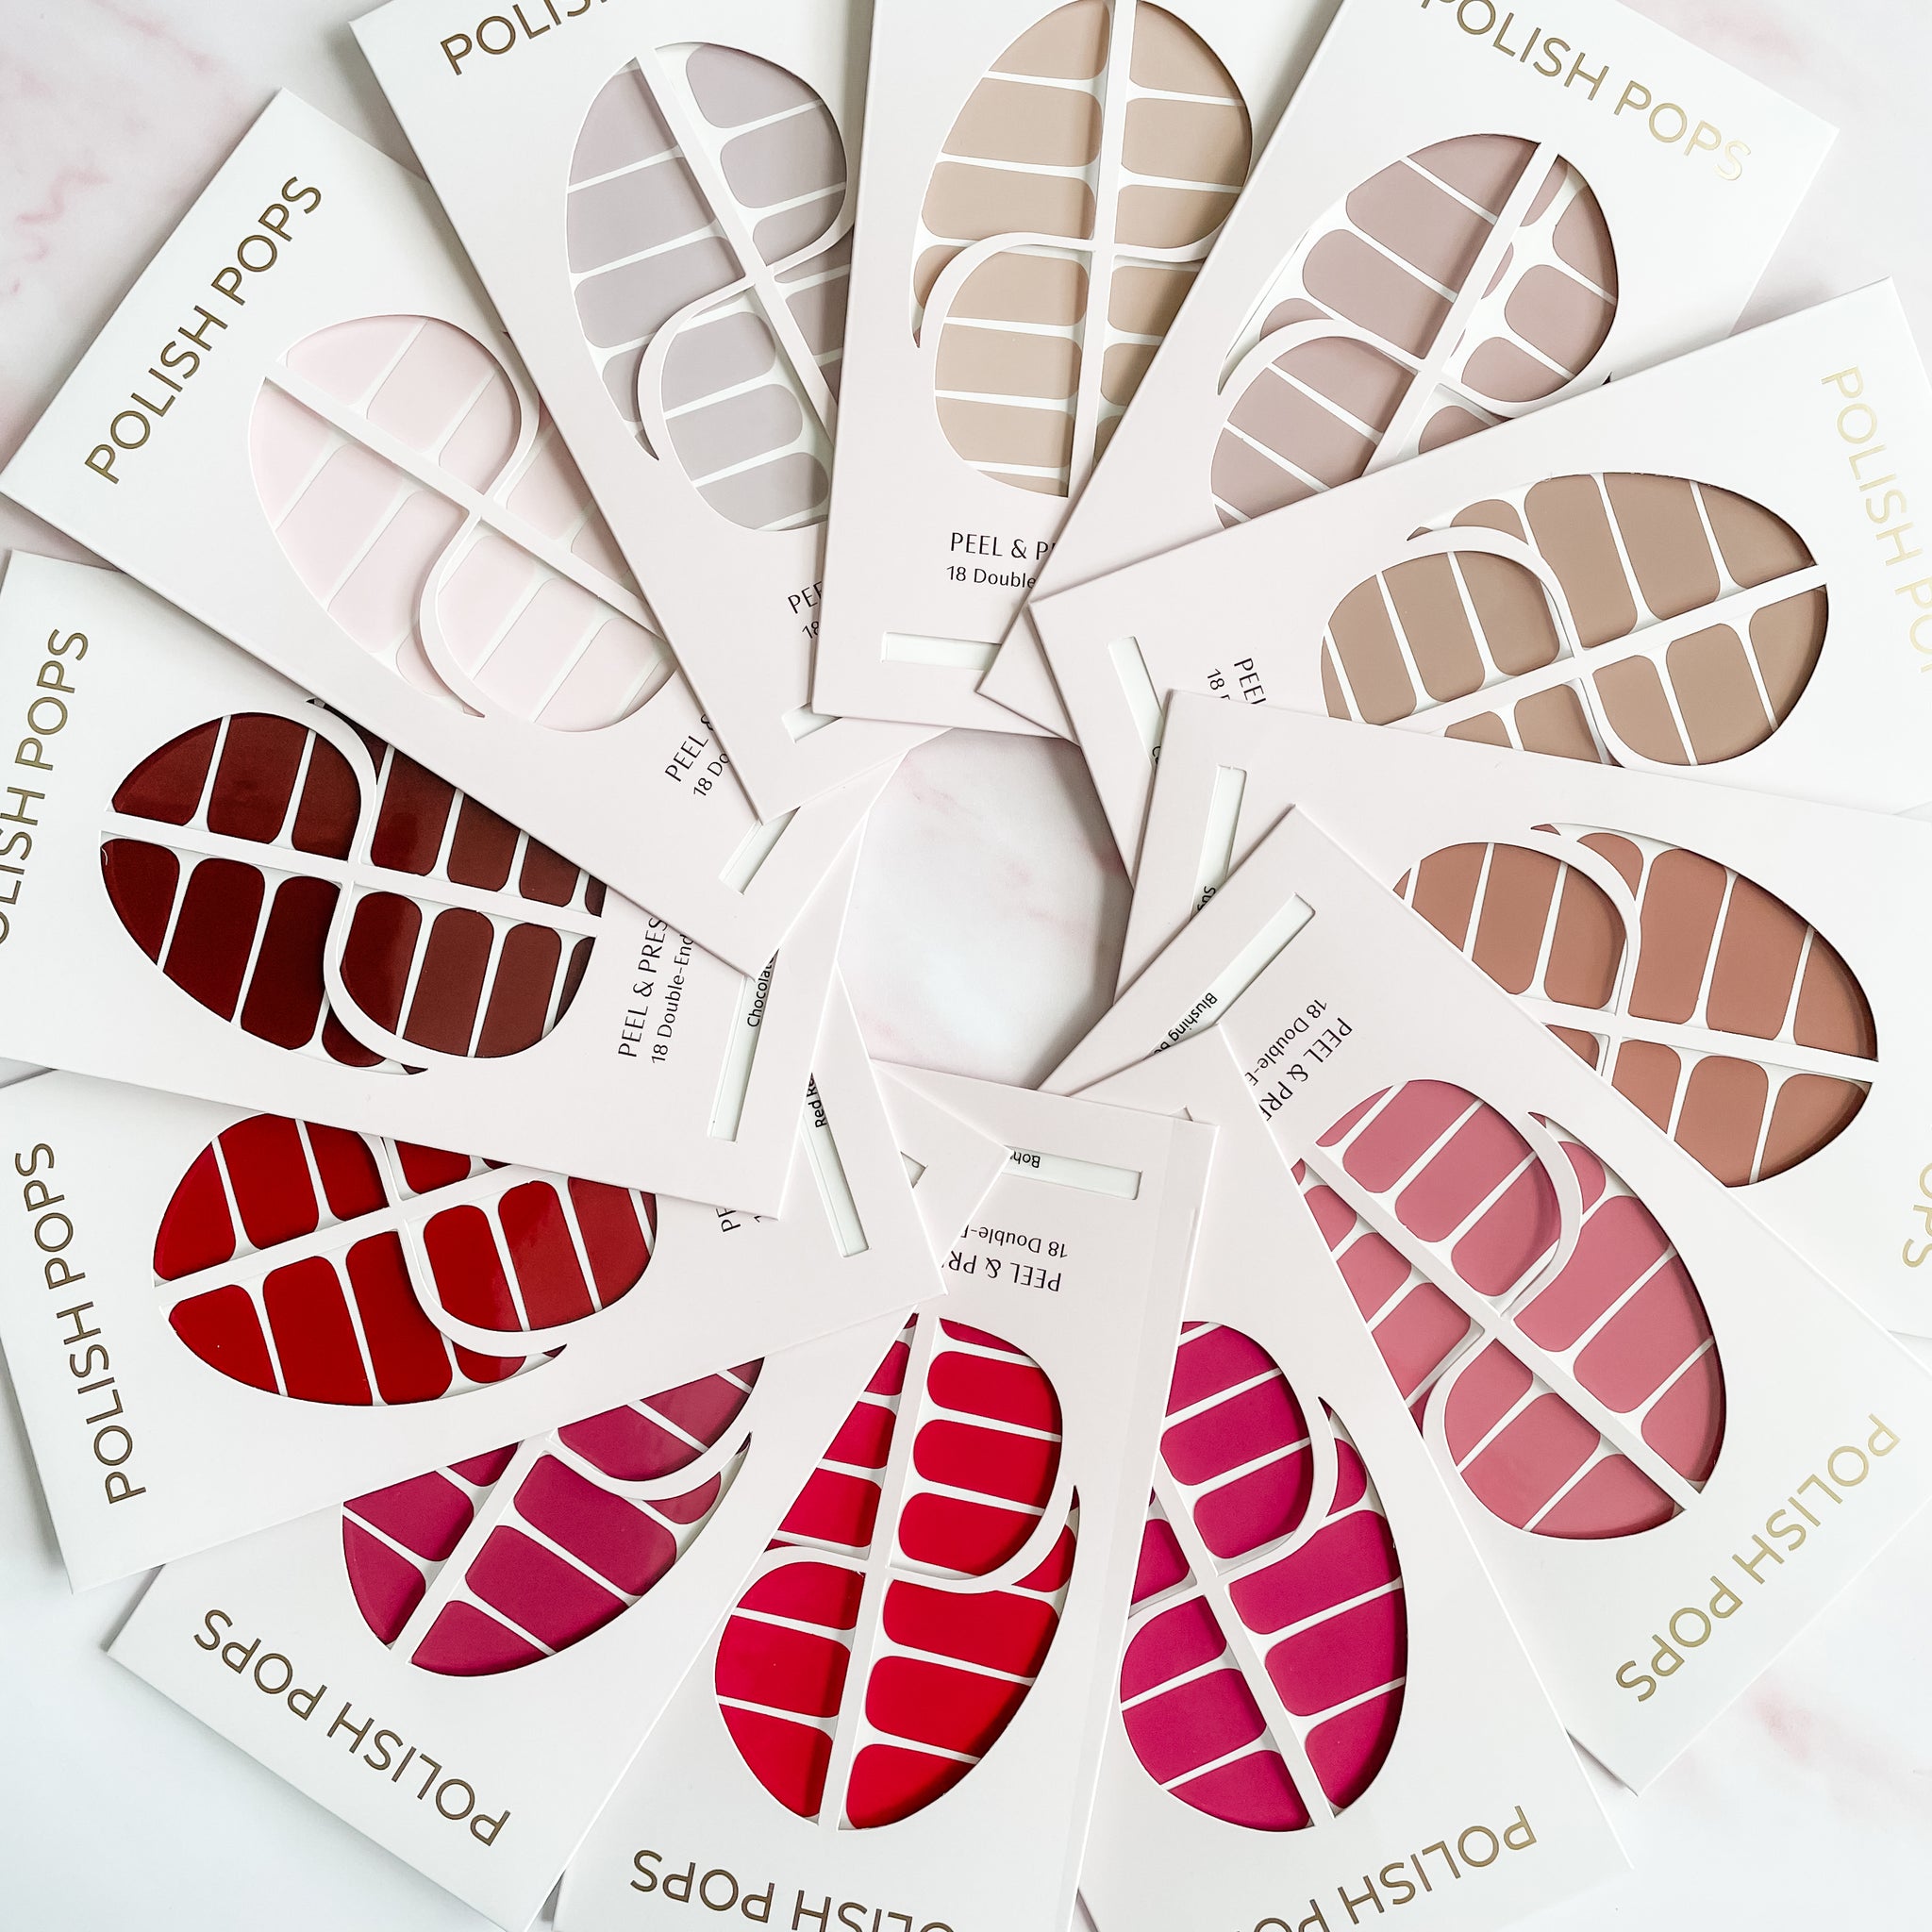
- Gel color polish (usually more than one shade if you want variety)
- Gel top coat for shine and protection
- Nail file and buffer for shaping and surface prep
- Cuticle pusher to keep product off the skin
- Alcohol or nail cleanser to remove oils before application
- Lint-free wipes for cleaning between steps
- Acetone and removal wraps for soaking everything off later
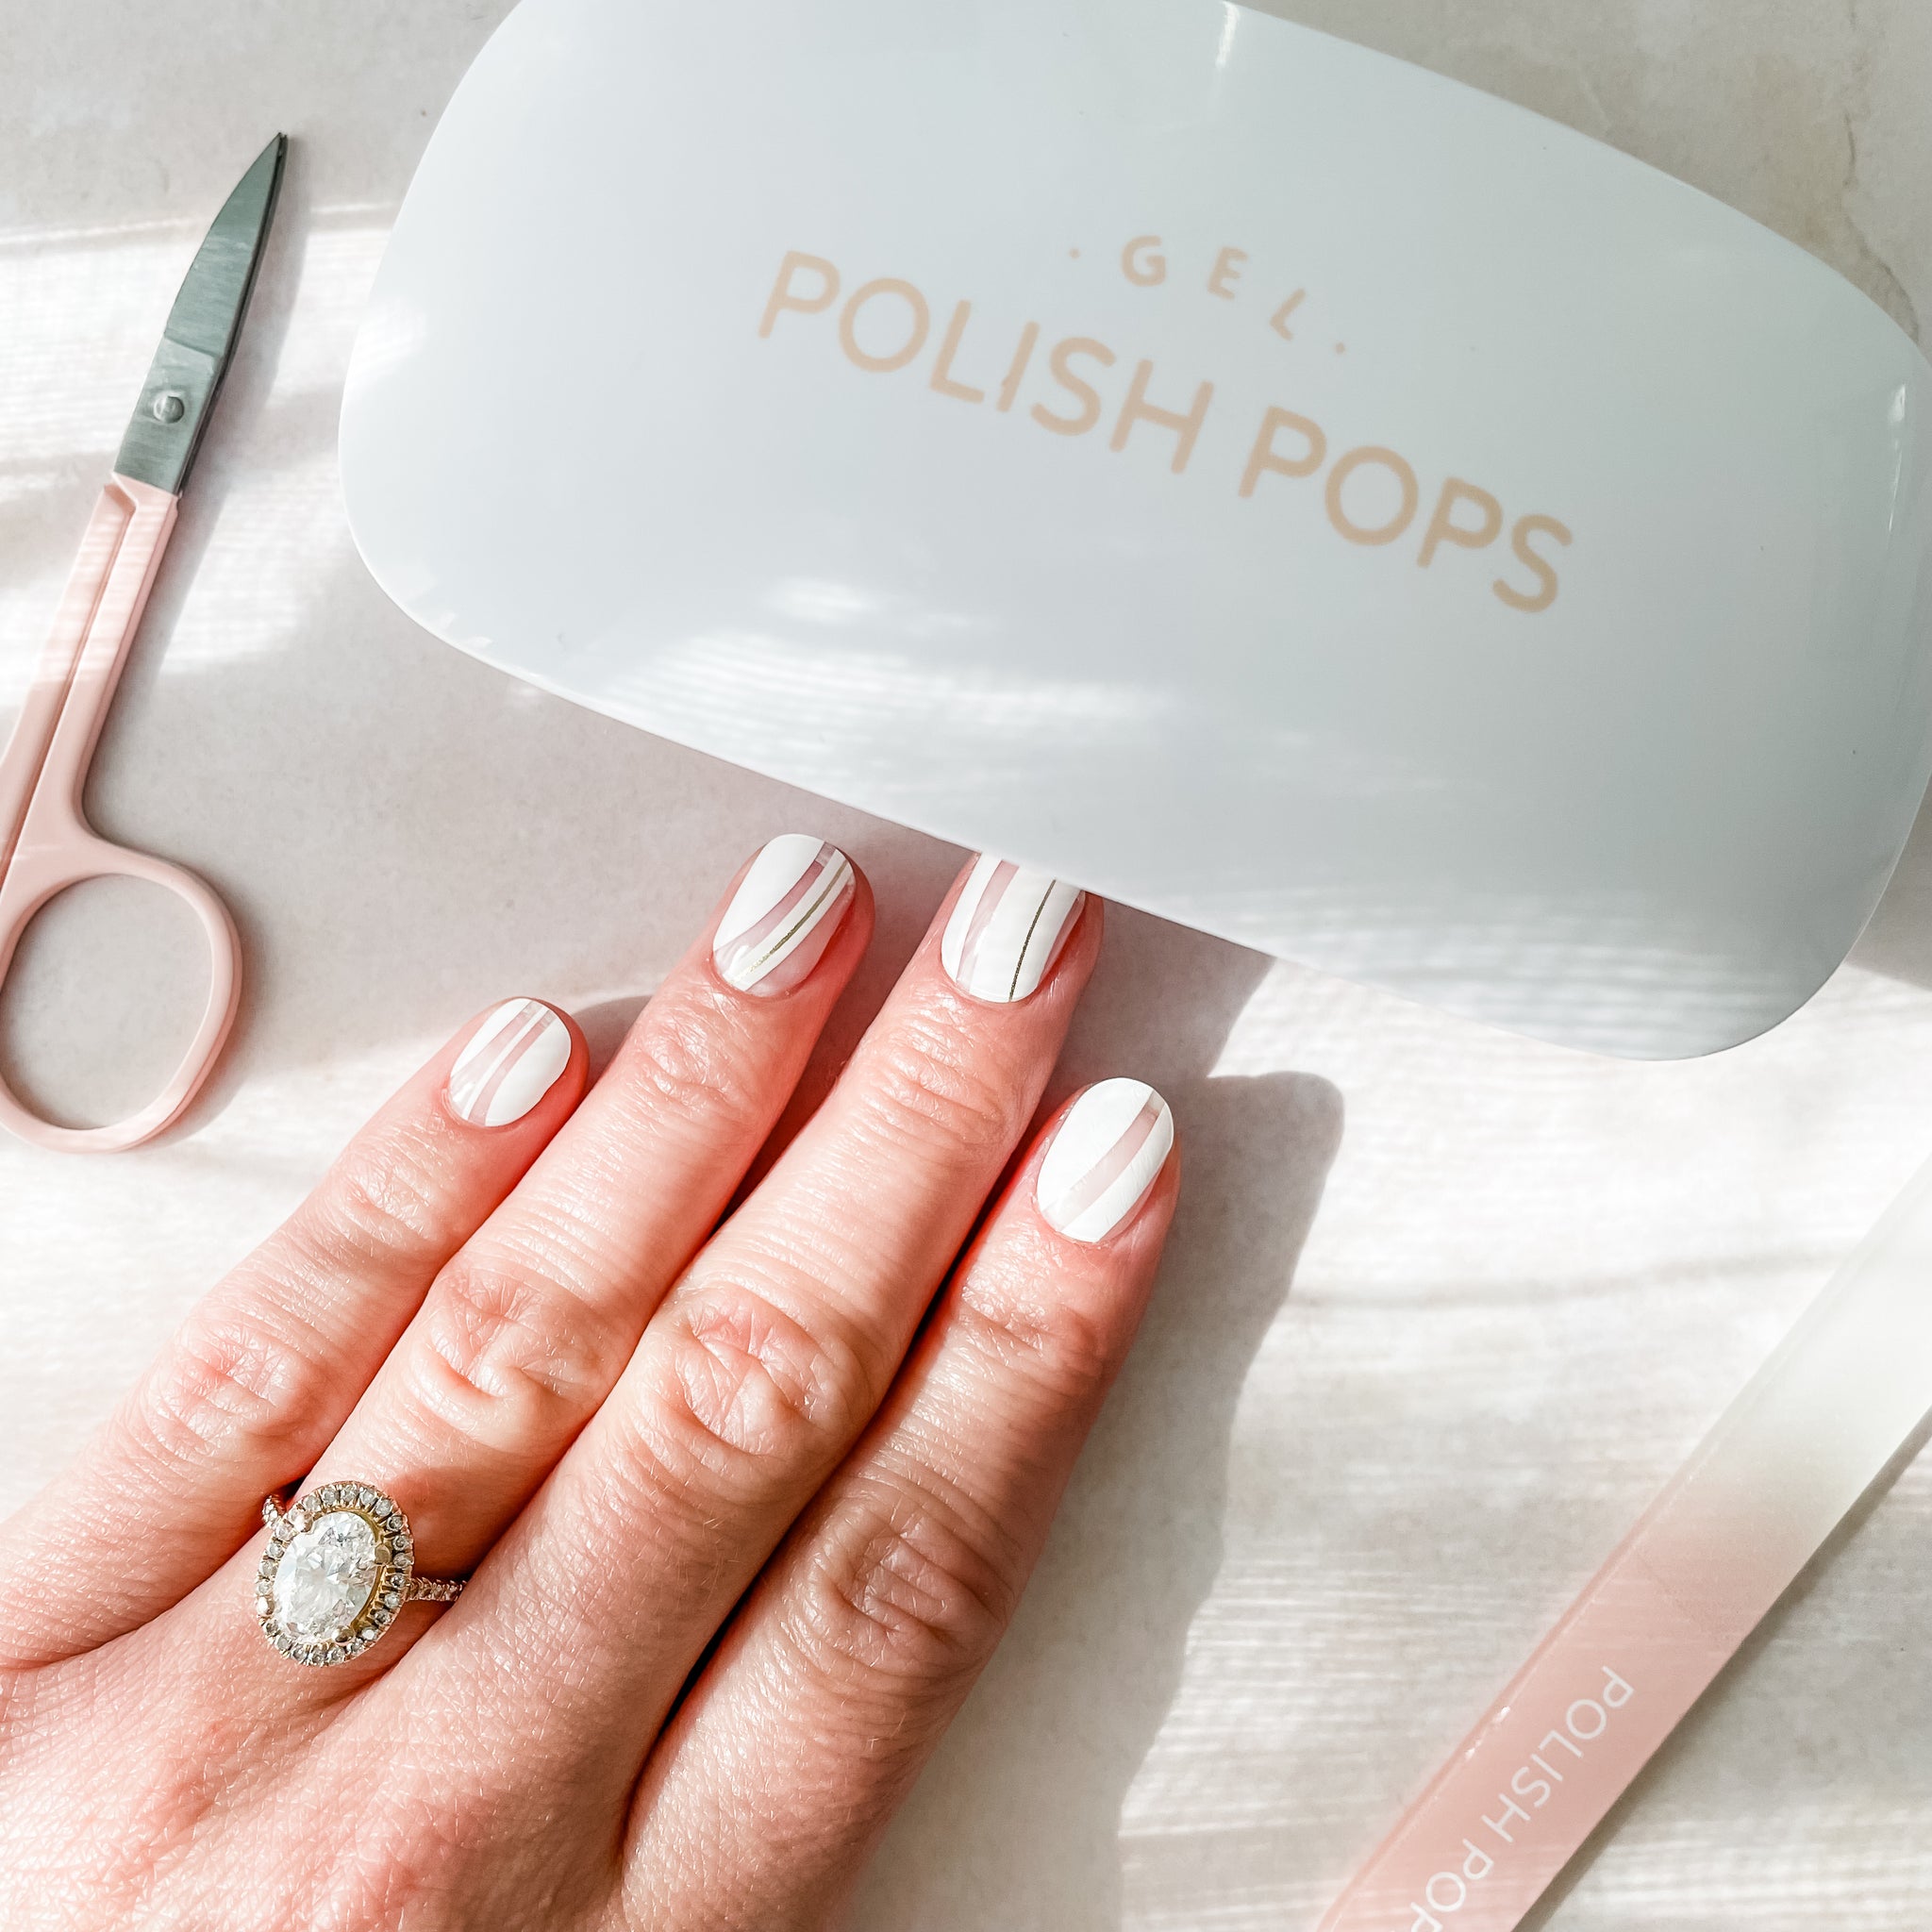
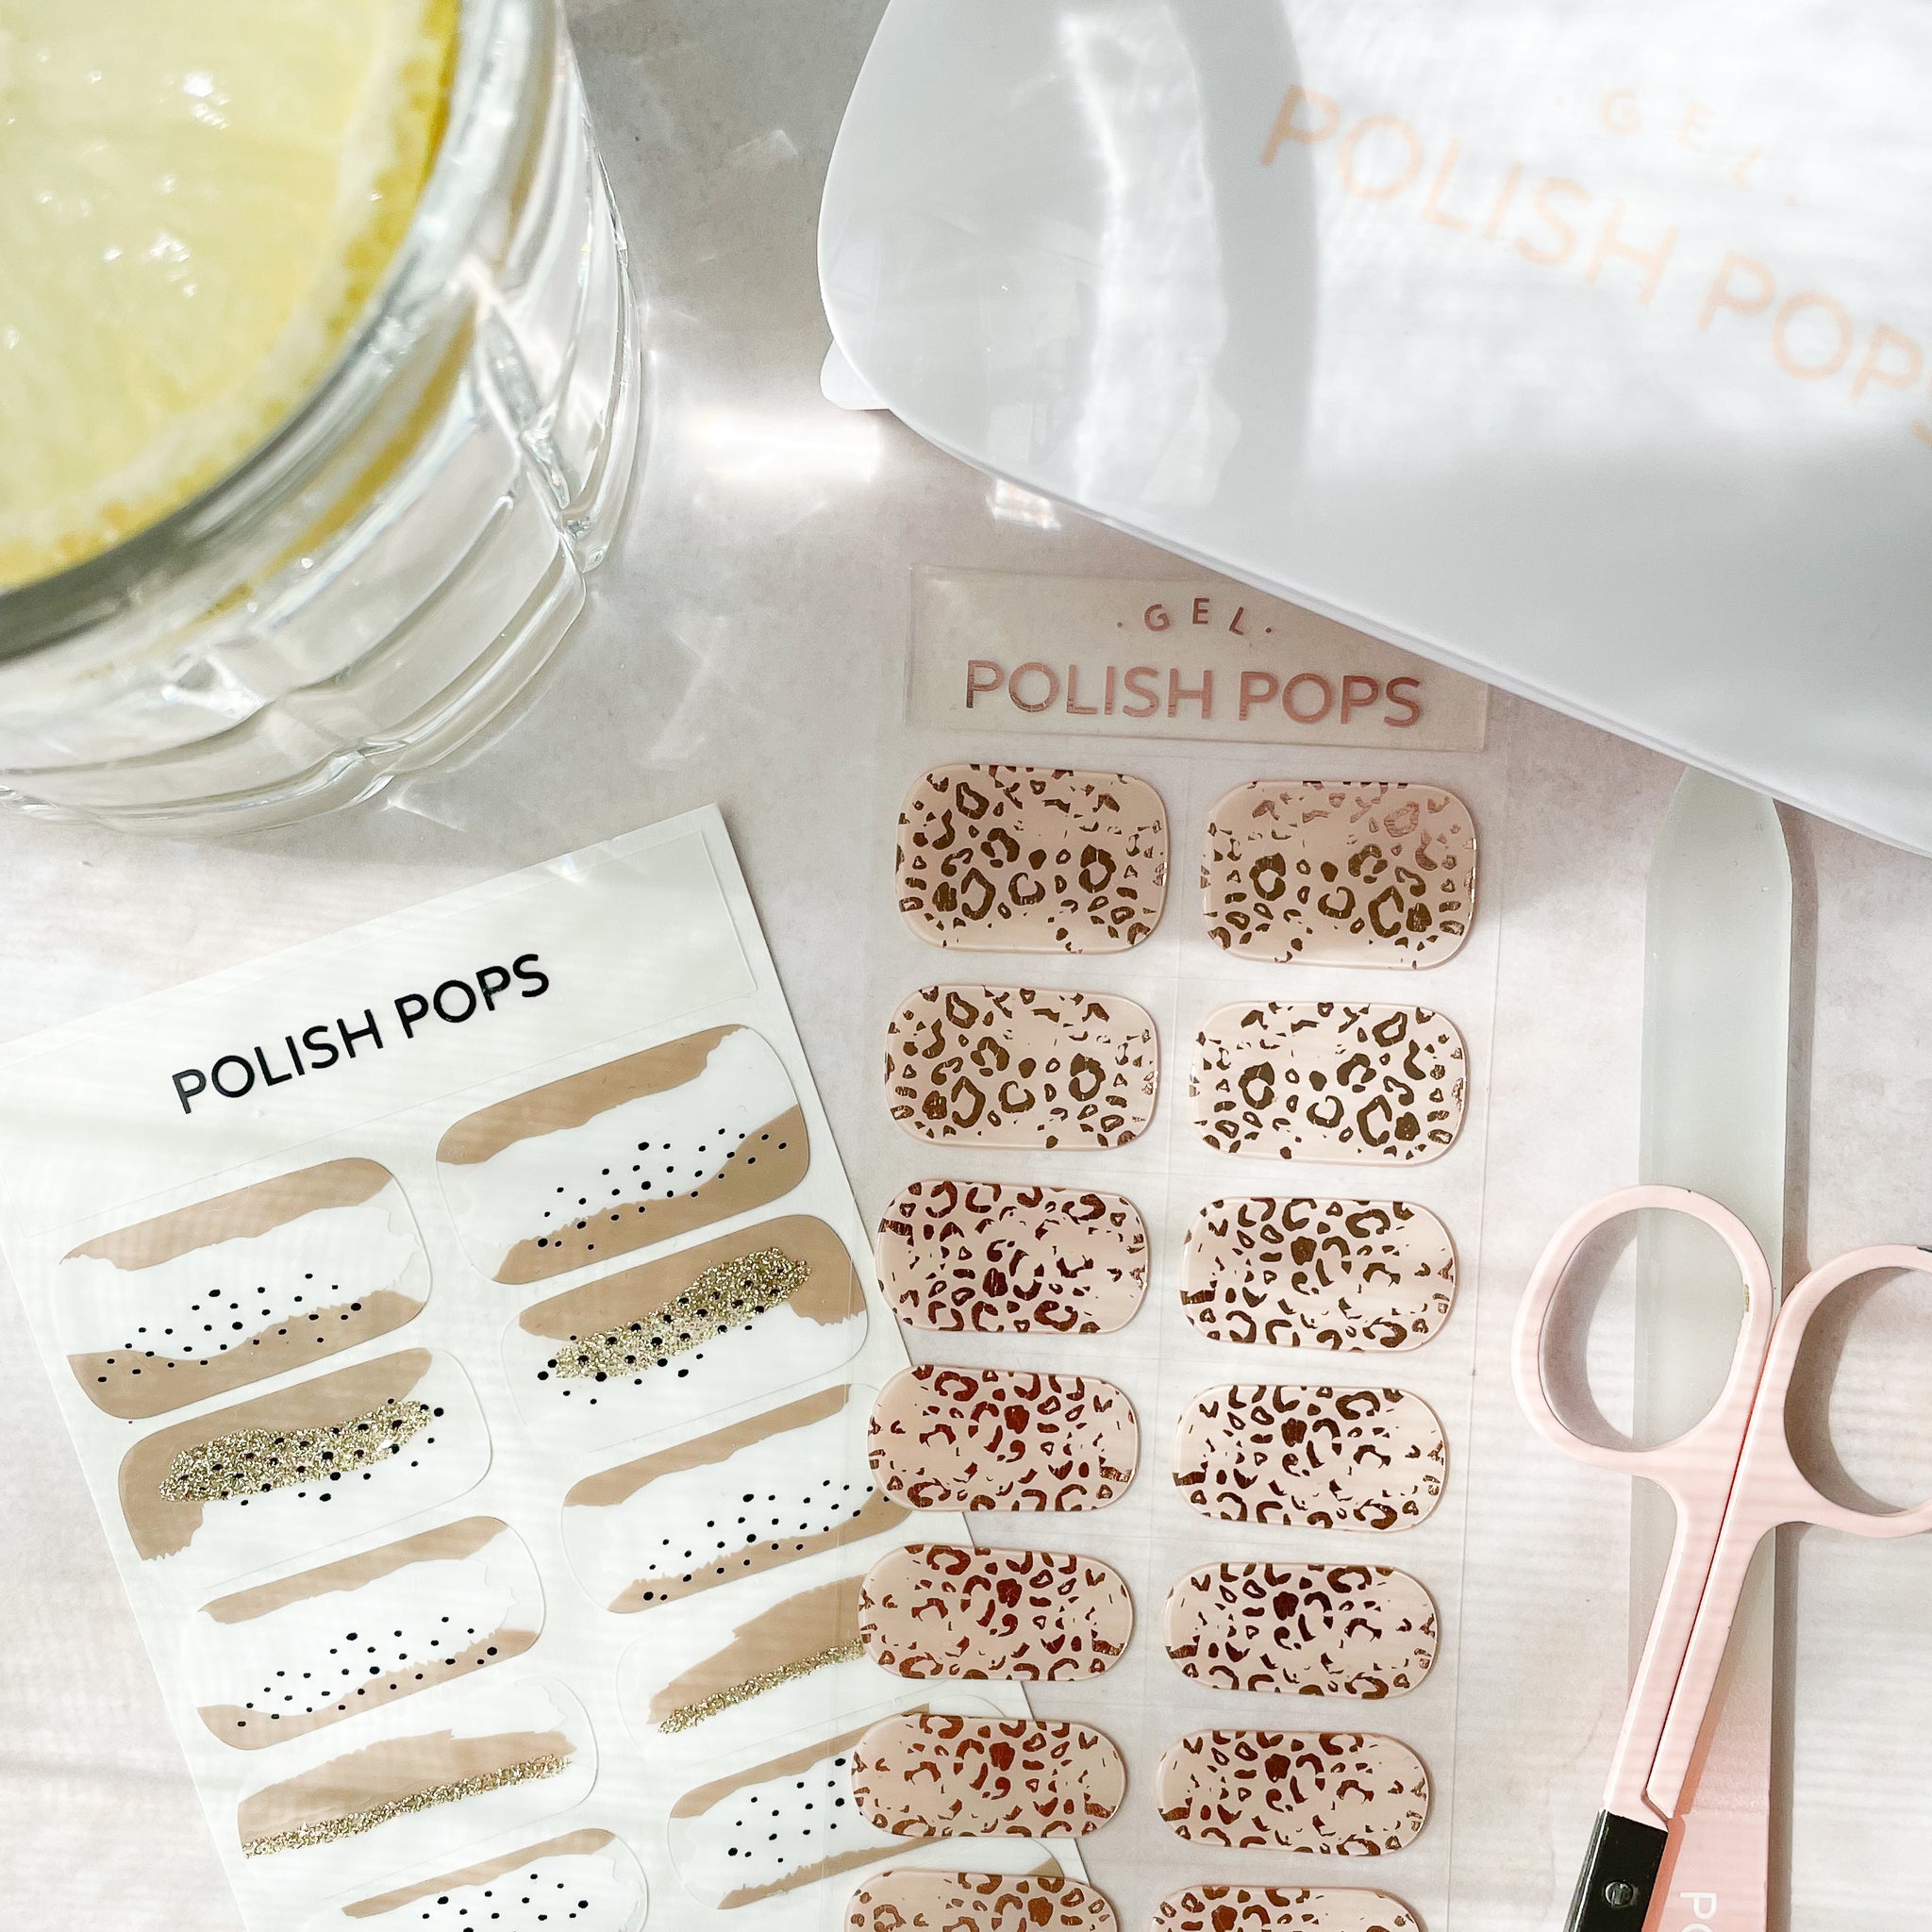
That’s a lot of tools, bottles, and steps for one manicure. The good news? We have a better alternative to gel nails for you that requires way less of an arsenal. The Polish Pops nail kit comes with a mini curing lamp, 2 gel nails designs of your choice, cuticle oil, nail buffer, nail scissors, a cuticle wand, and a silicone bag.
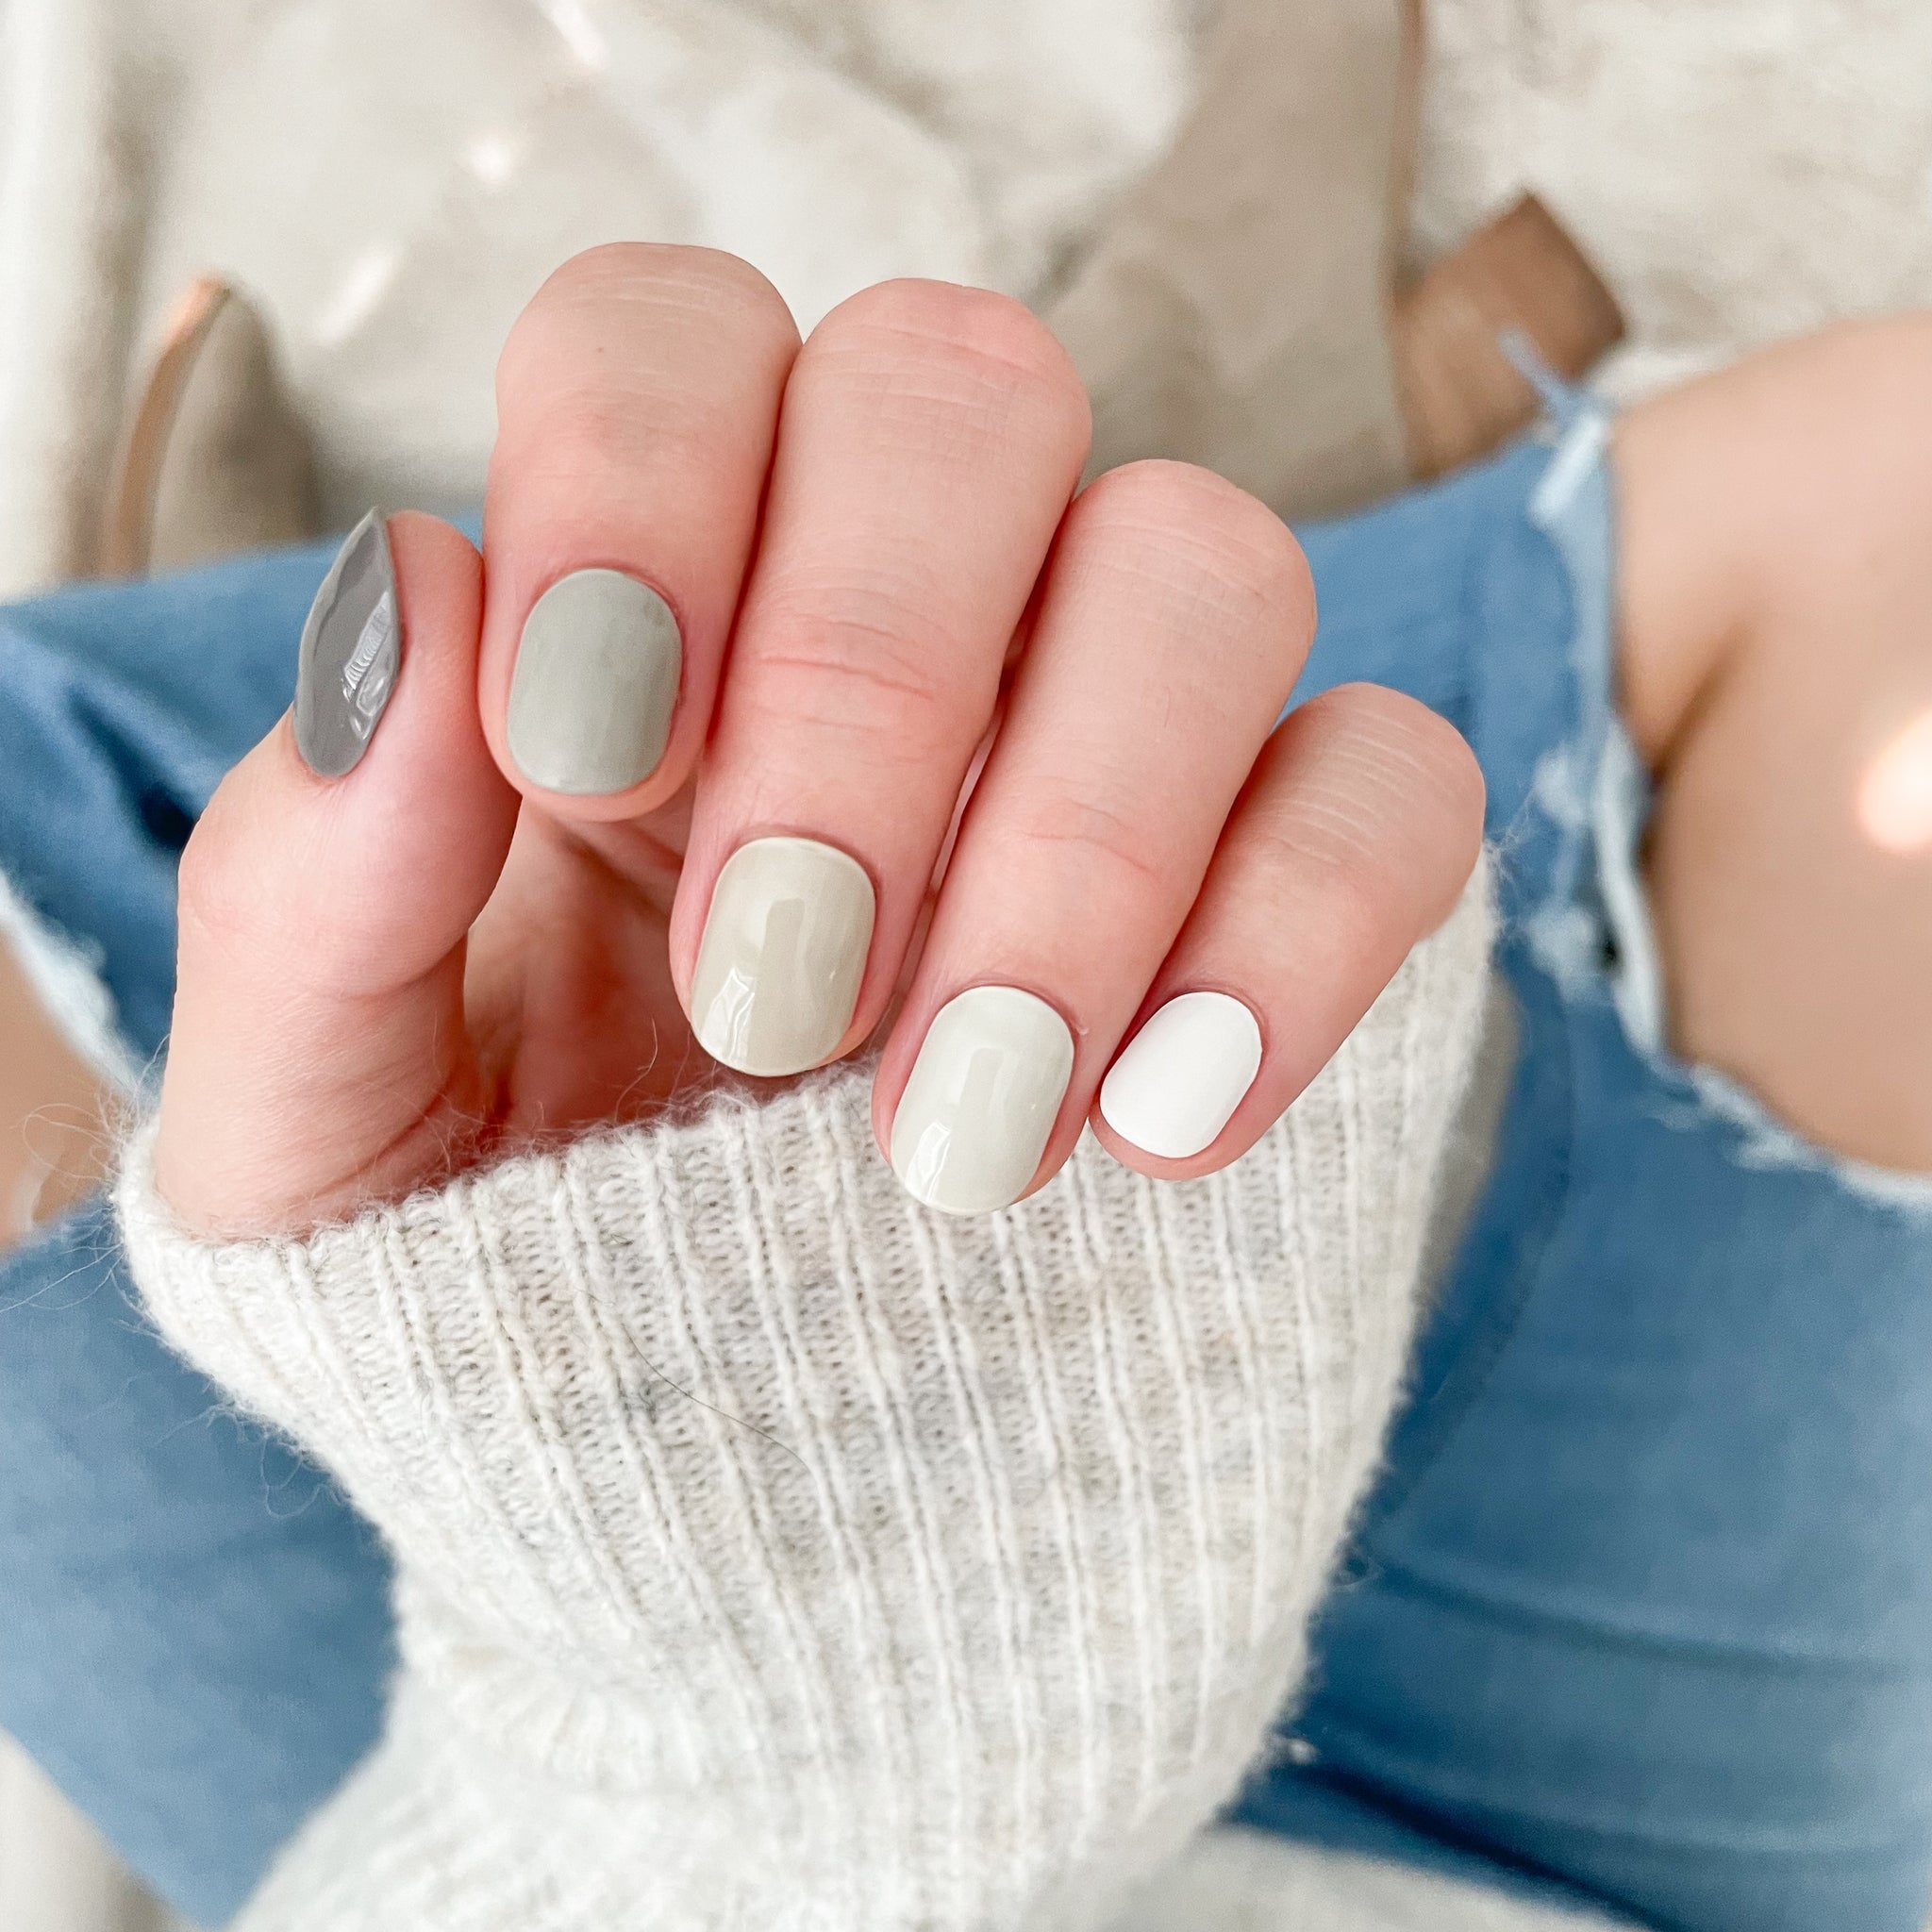
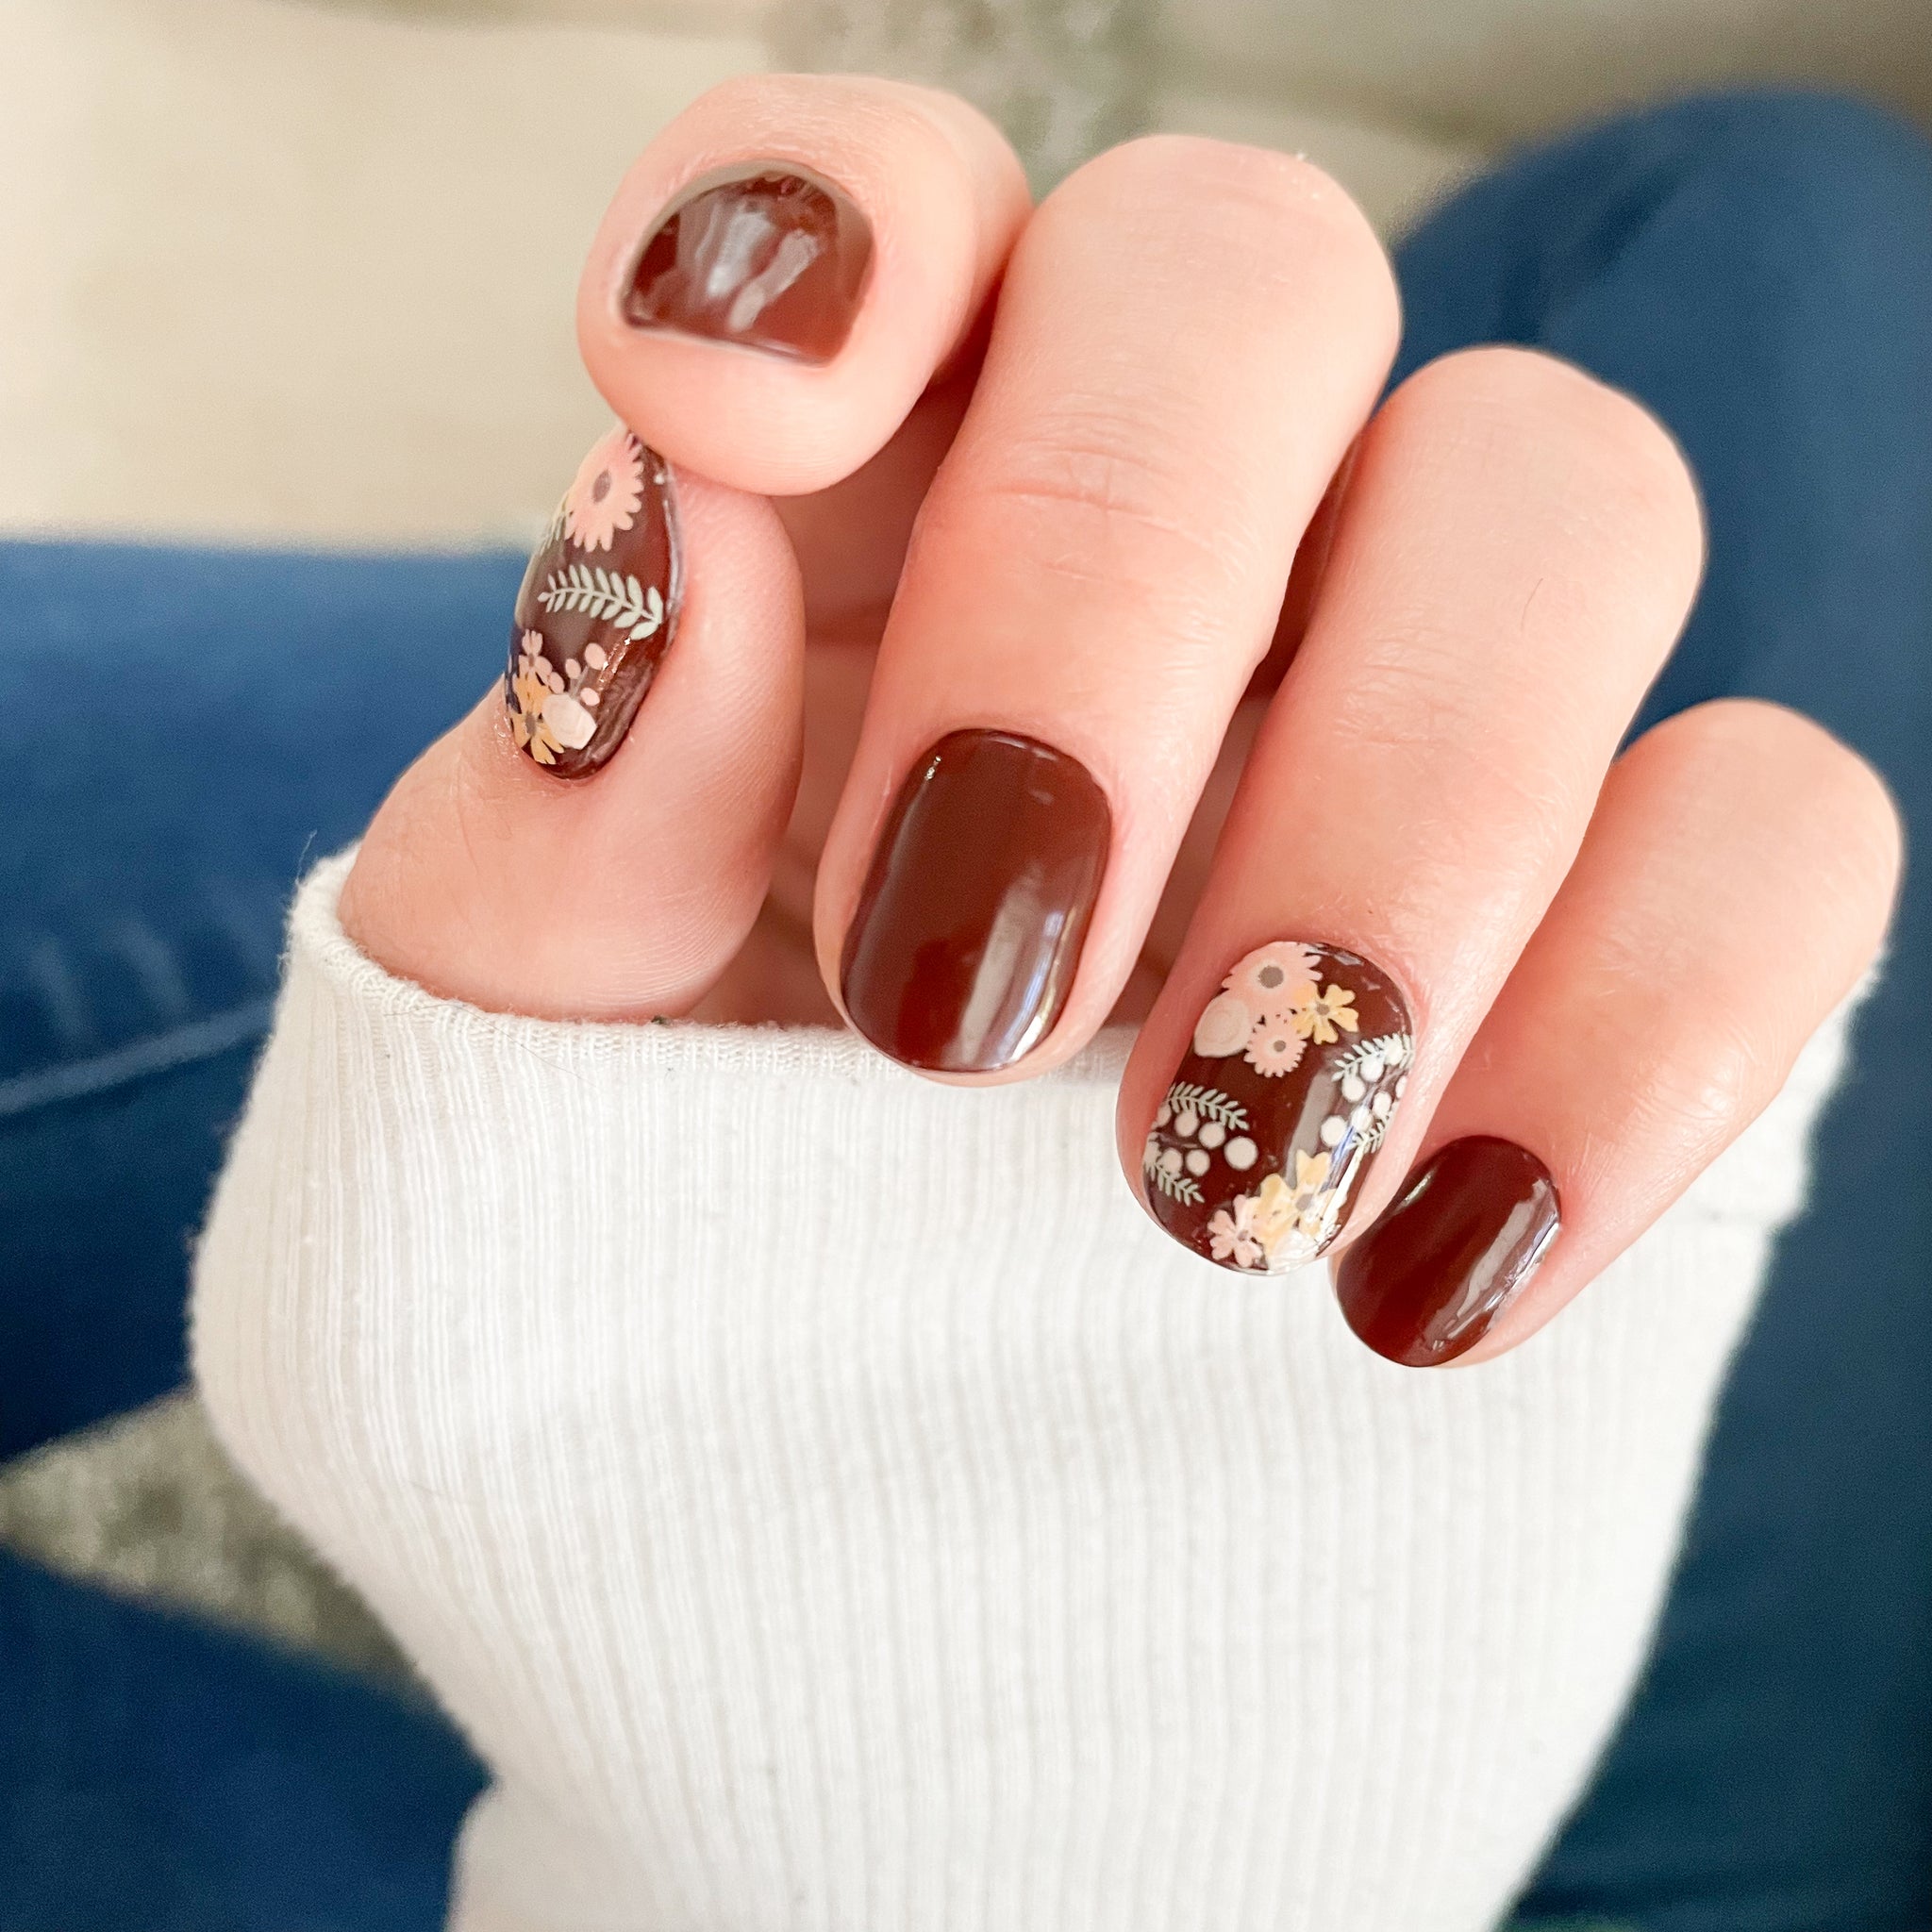
These gel nails cure in 60 seconds, don’t have any nasty stuff in them, and can last over 2 weeks. Get all the supplies needed to do gel nails at home, the simple way, today!
“Wish I had discovered Polish Pops a very long time ago… could have saved hundreds of dollars. So easy to apply, looks beautiful for up to 2 weeks. Love the color choices. No glue, no polish, just a very simple application and you are good to go! Love this product!” - Anne
“I loved them so much that I wanted to get our four girls each a starter kit for Christmas. I hope they each love Polish Pops as much as I do.” - Debbie
“These gel strips are so easy to apply, and last longer than other brands I have tried. I'm hooked on Polish Pops!” - Chelsea
What Do You Need to Do Gel Nails at Home? Essential Supplies Needed to Do Gel Nails At Home
Getting all the supplies for gel nails at home gets you back your time, saves you money, and puts you in complete control of how your nails look. You can move at your own pace, watch your favorite show, and fix small mistakes without pressure.
It’s also easier to be gentle with your natural nails when you’re the one handling prep and removal. But what do you need to do gel nails at home?
UV or LED Nail Lamp
We get asked all the time, can you use gel nail polish without a UV light? Nope. This is non-negotiable. Gel polish doesn’t air dry, so you need a lamp to cure each layer. Most at-home users go with an LED lamp because it cures faster and takes up less space.
Gel Base Coat
The base coat is what lets the gel color grip your natural nail. It’s applied after prep and cured under the lamp. Skipping this step usually leads to early peeling or lifting, especially around the cuticle.
Gel Color Polish
This is the fun part - but also where beginners mess up. Gel polish is thicker than regular polish, so it’s so important to get clean, thin layers. Each coat has to fully cure before you move on. This takes time but it’s where that glossy, long-wearing finish comes from.
Gel Top Coat
The top coat locks everything in and gives gel nails their signature shine. Some top coats leave behind a sticky layer that you have to wipe with alcohol afterward, so check the formula you’re using.
Nail File and Buffer
Nails need shaping and light buffing before any polish goes on - otherwise, you’re stuck dealing with surface shine. This helps the gel stick better. Overdoing it can weaken nails, so be gentle.
Cuticle Pusher
Pushed-back cuticles give gel more space to sit on the nail plate instead of the skin. Gel touching skin is one of the most common reasons nails lift early.
Alcohol or Nail Cleanser + Lint-Free Wipes
These remove oils and dust before you get started doing your nails, and you’ll use them again to clean off any sticky residue after curing. Clean nails are happy nails when it comes to gel!
Acetone and Removal Supplies
Gel has to come off eventually. Traditional removal involves soaking with acetone and foil wraps - this takes time and patience if you want to avoid damage.
How Polish Pops Simplifies Things
Traditional gel nails at home come with a learning curve, a pile of products, and a lot of chances for something to go sideways. That’s not to mention extra time spent curing your nails and some of the risks of damage from certain formulas and removal products.
So, what do you need to do gel nails at home with Polish Pops? We’ve trimmed it down to just the parts that actually matter. Our semi-cured UV gel wraps come pre-shaped, pre-designed, and already halfway cured, so you’re not juggling bottles, brushes, or thick layers of polish.
You prep your nails, press on the wrap, trim the edge, and cure for sixty seconds. That’s the whole routine. The gel structure is built into the wrap so you skip common problems like flooding cuticles, uneven layers, and under-curing.
The designs range from super fun and cutesy to more modern, upscale vibes. There’s literally something for everyone at Polish Pops! The best part is they’re 14-free so you can feel comfortable applying them time after time. They last 2+ weeks, too!
Tips on Getting Started
Here’s how to do a manicure at home the Polish Pops way:
- Prep your nails first: Shape, push back cuticles, and wipe nails with the alcohol pad so the wraps stick well.
- Pick the right wrap size: Choose a wrap that fits just inside your nail edges without touching skin.
- Press from the center out: Smooth the wrap down starting in the middle, then seal the edges with the cuticle stick.
- Trim the excess: Fold the wrap over your nail tip and clip or file away what you don’t need.
- Cure under the lamp: Pop your nails under the LED lamp for 60 seconds to lock everything in.
- File for a clean finish: Lightly file the tips so the edges feel smooth and natural.
- Enjoy the glow-up: No dry time or mess - your manicure is done and ready to show off!
Our blog has additional tips on how to do gel nails at home with UV light, including how to make gel nails last longer. Otherwise, all that’s left to do is stock up on the supplies needed for gel nails at home and see for yourself how simple it can be!
Final Words on the Supplies Needed For Gel Nails At Home
You’d be surprised by just how few supplies you need to master gel nails at home when you work smarter using the Polish Pops system. So what do you need to do gel nails at home? Basically, just an LED lamp, one of our stunning nail wraps designs, and some nail prep stuff.
You can get all of this in one easy purchase through our starter kit. It’s the best way to take your at-home manicures into your own hands. Once you go Polish Pops, you never go back!