Gel manicures can easily spark a love-hate relationship in your beauty routines. They offer elegant finishes and iconic design options, but will also eat into your budget and force you to spend multiple hours per month at the nail salon.
However, achieving that same flawless salon-quality manicure is possible without the extra financial and time commitments. Gel nail strips can be applied in just a few minutes, and can last up to two weeks.
Learning how to make gel nail strips can be a fun way to take your nail care into your own hands. However, DIY gel nail wraps come with a steep learning curve. We’ve created this guide on how to make gel nail strips to help you navigate the tricky process.
If you want to skip through the hassle and go straight for the time and cost savings compared to the salon route, our Vegan-friendly semi-cured gel nail strips here at Polish Pops are just a click away. We have gel nail strips with several different nail art designs and colors to choose from.
With that, let’s discuss how the DIY process works.
The Appeal of DIY Gel Nail Wraps
We know that the idea of a convenient gel manicure at a fraction of the price may come as a surprise. So what is a nail wrap anyway, and are they really just as good as traditional manicures? Furthermore, why should you take it a step further and go the DIY route?
Creative Freedom and Customization
DIY gel nail wraps give you total control over your nail care routine. With the right skills and practice, you can fully customize your DIY nail wraps with gel polish, whether you want a timeless solid color style or the latest design from Pinterest or TikTok.
The Satisfaction of Crafting Your Own Nail Art
If you regularly get salon manicures, idle boredom can set in. After all, you can only have so many conversations with your nail tech before awkward silences set in. DIY nail wraps allow you to take ownership of your nail care routine.
While there is a steep learning curve involved, crafting a set of DIY gel nail wraps brings a feeling of accomplishment, especially when you finally master that elusive design you’ve been working on.
Cost Savings Over Traditional Manicure Methods
The financial savings provided by DIY gel nail wraps are a no-brainer. Salon manicures can easily cost upwards of $50 per trip, without even including the time opportunity cost of hours spent in salons per month.
DIY gel nail wraps will require you to purchase adhesives and a quality set of gel polishes depending on your favorite designs, but you will quickly save money compared to frequent salon trips.
There are plenty of benefits to the DIY route, but there are also a few pitfalls to be aware of. Let’s discuss those next.
The Challenges of DIY Nail Wraps With Gel Polish
In spite of several perks that come from creating your own nail strips, there are a few challenges to be aware of if you are aiming for a salon-quality result.
Material and Equipment Requirements
Shopping for all the materials you need for DIY nail wraps can be tricky. You’ll need a quality set of gel polishes, adhesive materials, brushes, tools for dotting and nail art, nail forms, nail files, and a UV lamp.
These materials can add up to over $100 for an initial upfront cost and could climb above that if you are spending a lot of time figuring out the learning curve.
Skill and Technique
While it would be nice if you could learn the process in just a couple of tries, the reality is much more difficult. You’ll need to have a steady hand to apply even coats of polish without bubbles, along with the skills to create intricate designs.
You’ll also have to master the art of fitting your nail forms with adhesives without creating folds. Failure to do so can lead to DIY wraps that peel prematurely.
Frustration and Disappointment in the Final Product
As you may imagine, the DIY process can lead to significant frustrations compared to purchasing nail strips from reliable nail wrap brands. If you’re a beginner, you’ll likely have to struggle through improperly cured wraps, bubbles, and chipped polish.
These mistakes are all part of the process of learning how to make gel nail strips, so try not to be discouraged! In the next section, we’ll explore the DIY process to help you navigate the difficult first few attempts.
How to Make Gel Nail Strips: Step-by-Step Guide to DIY Gel Nail Wraps
With enough practice, learning how to make gel nail strips becomes a simple process. After a few tries, you should be able to create fun designs that let you skip the hassle of the salon.
Step 1: Preparing Your Materials
Remember our list of materials from above? You’ll want to gather all of your supplies, including your nail forms, polishes, brushes, tools, and adhesives.
You will also need to figure out if you are creating multiple batches of nail strips at once, or if you are planning to apply your DIY wraps right away. If you are opting for the latter, you may also want to perform an at-home manicure to ensure you have a clean base for your DIY strips.
Step 2: Designing Your Nail Wraps
We recommend planning your design in advance. Solid colors are fairly straightforward, but complex nail art designs require you to sketch out your design and accommodate yourself with your brushes and tools.
Step 3: Applying Gel Polish
If you’ve ever done your own nails before, this should be a simple step. Apply thin and even coats of polish to ensure the surface is bubble-free. Be sure to let it dry before adding nail art.
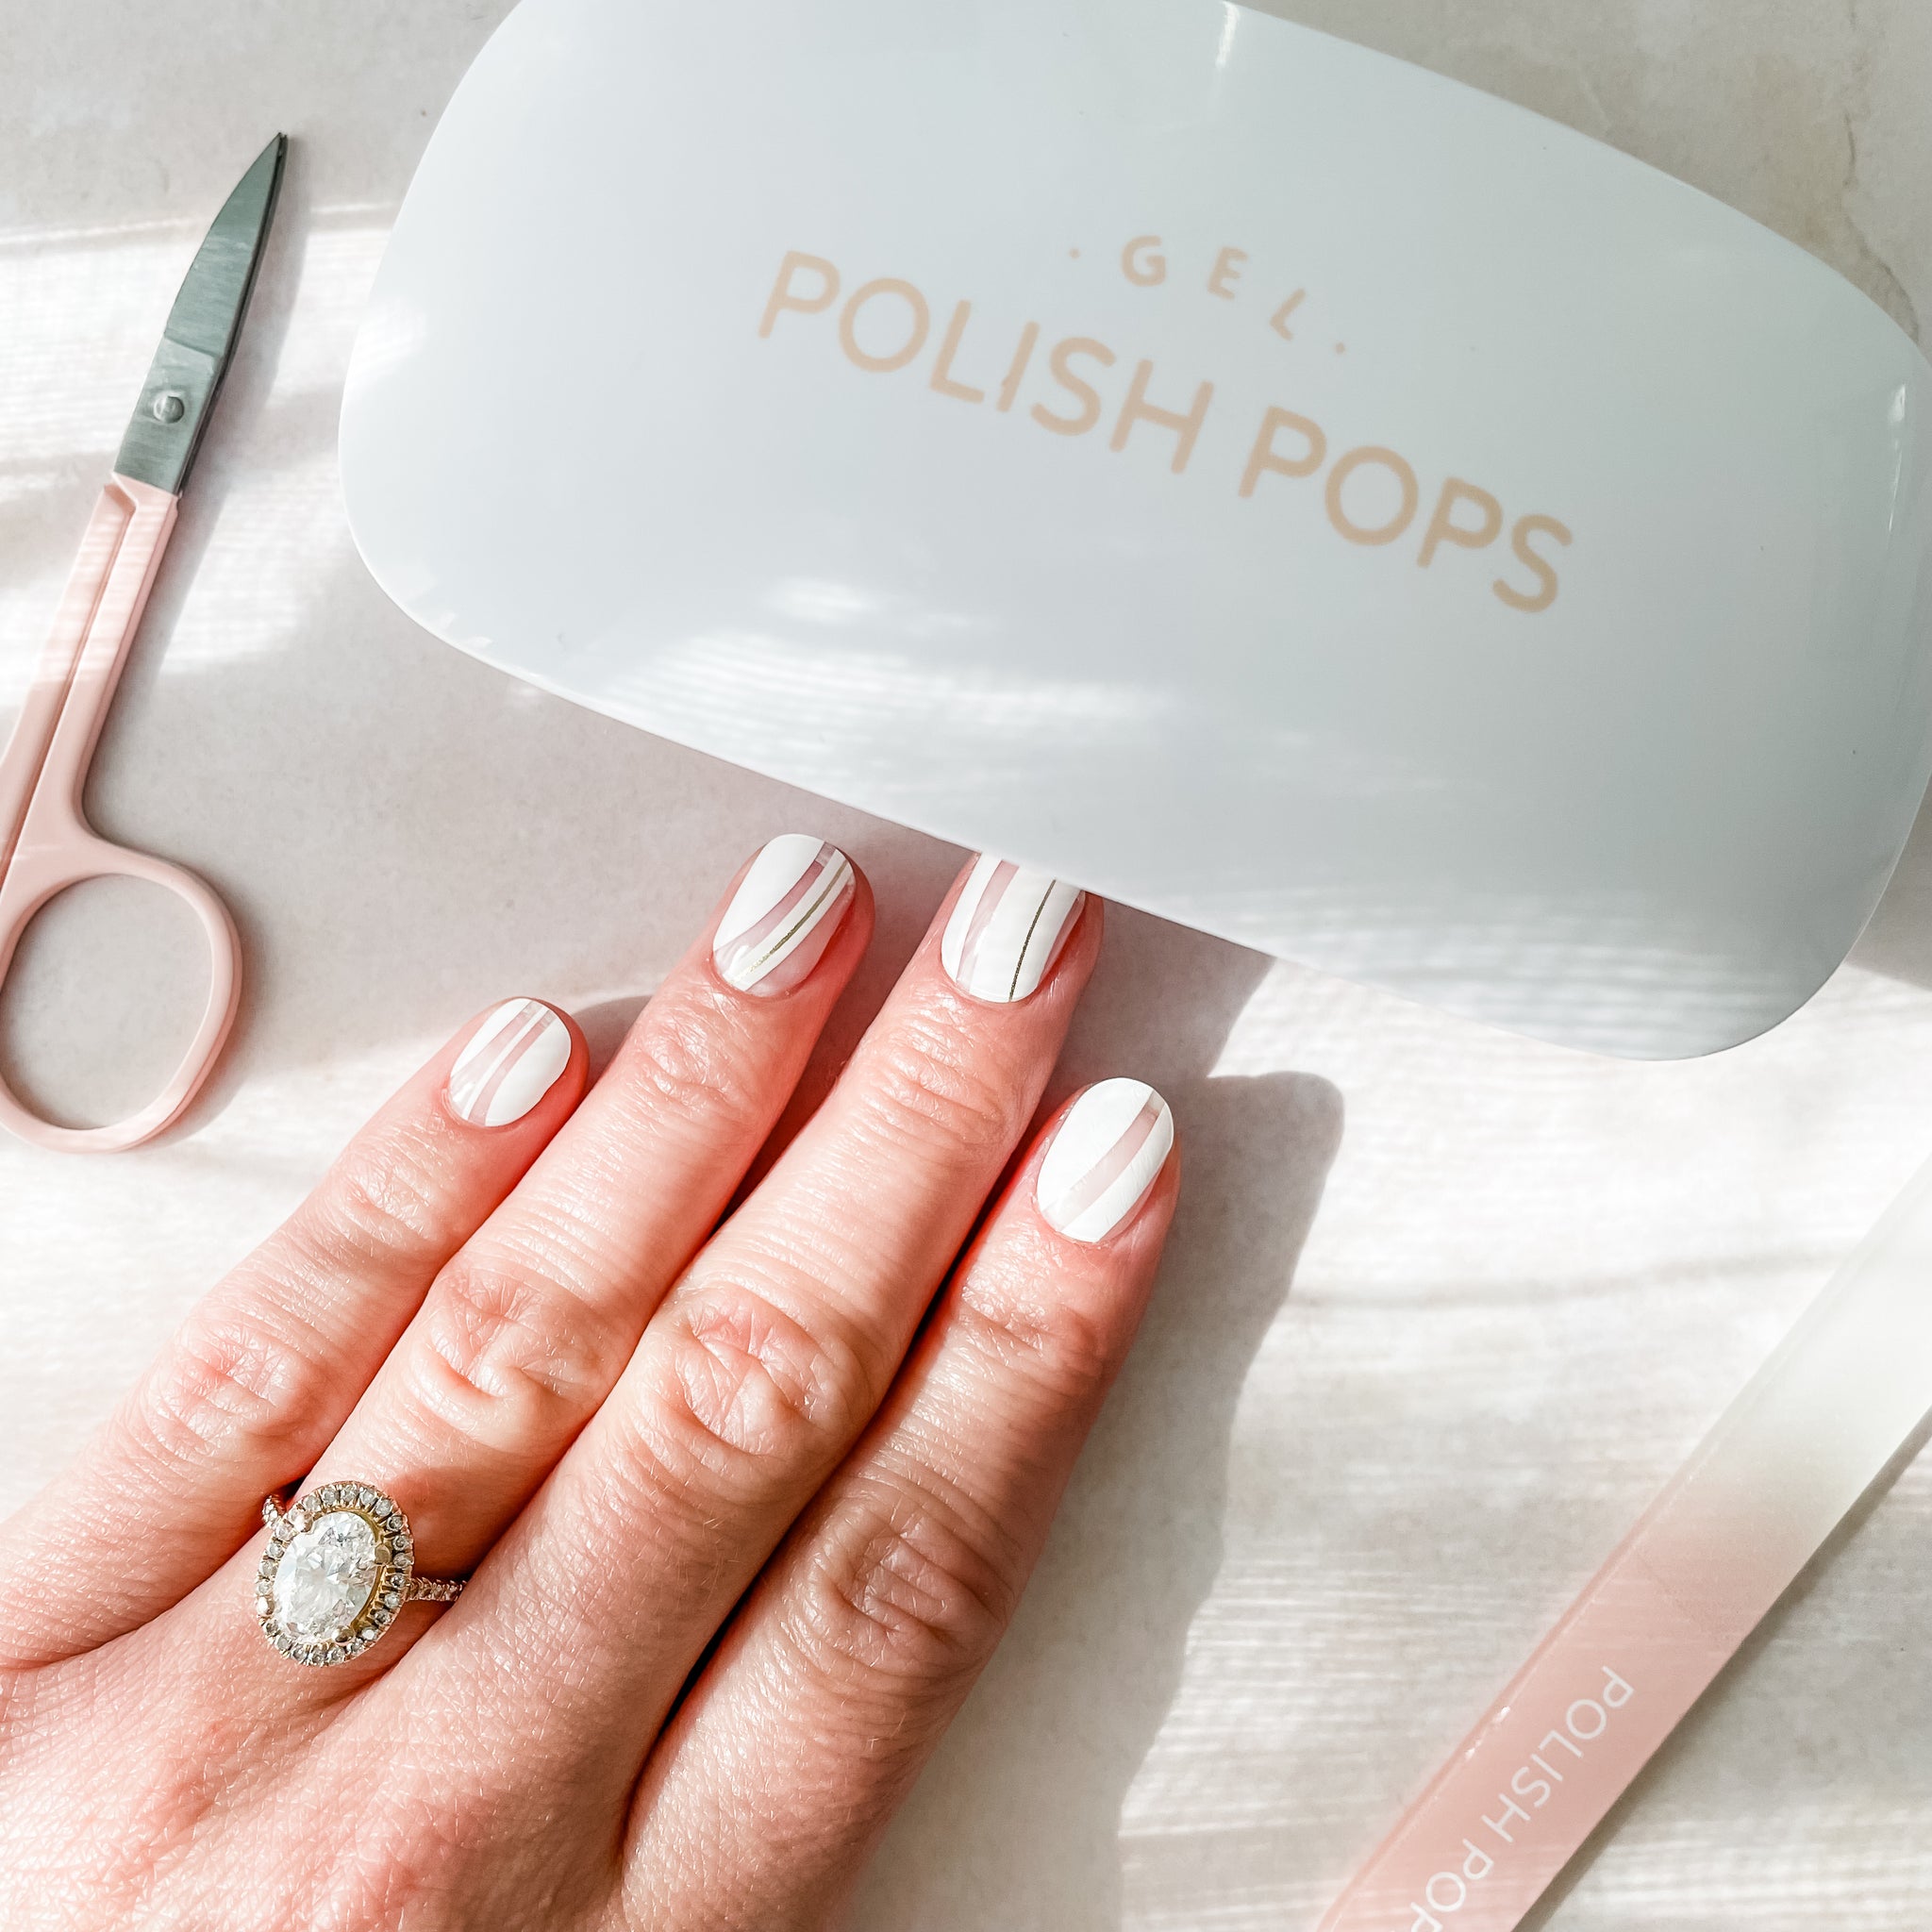
Once you have applied polish to your DIY gel nail wraps, you must ensure the polish sets properly. Like standard manicures, DIY nail wraps with gel polish require curing under a UV lamp.
Figuring out how to make semi-cured gel nail strips can be simple, but it depends on your goals. If you are only creating one set of gel nail wraps, you can skip the semi-curing step, applying them to your nails fully.
However, if you want to create multiple batches of DIY gel nail wraps at once,
Step 4: Cutting and Shaping
Once your design is cured, you’ll need to shape your wraps. You can use nail wraps for short nails or long nails alike, but be sure to match your forms to each nail bed’s dimensions.
Step 5: Applying the Nail Strips
Once you have mastered the art of how to make gel nail wraps, you will need to learn how to apply nail wraps. Whether you use DIY or pre-made wraps, these tips for applying nail wraps should ensure a smooth process.
Learning how to put on gel nail strips all begins with lining up your properly sized nail wrap with your nail bed. This will ensure a proper fit, whether you have natural nails or you plan on using nail wraps on press-on nails. You can leave some vertical excess to trim later if you have a hard time eyeing the sizes.
Step 6: Finishing Touches
From there, figuring out how to get nail wraps to stay on involves avoiding a few common pitfalls. You’ll want to gently remove the adhesive backing before placing the wrap onto your nail bed. Smooth out the wrap from the center to the edges to avoid any bubbling or peeling.
After that, you are done! You can also check out our guides on how to remove gel nail strips and how to store nail wraps when you are ready to switch your styles.
Hopefully, you were able to master the process in a minimal amount of attempts. If the DIY route led to nothing but frustration, consider investing in pre-made nail wraps instead!
Save Time and Stress of Making DIY Nail Wraps With Gel Polish: Shop at Polish Pops!
Figuring out how to make gel nail strips all while avoiding potential errors in the process can seem impossible at times. Whether you have already sifted through several guides on how to make gel nail wraps or you are already discouraged before even beginning, there’s a better option in front of you.
You can find the best nail wraps on the internet right here at Polish Pops. Our wraps and gel nail strips are affordable and quick to use, unlike the huge price tag of salon manicures or the frustration that comes with learning how to make gel nail strips.
Why Shop at Polish Pops?
Forgoing the steep learning curve of DIY gel nail wraps is a no-brainer, but why should you shop with us here at Polish Pops?
We created our products with two things in mind: convenience and safety.
All of our nail wraps and gel nail strips are Vegan-friendly and ‘14-free’, avoiding harmful toxins and chemicals found in most nail polishes and consumer nail wraps, such as formaldehyde, phthalates, and toluene.
Our nail wraps are simple to apply, with a process that takes just a couple of minutes. With our help, you can avoid awkward conversations at the salon that take hours or the idle boredom that comes with waiting for your nails to dry while trying to DIY.
Beyond our selection of cute designs and convenient nail wraps, we provide several useful accessories. We carry the best top coat for nail wraps to help you extend the lifespan of your wraps, along with equipment like cuticle oil, nail files, and UV lamps for gel nail strips.
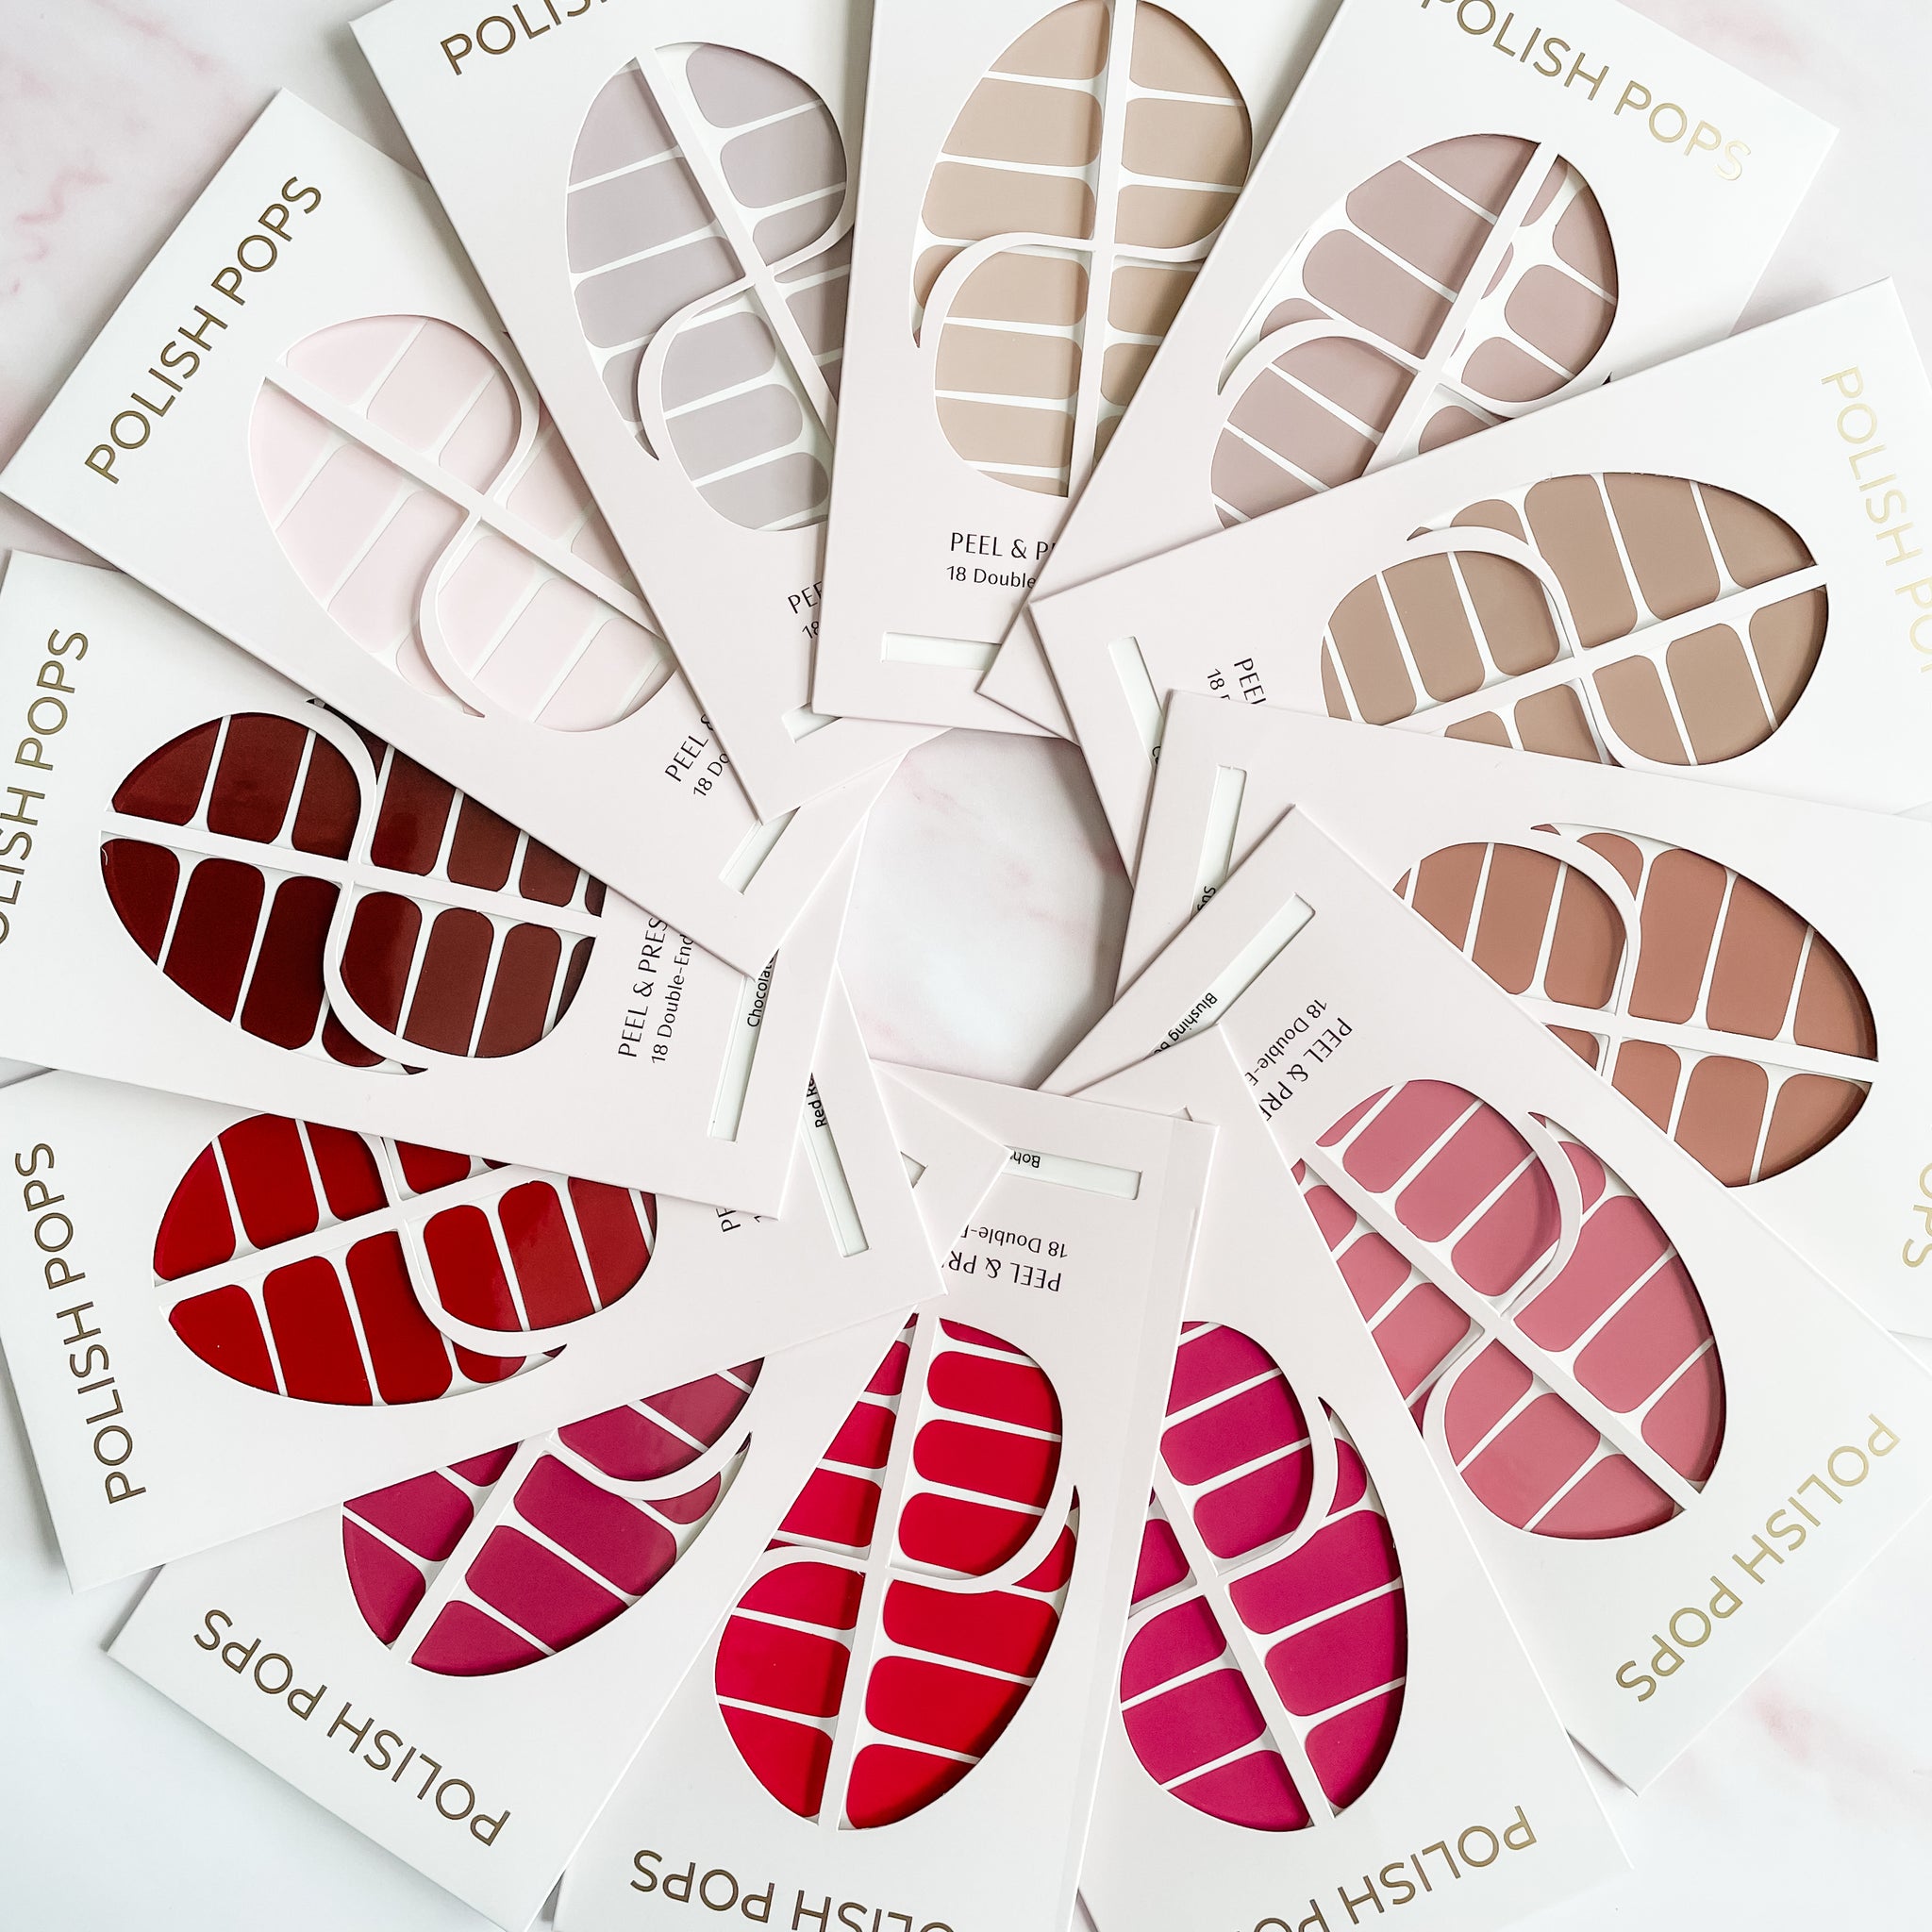
Some of Our Favorite Styles
One of the most exciting parts of switching to nail wraps and gel nail strips is the ability to quickly swap your manicure between styles. Here at Polish Pops, we are thrilled to offer several styles, from timeless designs to avant-garde nail art. Here are a few of our favorites:
- Ballerina Slippers for an elegant light pink perfect for any occasion.
- Cotton Pink is a wonderful pink shade that is a fan favorite.
- If you love gradient nails but want to skip the salon, consider Heart Melt or Tickled Pink.
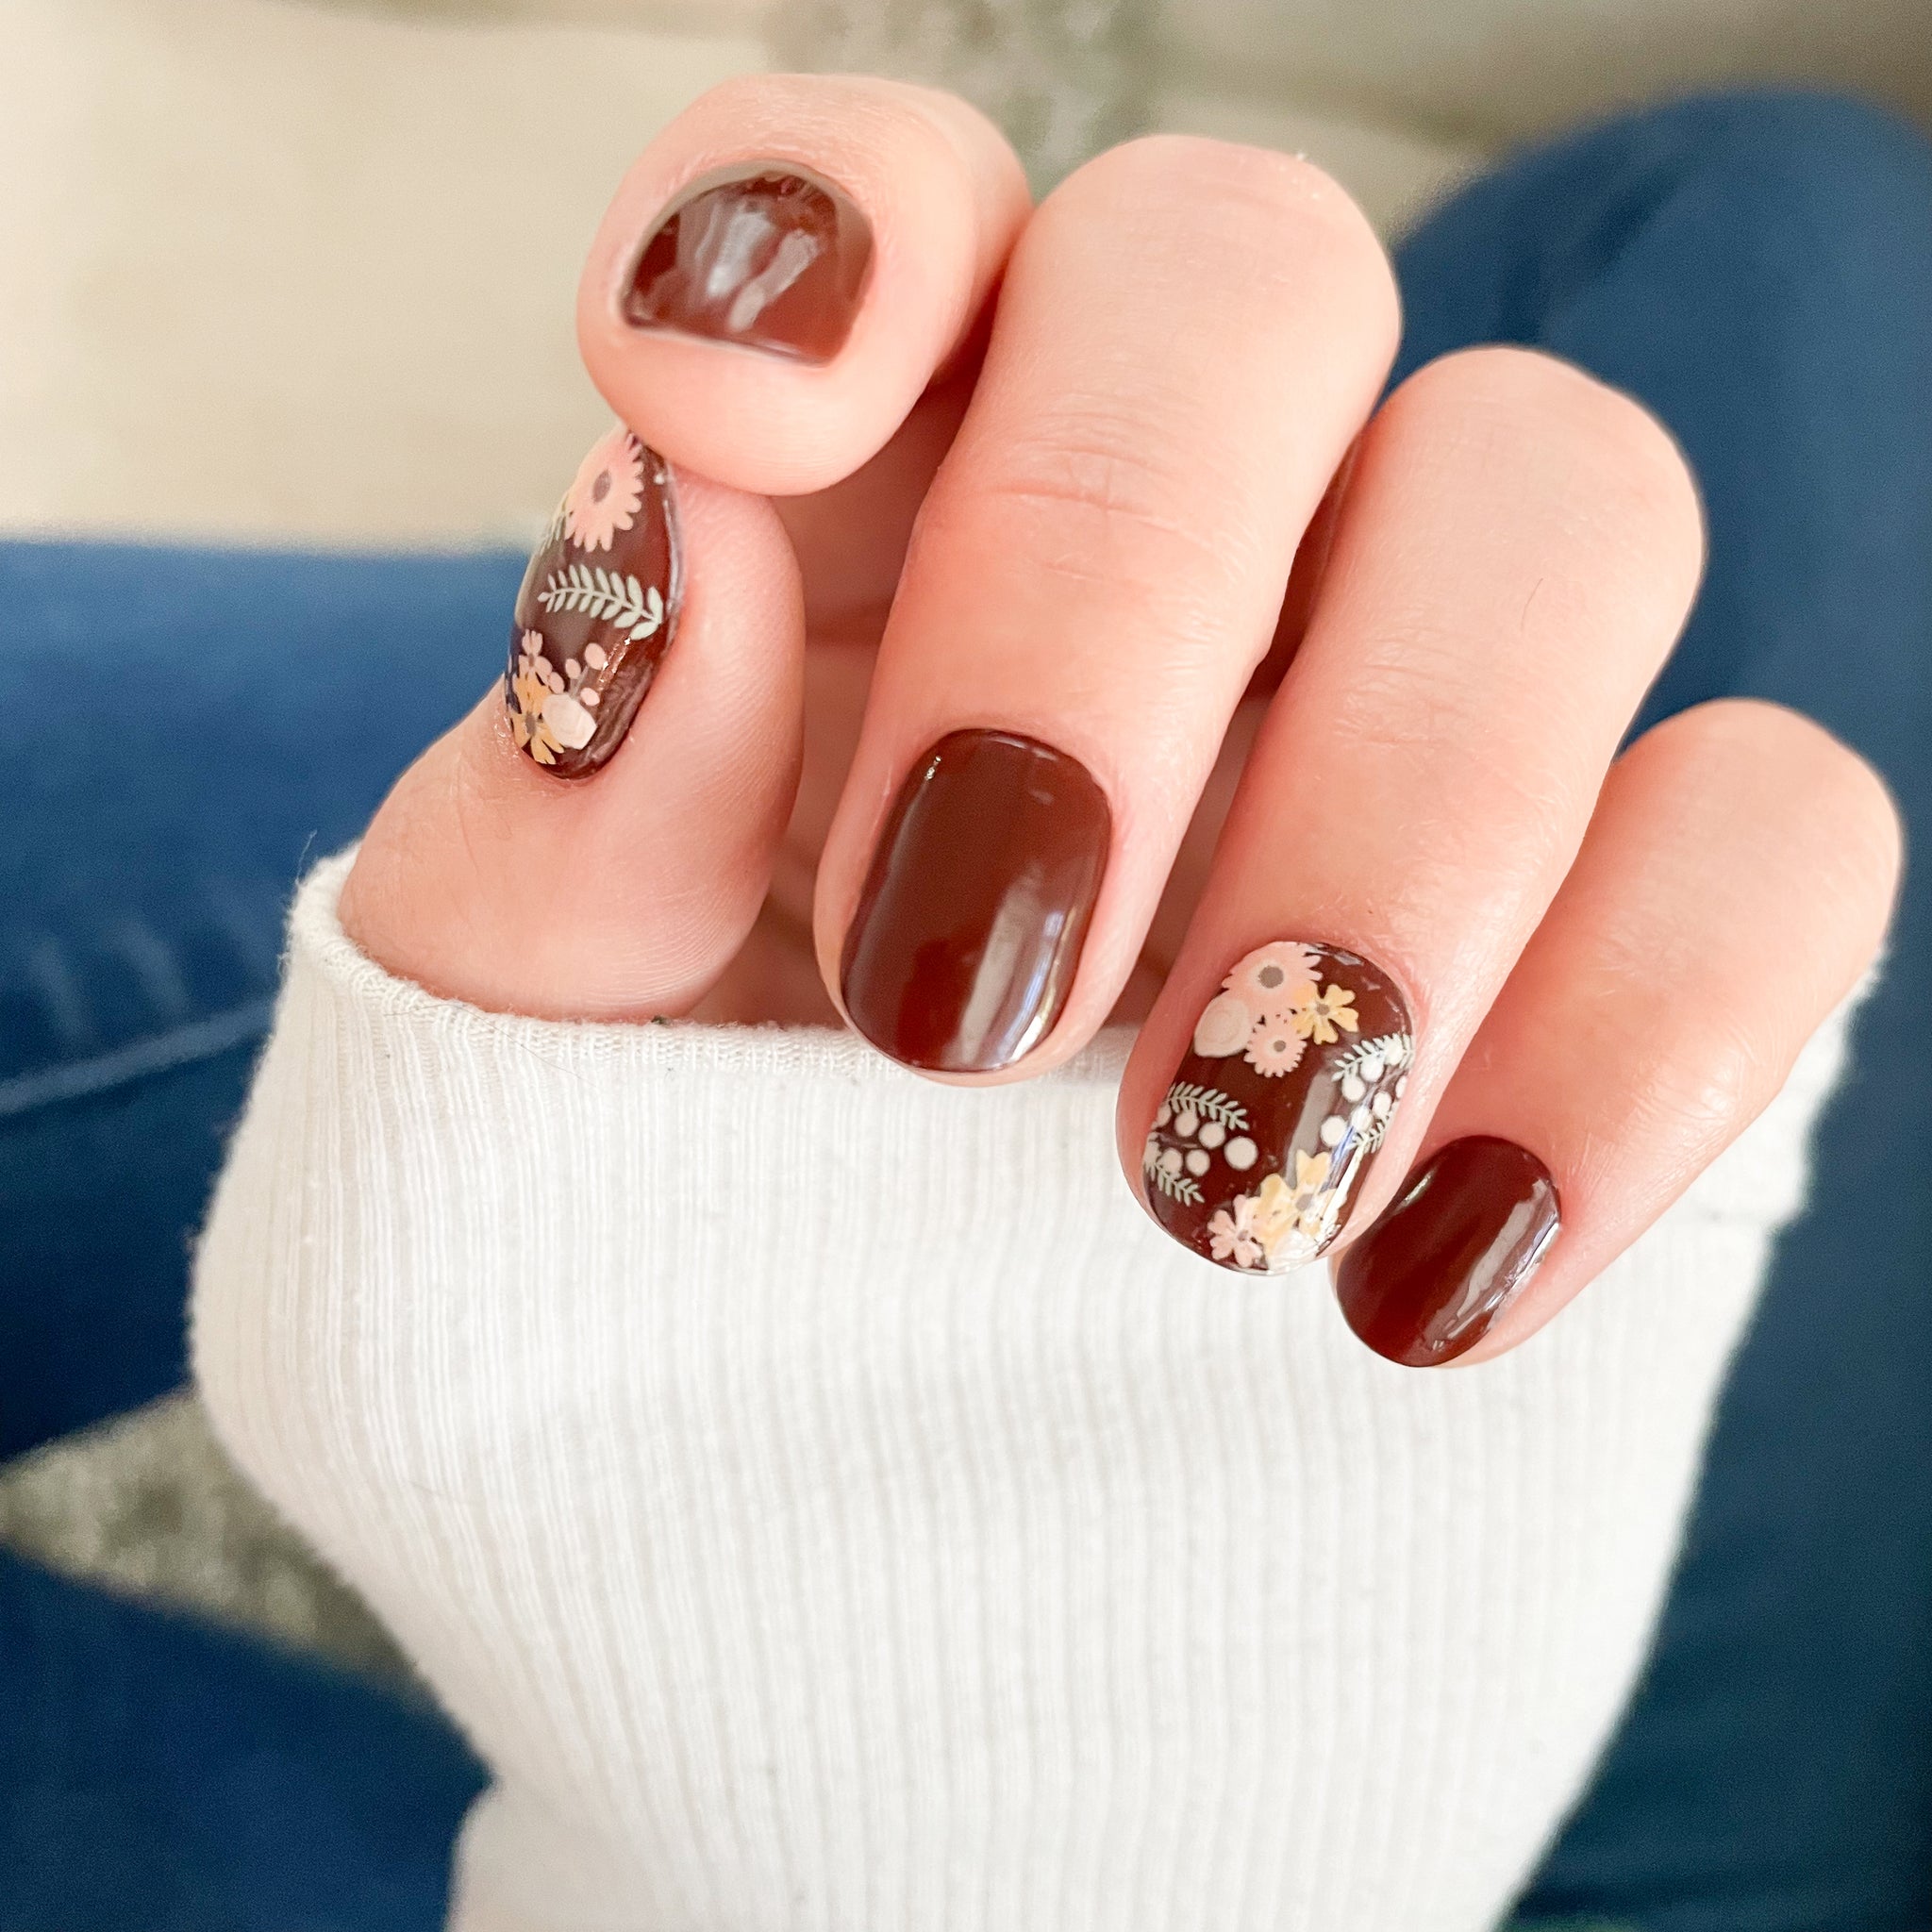
- Queen of Hearts is a cute way to add some low-key nail art.
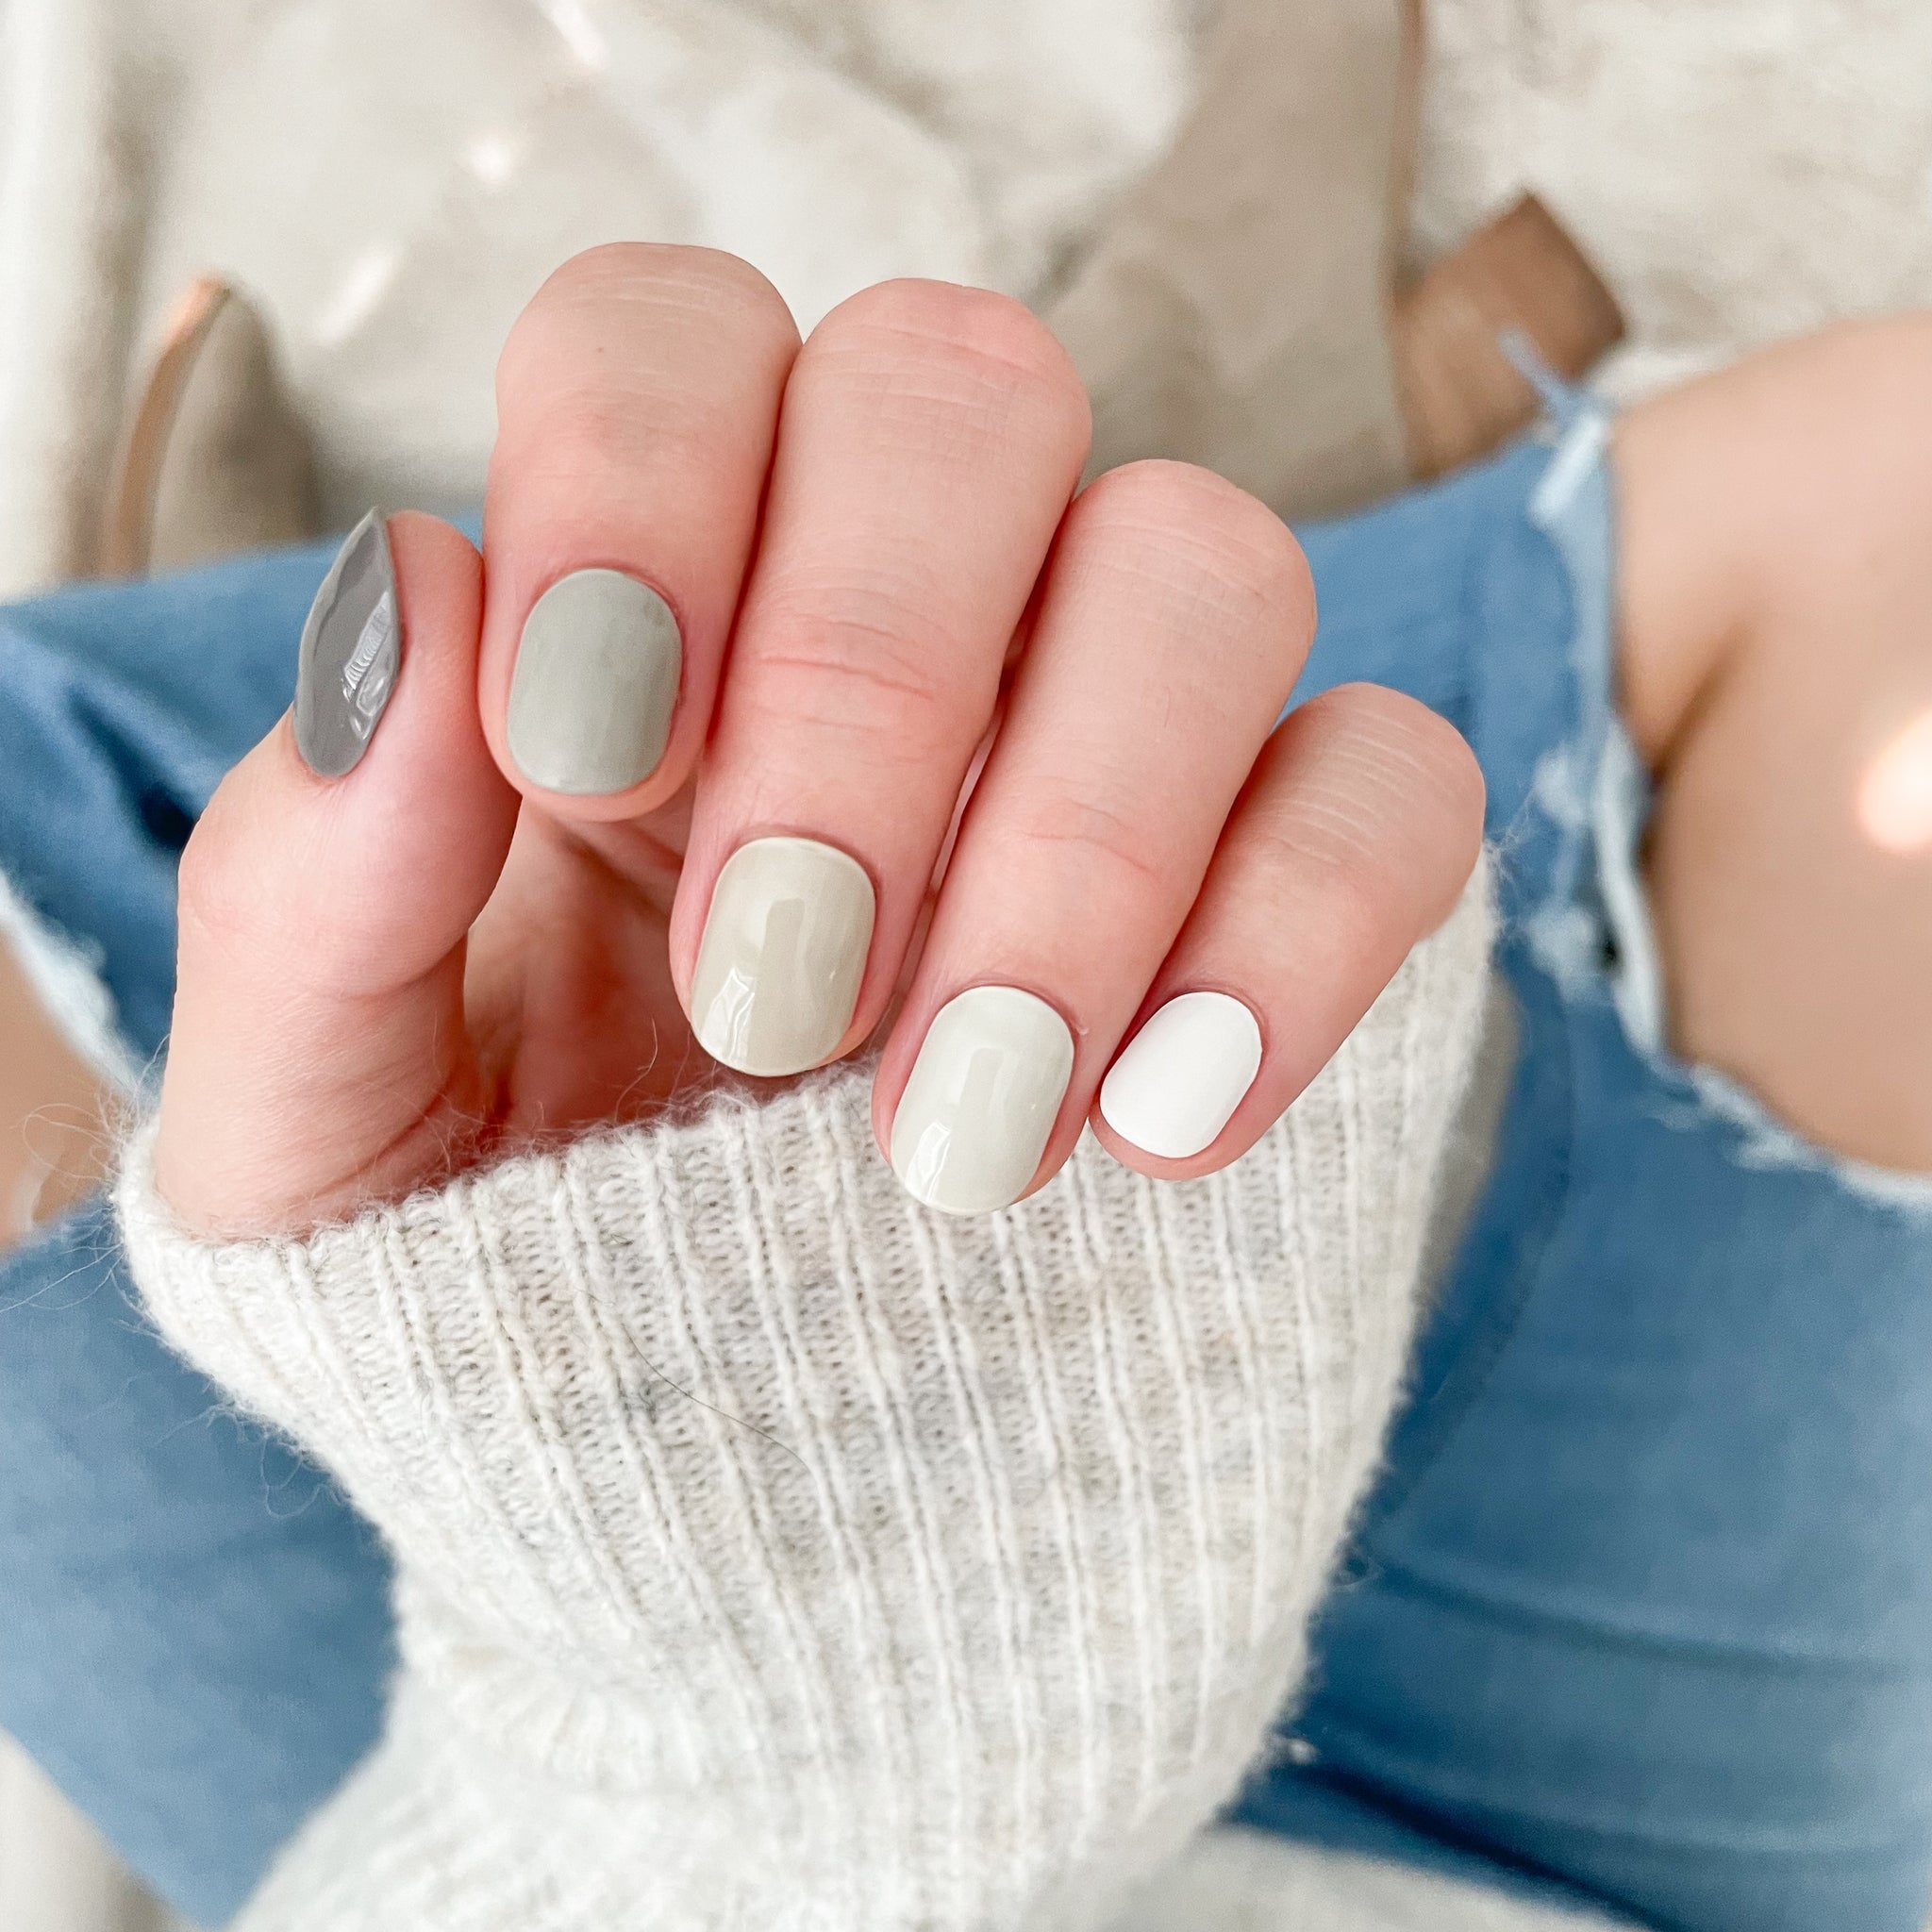
- Putting a twist on the classic French manicure with I’m Acute or Better With Sage offers an instant compliment magnet.
There are plenty of other styles to choose from, and we are always adding new nail art options. You can also reach out to our customer support team for additional help finding your new favorite design.
Parting Thoughts on How to Make Semi-Cured Gel Nail Strips
Learning how to make gel nail strips can be a fun activity, but it does come with a steep learning curve. Mastering the process of how to make gel nail wraps can provide several benefits over traditional salon manicures, including cost savings and quicker manicures.
However, understanding how to make gel nail strips requires extra time and monetary investment compared to simply buying them from a shop.
If you enjoyed our guide on how to make semi-cured gel strips, we have plenty more where that came from. Our blog contains several guides, like are nail wraps bad for your nails, how long do nail wraps last, and how to make nail wraps last longer.
Otherwise, if the thought of going through the entire DIY process seems daunting to you, why not skip it entirely? You can find the best semi-cured gel nail strips and nail polish stickers right here at Polish Pops.
After all, using nail wraps in place of traditional manicures is supposed to save you time, energy, and money. Finding salon-quality gel manicure results without the salon or the hassle of creating your own is simple with our products. Browse our inventory or reach out to our team for a personal nail art recommendation today!