Nail wraps are a total game-changer when it comes to the way you treat your nails. Learning how to apply nail wraps is simple, allowing you to achieve a flawless manicure in just a few minutes, saving you time and money compared to expensive salon trips.
While they are already super convenient, there are several tips for applying nail wraps you will want to keep in mind to guarantee a perfect final result. Figuring out how to size nail wraps to fit your nail beds is a crucial part of the process, with many nail wrap brands offering several sizes for you to use.
Thankfully, learning how to size nail wraps for short nails, wide nails, or long nails is simple. In this guide, we’ll be covering everything you need to know about how to get nail wraps to stay on through proper sizing.
There’s a lot to cover when it comes to the world of DIY nail wraps sizes, so let’s jump right into it!
The Importance of Proper Nail Wraps Sizing
If you haven’t already taken advantage of one of the beauty world’s best-kept secrets, you may be wondering, what is a nail wrap, anyway, and are nail wraps bad for your nails?
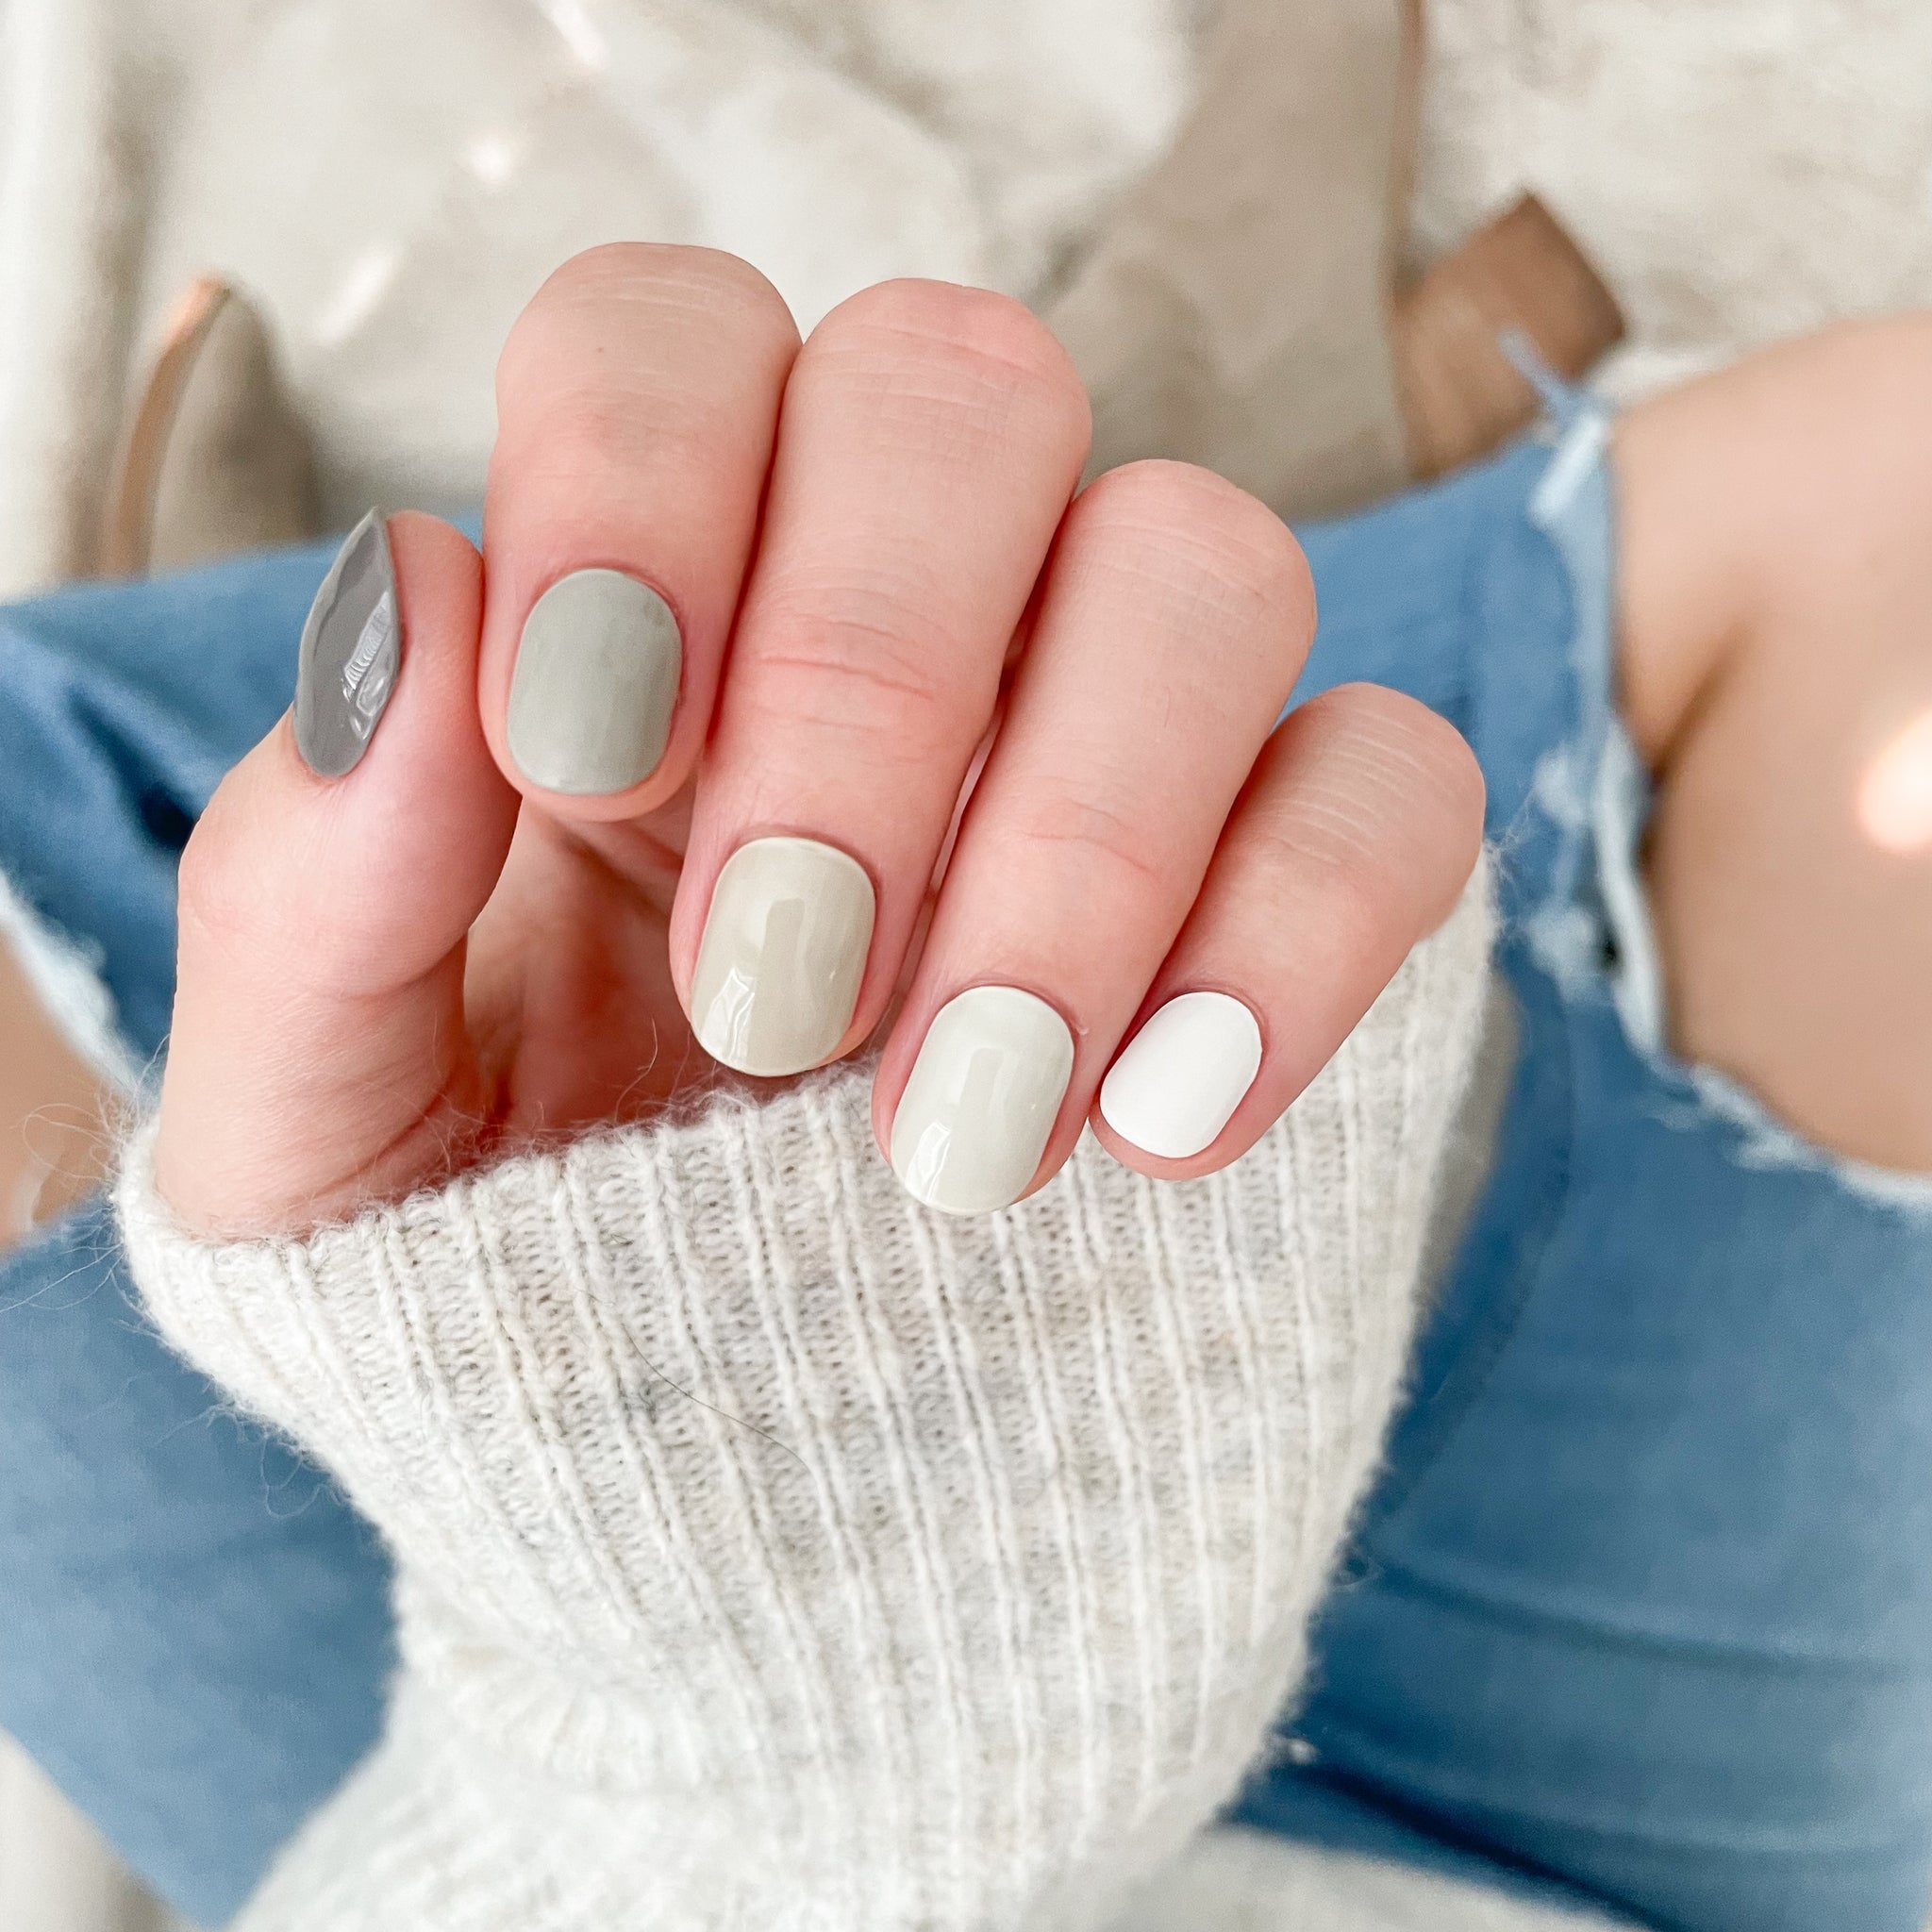
Nail wraps are pre-painted or semi-cured strips with nail polish or gel, adhering to your nail bed. The best nail wraps are safe and toxin-free and can last just as long as a salon manicure, and you even have the option of using nail wraps on press-on nails for an extra glam look.
Learning how to apply gel nail strips and wraps is easy, but you will need to understand how to size nail wraps to make the most of them.
Personalized Appearance
Figuring out how to size nail wraps properly is the best way to ensure a salon-quality finish to your manicure. Many sheets that you purchase will contain several nail wraps sizes, including nail wraps for wide nails, long nails, and short nails.
Taking your time to ensure each wrap fits properly onto your nail bed will have a significant impact on your final results. For example, undersized nail wraps can leave parts of your nail bed uncovered, disrupting any nail art designs on your strips.
On the other hand, nail wraps sizes that are too large for your nails are prone to bunching up, creating unsightly air bubbles and ruining a smooth finish.
Optimal Longevity and Wear
Sizing is also vital when it comes to figuring out how to make nail wraps last longer. Learning how to size nail stickers for your nail beds is the best method to match the longevity of a salon manicure.
Poorly fitted wraps will fail to stay adhered to your nail bed, especially with excess material. Figuring out how to size nail wraps and avoiding overflowing material can also keep your cuticles healthy.
By sizing nail wraps properly, you can guarantee a seamless application process and a beautiful, long-lasting final result. Next, we’ll be exploring how sizing nail wraps works, and how you can accommodate variations in nail bed sizes.
Are Nail Wraps One Size Fits All?
A vital part of learning how to size nail stickers comes through determining the exact measurements of your nail beds. While most nail wrap brands provide several sizing options per sheet, you will want to ensure you are using the right wraps for your nails.
As such, nail wraps are not exactly one size fits all, but you can still use these tips on how to size nail stickers to guarantee the best possible results.
Variety in Nail Shapes and Sizes
When you purchase a set of nail wraps or gel nail strips, most brands will offer several sizes to accommodate the wide variety of shapes and sizes for nail beds. As a general rule, we recommend measuring your nail beds along with the size of each nail wrap before applying them
Be sure to consider both the length and width of your nails during the process.
Cutting Nail Strips Down to Size
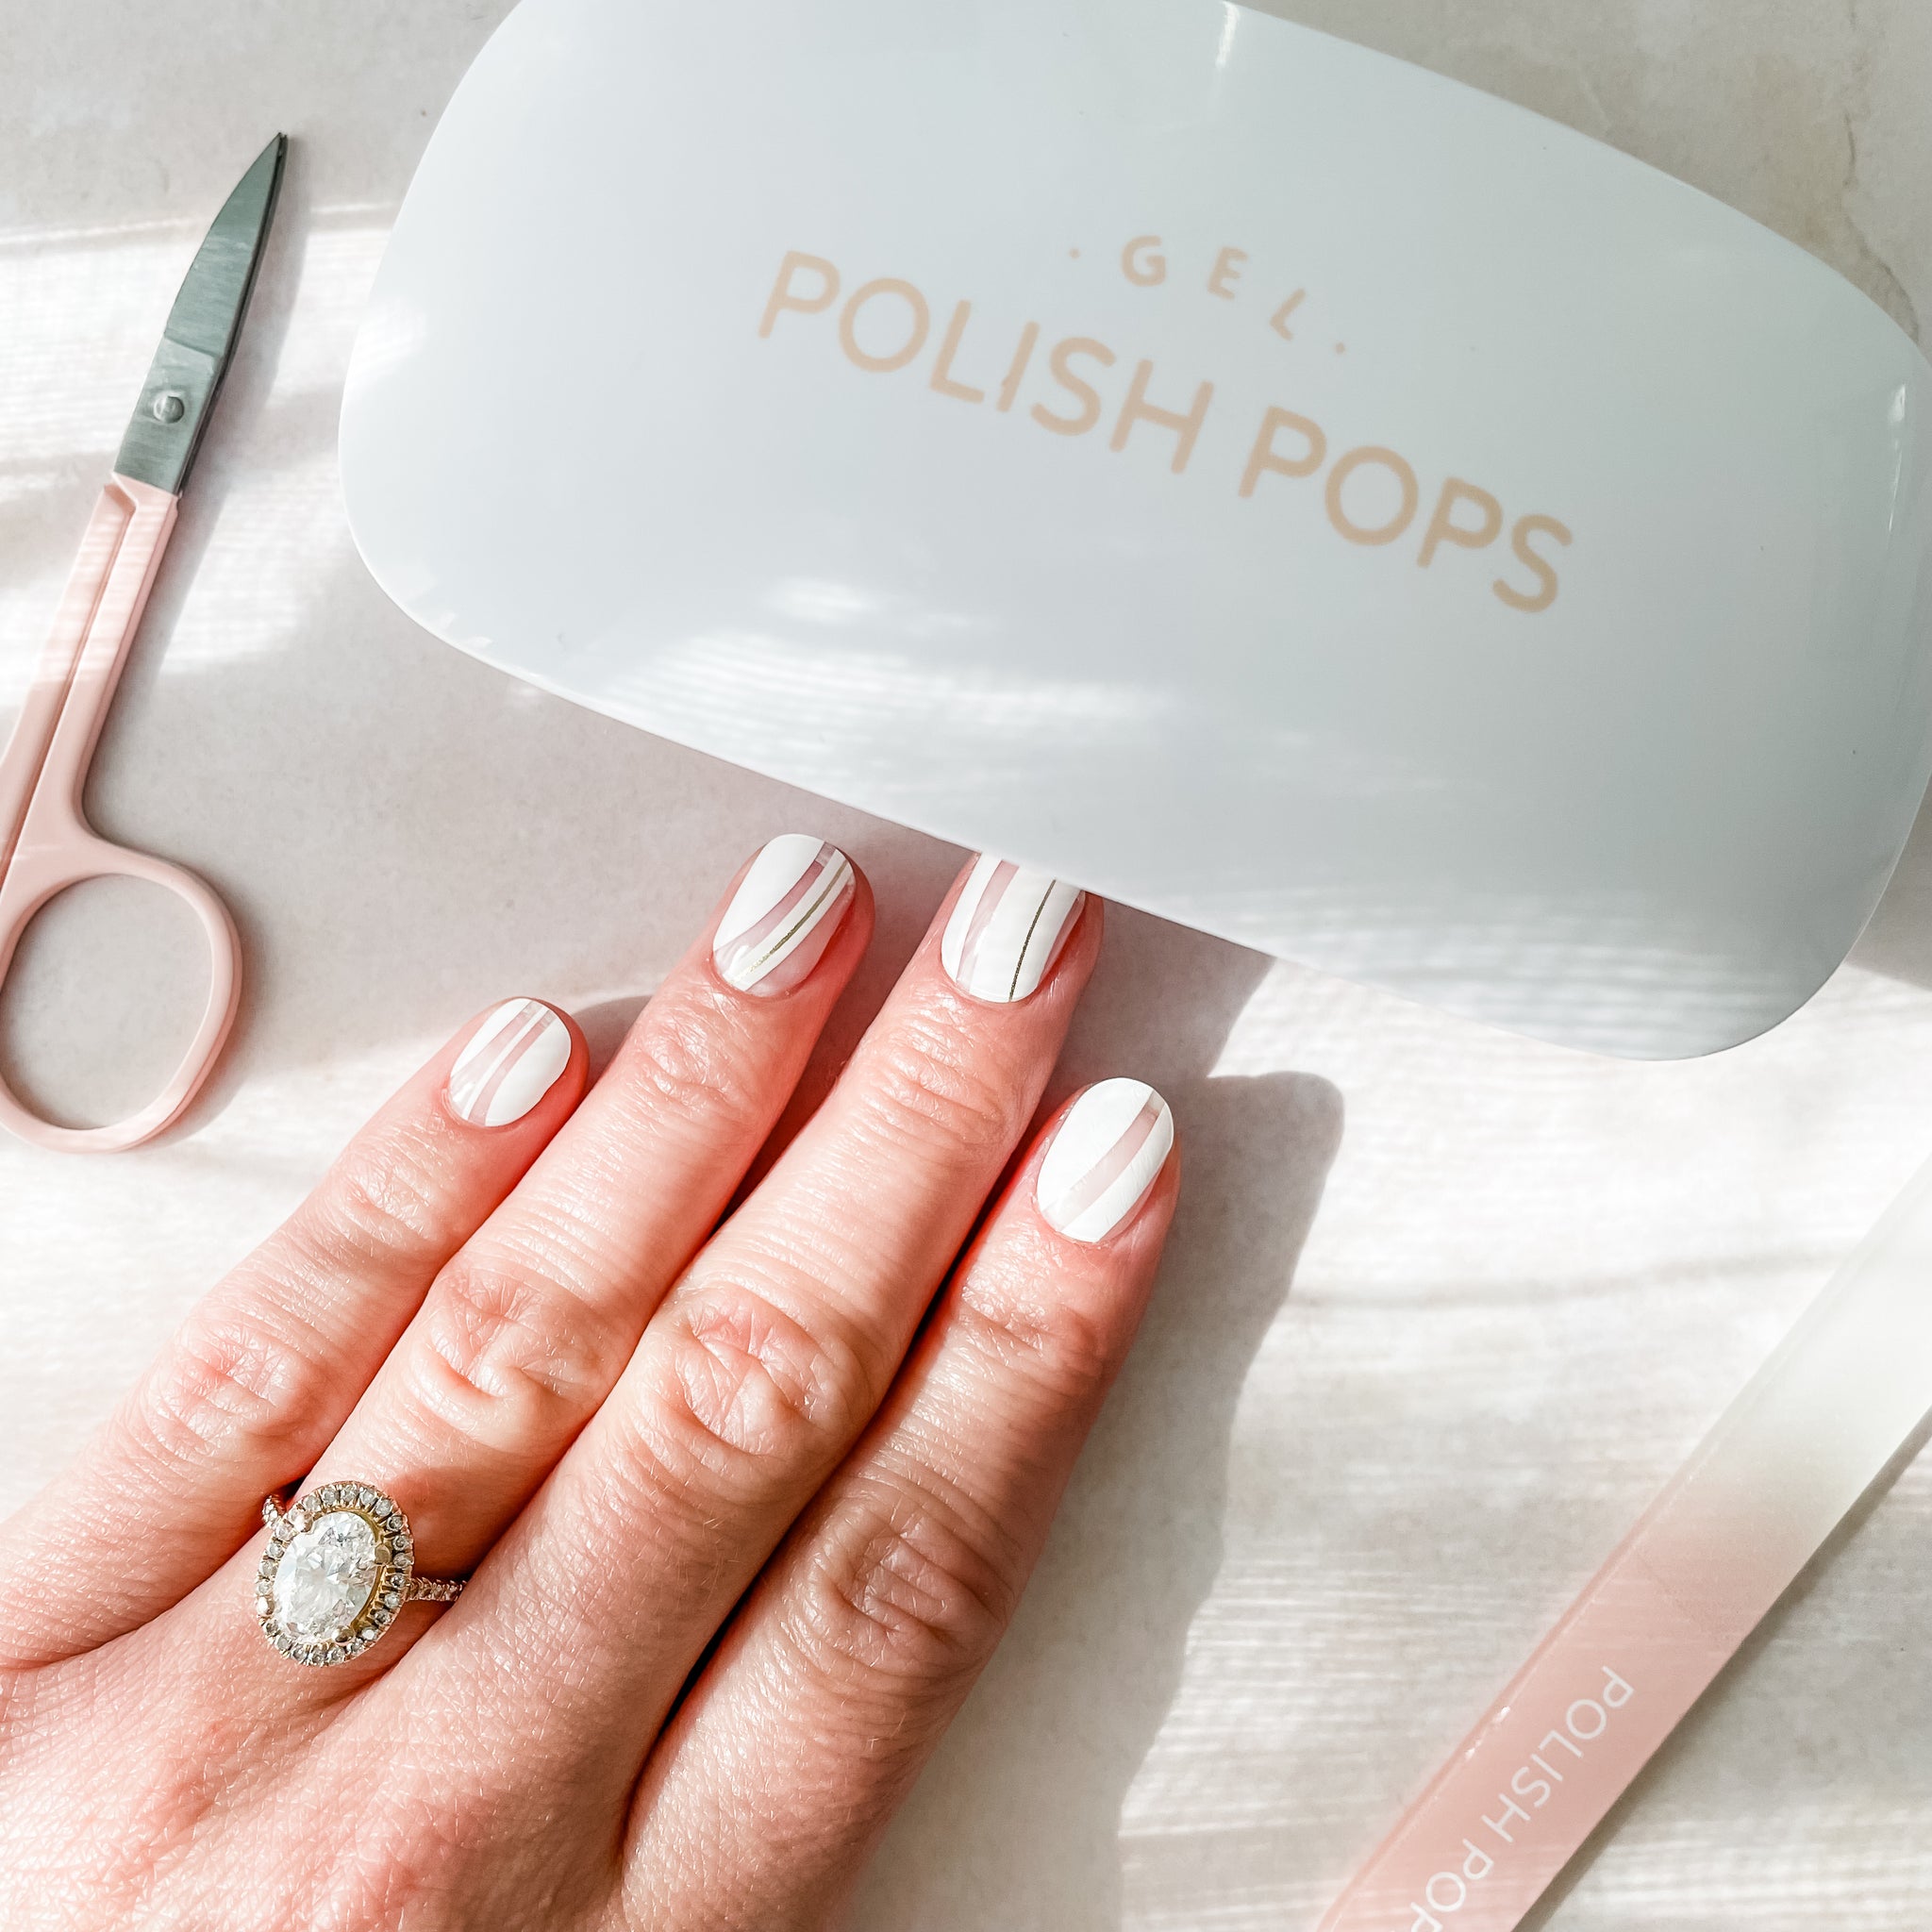
Once you’ve figured out how to size nail stickers for your specific needs, you can trim your wraps for a precise finish. Consider your measurements for both your nail beds and the wraps you wish to use, using nail scissors for the best possible result.
When you first switch from salon manicures or DIY nail polish, you may have to go through some trial and error to achieve the most precise sizing. Thankfully, sizing nail wraps is a simple process overall, even if you need to make a few trims.
There are a few more things you’ll need beyond nail scissors and a steady hand to size your nail wraps, so let’s discuss a few of our favorite tips.
How to Size Nail Wraps: Cutting Your Nail Stickers for the Perfect Fit
While nail wraps aren’t totally one size fits all, the best brands will provide enough options to get you close enough to an amazing final result. With adaptable sizes to choose from to begin with, you can then trim your wraps for an even better finish.
Best Practices for Precise Cutting
Before you begin hacking away at your nail wraps, you’ll want to do some preparation. Measure the width and length of both your nail beds and the nail wraps themselves. You can also hover the nail wrap over your finger to get a visual idea of how it will fit on each specific finger.
Once you’ve finished mentally sizing your nail wraps, you can start trimming if you can’t find a default size that will work for you. Use your nail scissors to snip small amounts at a time from the edge of your strip, and try to avoid cutting into any nail art designs if possible.
We recommend retrying the sizing of your nail wraps after each snip to prevent over-cutting.
Shaping to Suit Unique Nail Curvatures
Between width, length, and curvatures, it’s no wonder one-size-fits-all nail wraps are impossible to find. If your nails have noticeable curves, you will want to take that into account when sizing your nail wraps.
Be sure to hold your strip against your nail beds, keeping in mind the curvature line. A curved nail can subtly cause excess material, so you will need to be precise to guarantee each wrap properly conforms to your nail bed.
Taking your time to measure and learn the specifics of your nail beds will require some patience, but a little bit of trial and error will go a long way. Once you get the hang of things, you will be able to apply and refresh your manicures all from the comfort of your home or on the go without spending time and money at a salon.
There are a few more tips to keep in mind for the best results, so let’s cover those to help you master the art of how to size nail wraps.
More Tips on Performing an Effortlessly Stunning Manicure in Minutes
Sizing and cutting your nail strips to fit your nails is just one part of the simple process that you will need to keep in mind. With the right techniques, you can learn how to make gel nail strips last longer and make the most of the aesthetics of your final result.
Preparation is Key
Achieving a manicure in just minutes all begins with a little bit of preparation. First, you will want to learn how to store nail wraps by keeping them in a cool and dry place, away from any humidity that could damage the adhesive or nail art.
You will begin your at-home manicure by ensuring you keep your nails free of any water, lotions, or oils within an hour of starting, as these can interfere with the wraps. Once that is in the clear, you can shape your nails with a file or emery board and gently push back your cuticles with a cuticle stick.
We also recommend using a thin base coat to guarantee a smooth nail bed surface for the wraps to adhere to.
Application Techniques for Nail Wraps
Once you’ve prepared your nail beds, you will need to apply all of the nail wrap sizing tips we’ve discussed above. Remember to visually compare sizes and take measurements before you begin, trimming as needed.
After achieving the perfect size for your nail beds, you will peel off the backing, holding it vertically over your nail. You can choose to let it overhang and trim off any excess length, but be sure you are not leaving any room near your cuticles.
With a properly sized nail wrap in place, you will then firmly apply the wrap to your nail bed. You can smooth out the wrap downwards to clear any air bubbles that may have formed.
We also highly recommend using a top coat to seal your manicure and add extra shine. We carry the best top coat for nail wraps in our inventory, allowing you to guarantee a fabulous salon-quality result.
Safe Removal
Learning how to remove gel nail strips is just as simple as applying them, giving you the freedom to swap designs as desired. You have a couple of options, depending on your preferences and the tools you have available.
One option is to apply oil to a cuticle stick to gently push back your cuticles. From there, you can shimmy under the nail bed, which will loosen the edges of the nail wrap and make for easy removal.
Alternatively, you have the option of using a non-acetone nail polish remover to wipe away the nail polish if you are not using gel wraps. Once you have your wraps removed, we recommend wiping your nails and moisturizing your cuticles.
By taking the time to remove old nail wraps safely, you can ensure your nails will be healthy and ready for the next cute set of wraps!
We’ve explored the ins and outs of sizing nail wraps and making the most of the application procedure. All that is left is to figure out where to find nail wraps, but thankfully, you are already in the right place!
Find Your New Favorite Nail Wraps at Polish Pops Today!
With unparalleled convenience and stunning final results that look fresh out of a salon, nail wraps are one of the best beauty decisions you will ever make. Finding the right brand is just as easy as the application process, as Polish Pops is far and away your best option.
We crafted our line of nail wraps and gel nail stickers with both health and aesthetic value in mind. All of our products are ‘14-free’, avoiding harmful toxins common to the nail polish industry like phthalates, formaldehyde, and toluene.
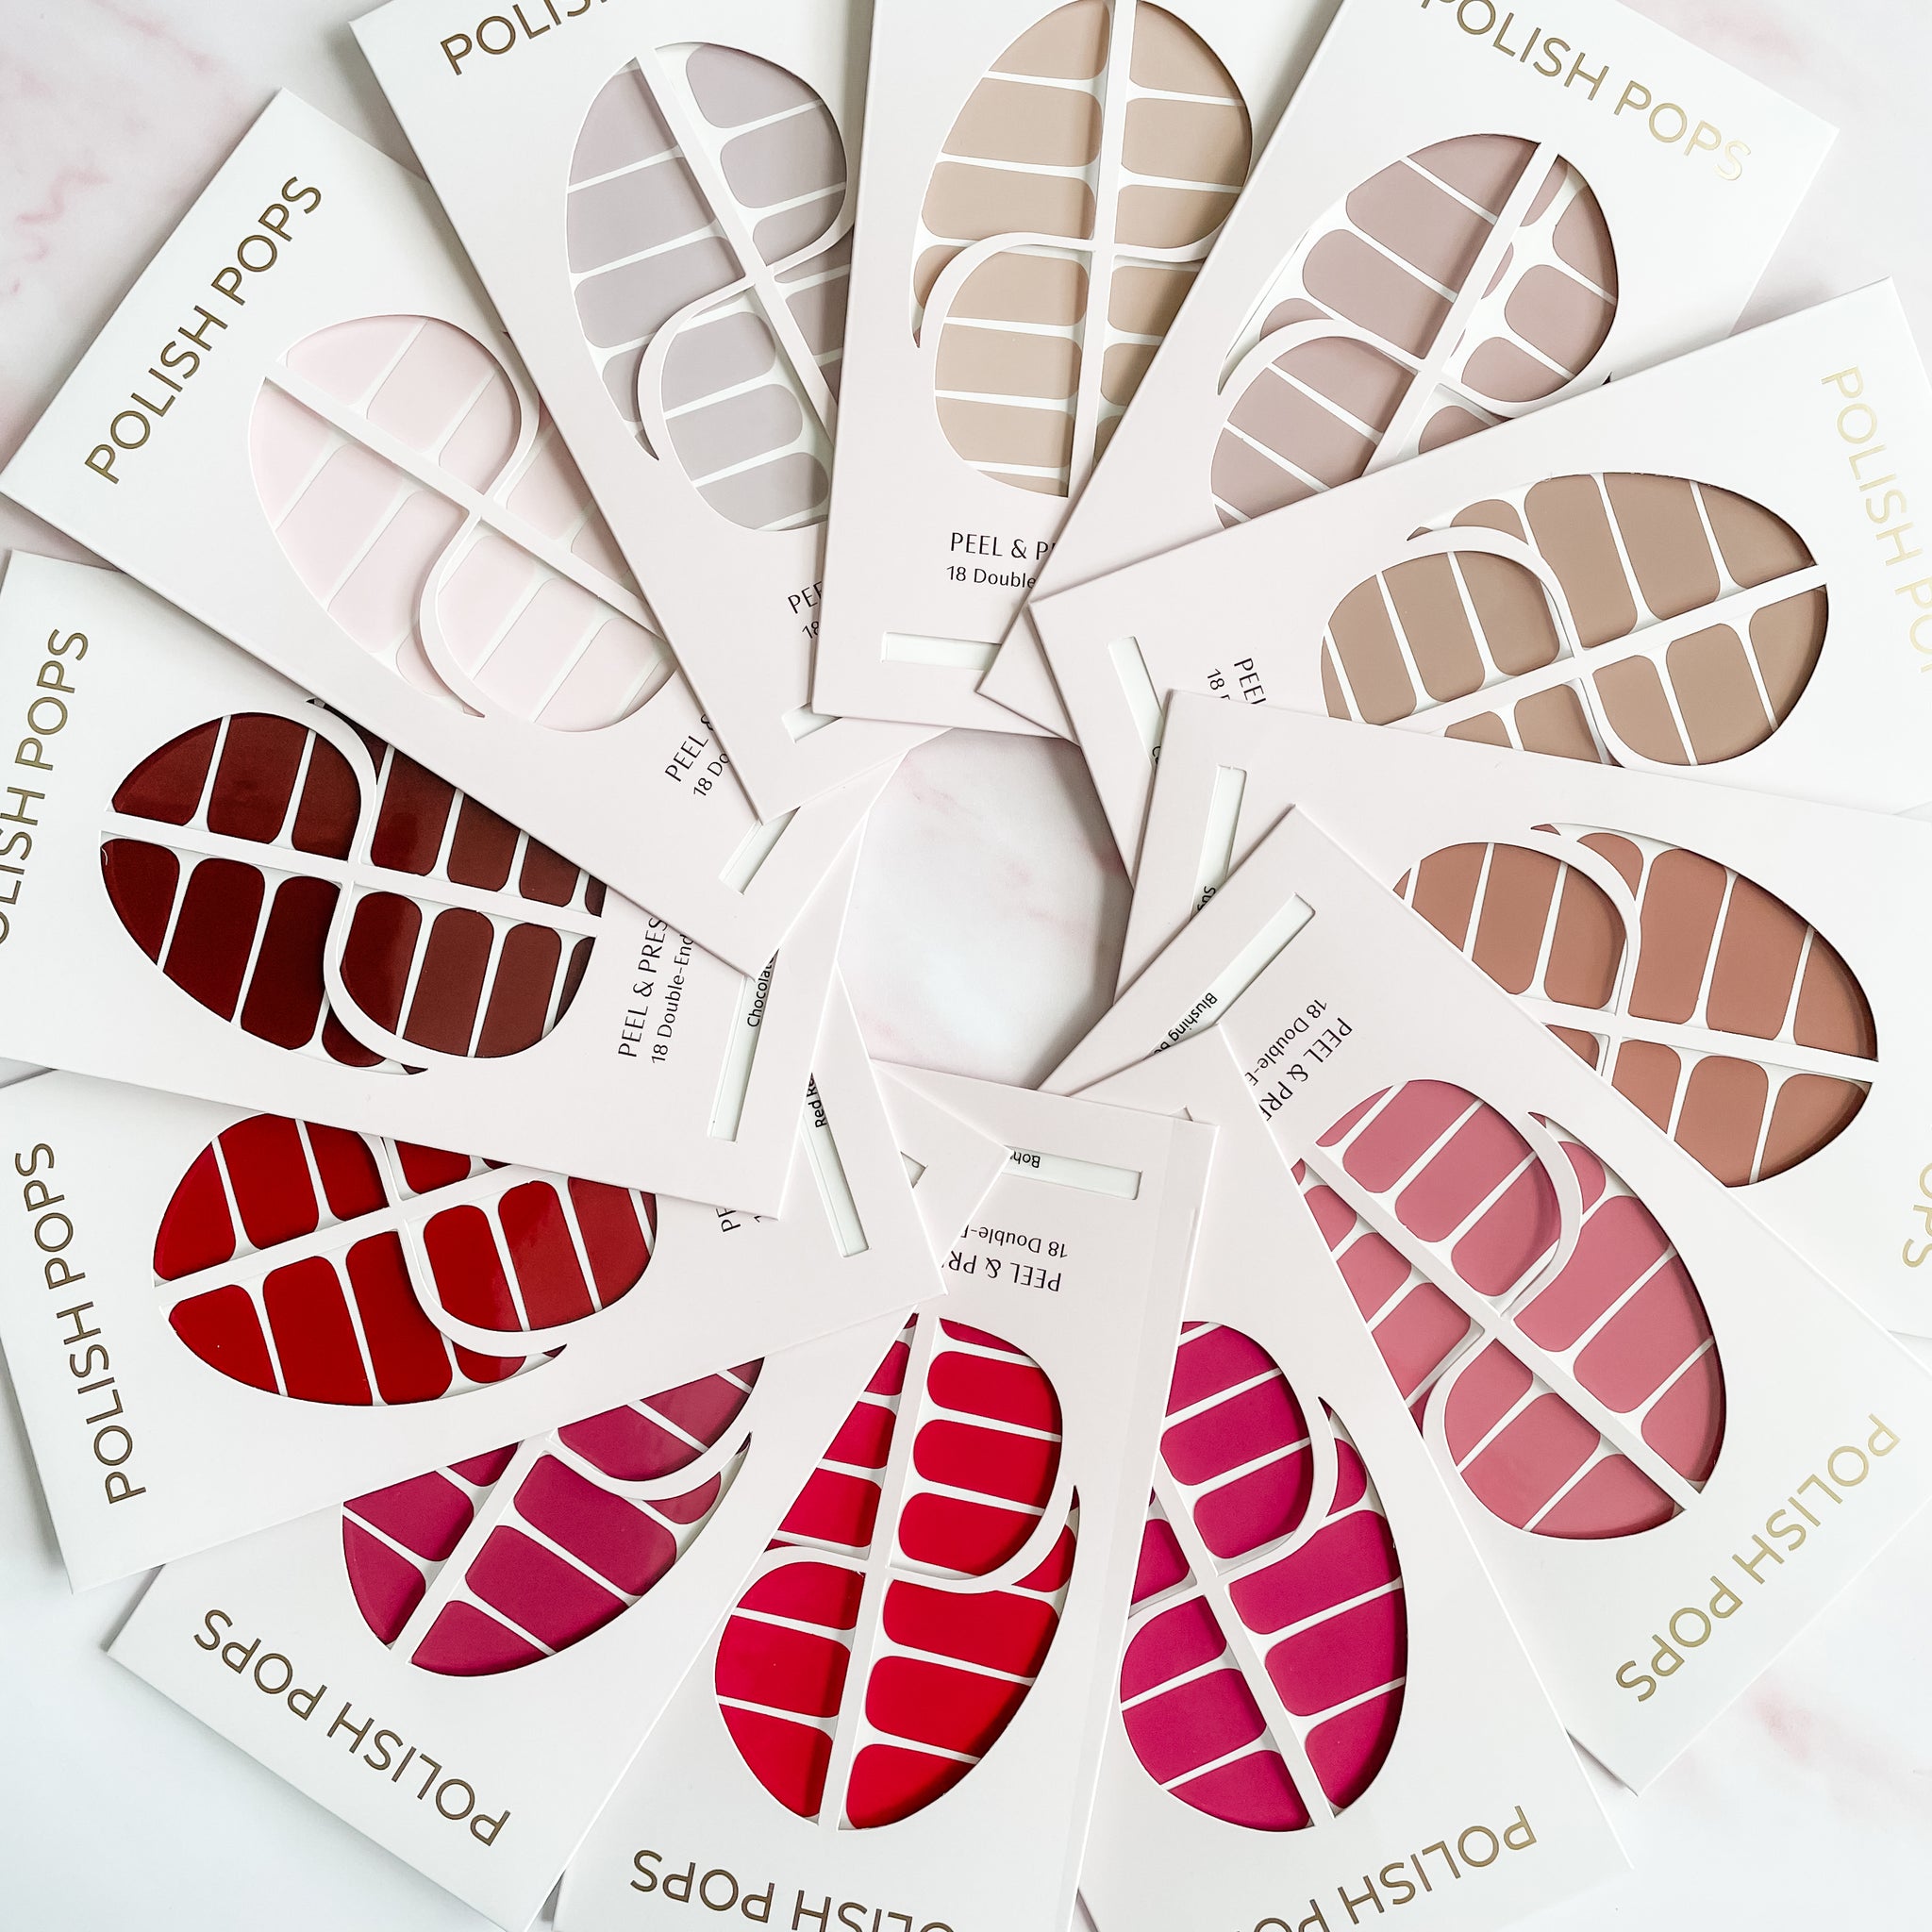
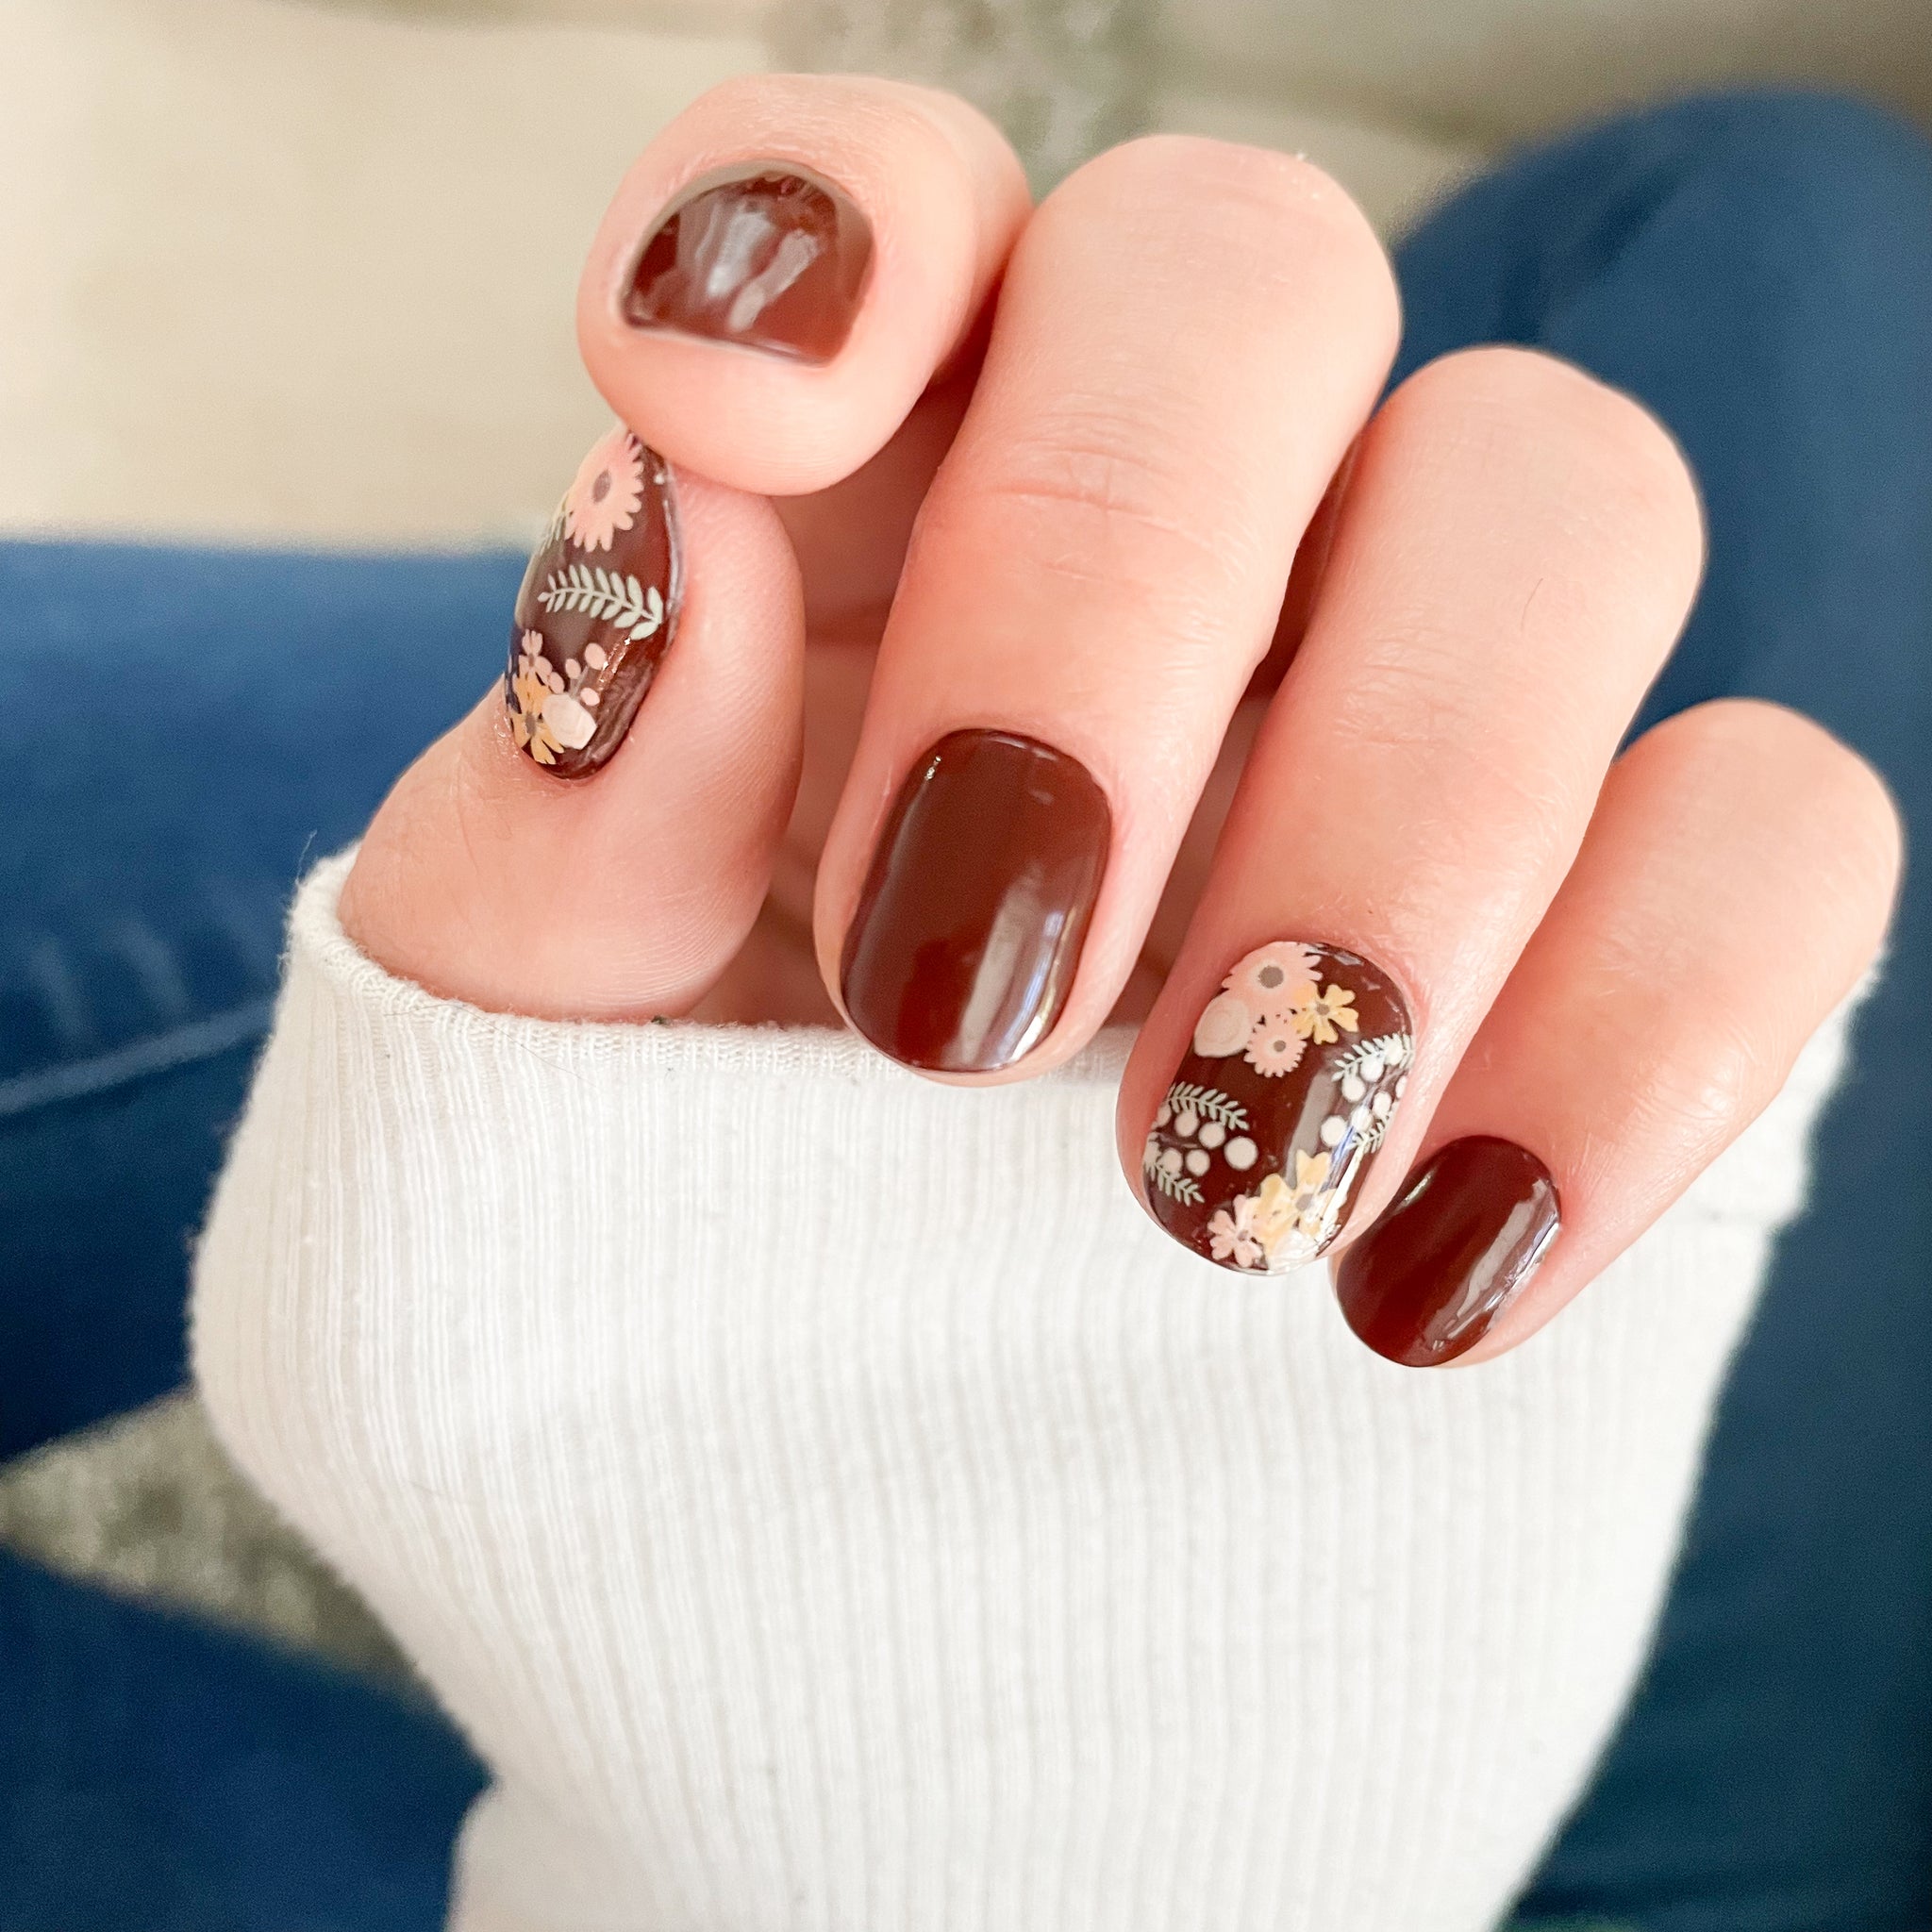
Our shop carries the best semi cured gel nail strips and standard polish wraps, including everything from cute seasonal nail art designs to staple colors you can wear all year round.
Nail wraps at Polish Pops are also remarkably affordable, as many of our sheets can be used two or even three times with creative cutting, allowing you to cut your monthly manicure budget down to less than $20!
Wrapping Up Our Guide on How to Size Nail Stickers
Overall, learning how to size nail wraps is simple, even if they aren’t totally one-size-fits-all. You can make your nail wrap sheets match your nail beds by measuring each and trimming any excess as needed.
With such a simple process, the only concern you need to worry about is which glamorous design you want to use on any given day. With a vast inventory ranging from unique seasonal designs to iconic staple colors, the best place to shop is here at Polish Pops.
Thanks to our healthy and ‘14-free’ wraps that are built to last, there is no better way to make the most out of your manicures. Browse our inventory to get inspiration for your next manicure today!